For Clare’s graduation from College, I gave her this bed that I made. I had told Clare that I would make her anything she wanted for her graduation gift and she selected this bed from a Thos Moser design. Fortunately for me, she made her choice in the summer prior to her graduation. It took me a while to make this bed.
 1430Finished Bed! Ready to deliver to Clare.
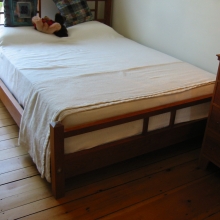 1030Here is the original in the ThosMoser showroom in Freeport, Maine
Thankfully, Clare let me know a year in advance that she wanted this as her Graduation present.
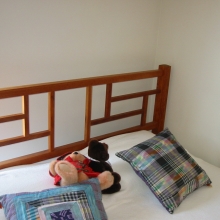 680View of the original headboard.
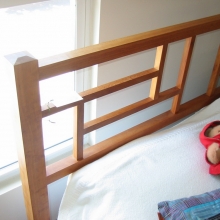 530Detail view of the original headboard.
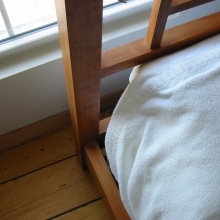 460Detail view of the original headboard.
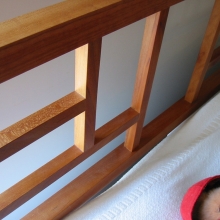 430Detail view of the original headboard.
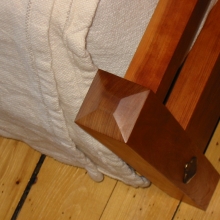 410Detail view of the original Footboard.
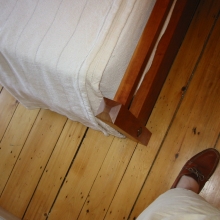 420Detail view of the original Footboard.
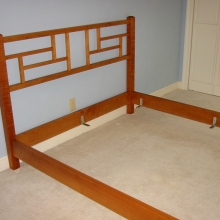 380View of Clare's Headboard
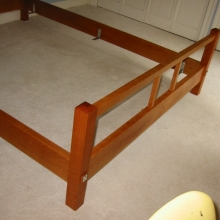 330View of Clare's Footboard
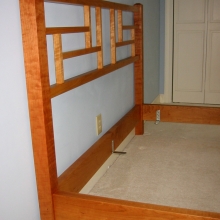 350Detail of Clare's Headboard.
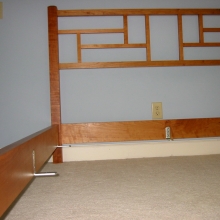 340Another viewpoint.
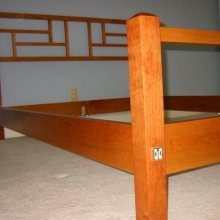 340Footboard perspective.
Note the custom bolt hole covers.
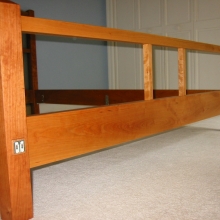 320Footboard
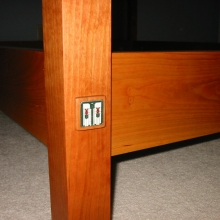 340Closeup of the footpost.
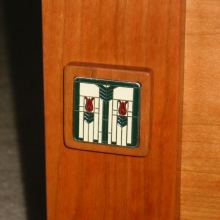 400Closeup of the bolt hole cover.
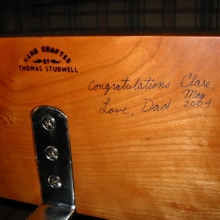 340Congratulations, Clare!
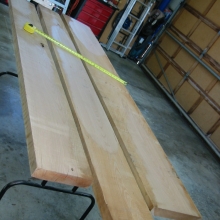 280Started out with a big collection of Cherry!
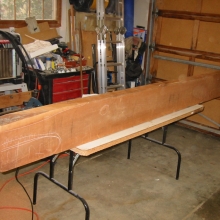 250And a massive hunk of 12/4 material for the bed posts.
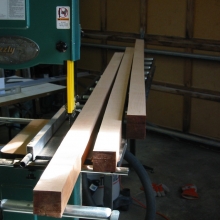 220Big hunk reduced to manageable posts with my previous bandsaw.
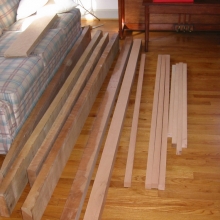 220The pieces were left in the family room to keep stable.
 330Here I am, cutting one of the 50 or so mortises required for this project.
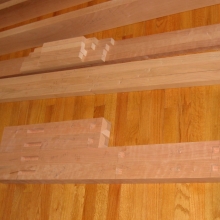 300Posts and struts ready for assembly
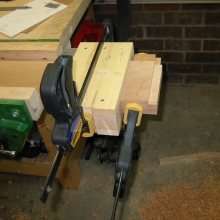 300Jig to cut the bed rail tenons.
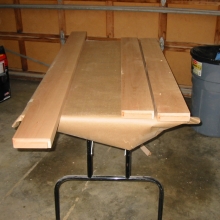 270Finished rails.
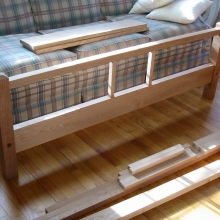 300Dry fit footboard.
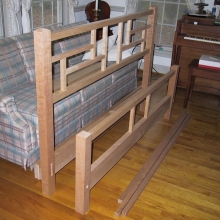 310Dry fit Headboard and footboard, everything's ready for finishing.
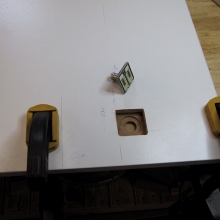 270Making the bolt hole covers was interesting.
I used drawer pulls with the Frank Lloyd Wright Prairie pattern, cut off the threaded bushing, and had to fabricate miniframes for each one. This is the jig I used to make the miniframes.
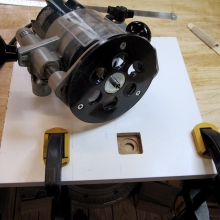 290Ready to route out the square hole for the pull faces.
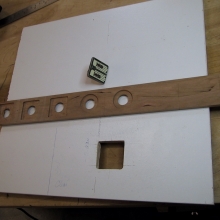 250Here is what the strip looked like after routing some of the pieces.
The pieces were done as one strip. Partly to make sure the wood matched in color and grain, but also it was easier to hold the larger piece and then slice the individual frames after machining.
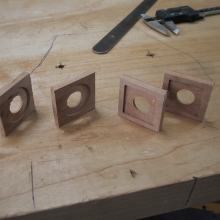 260The miniframes prior to sanding.
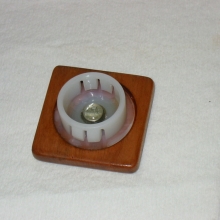 240The bolt hole cover assembly.
The drawer pull bushing was pushed through the miniframe and into a hole in a nylon hole plug. The pieces were held together with epoxy and the hole plug retains the assembly in the bolt hole counterbore.
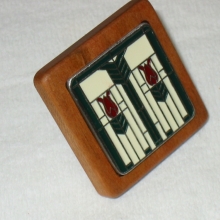 260Finished product.
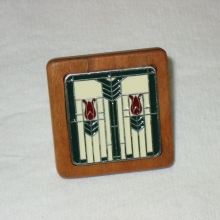 260Another view.
Leave a Reply