Here are my latest turnings. The photos are captioned and should be self explanatory.
Starting with the most current…
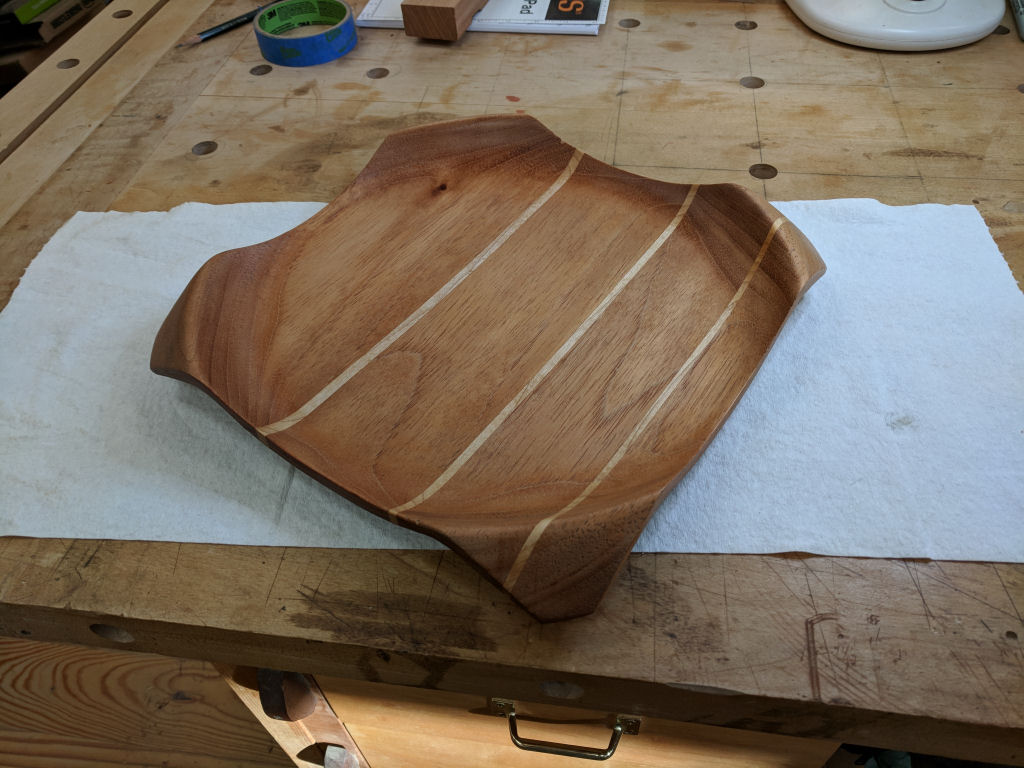
I decided to try a serving platter as a birthday gift. This is made from sections of Red Grandis separated by progressively thinner layers of hard maple.
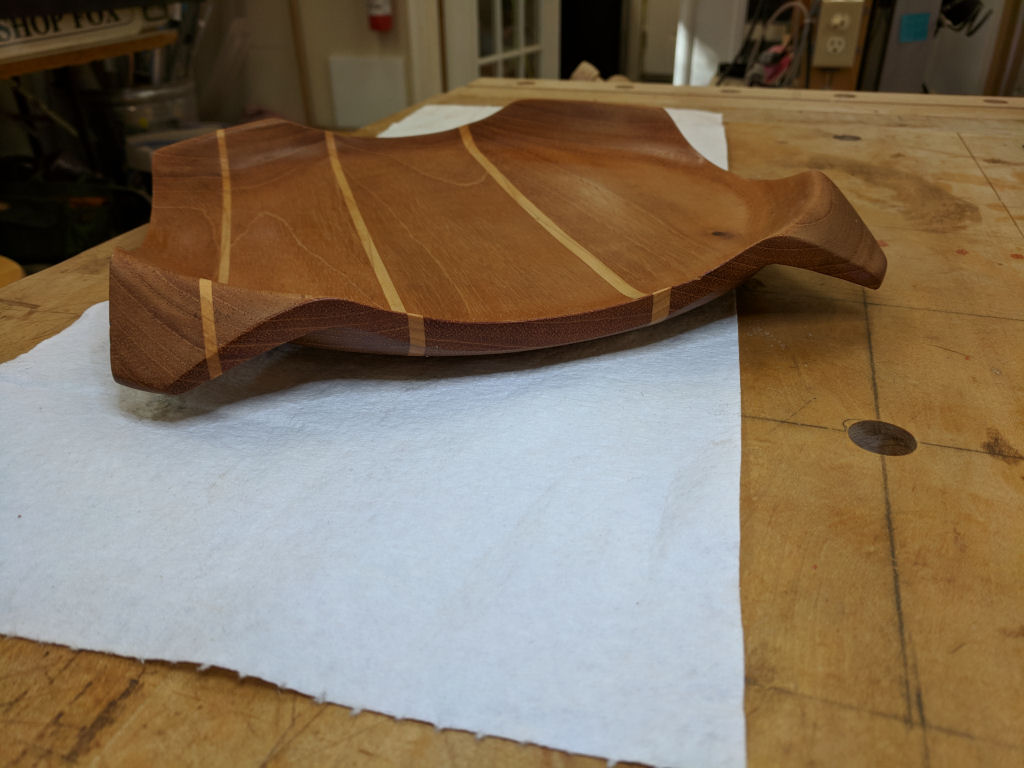
Side view showing the profile and layering.

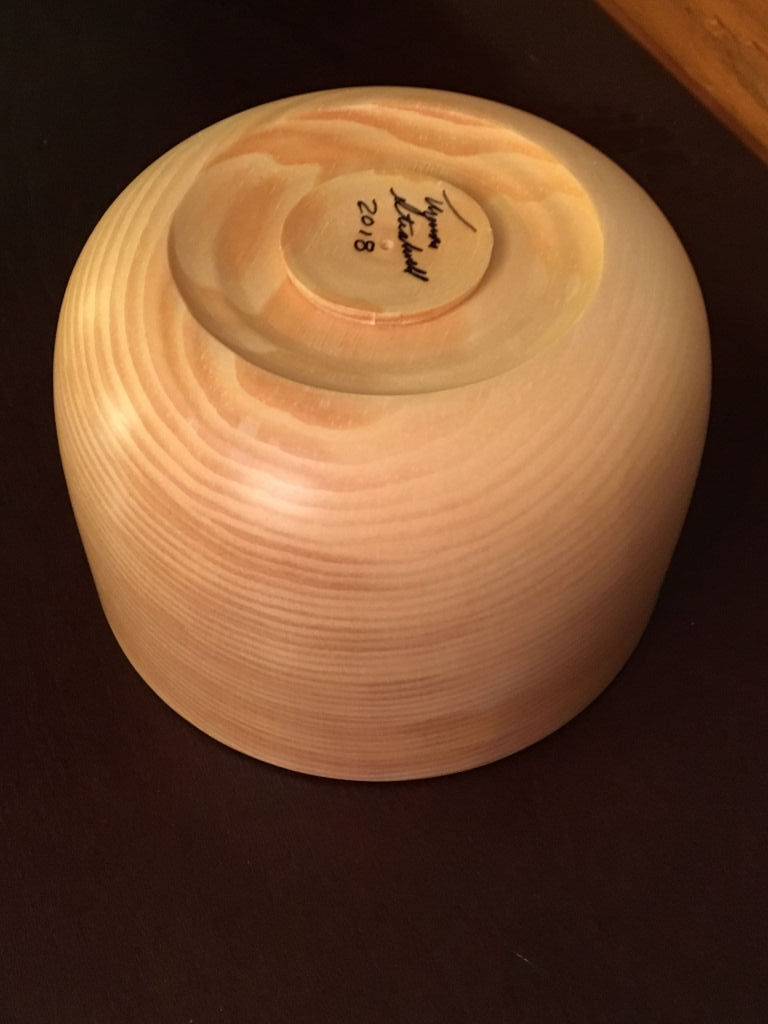
Bottom profile.
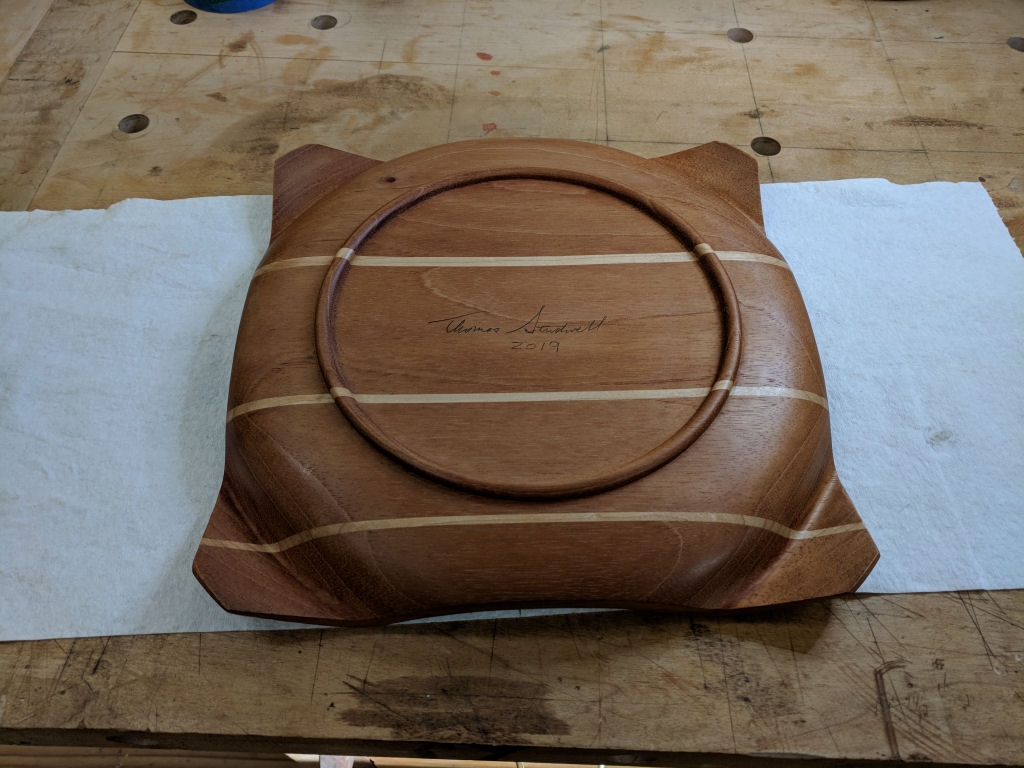
And signed, of course! I didn’t use my laser cut medallions here because I didn’t want to accidentally cut through the bottom. There ‘may’ have been enough thickness left, but I wasn’t taking any chances!
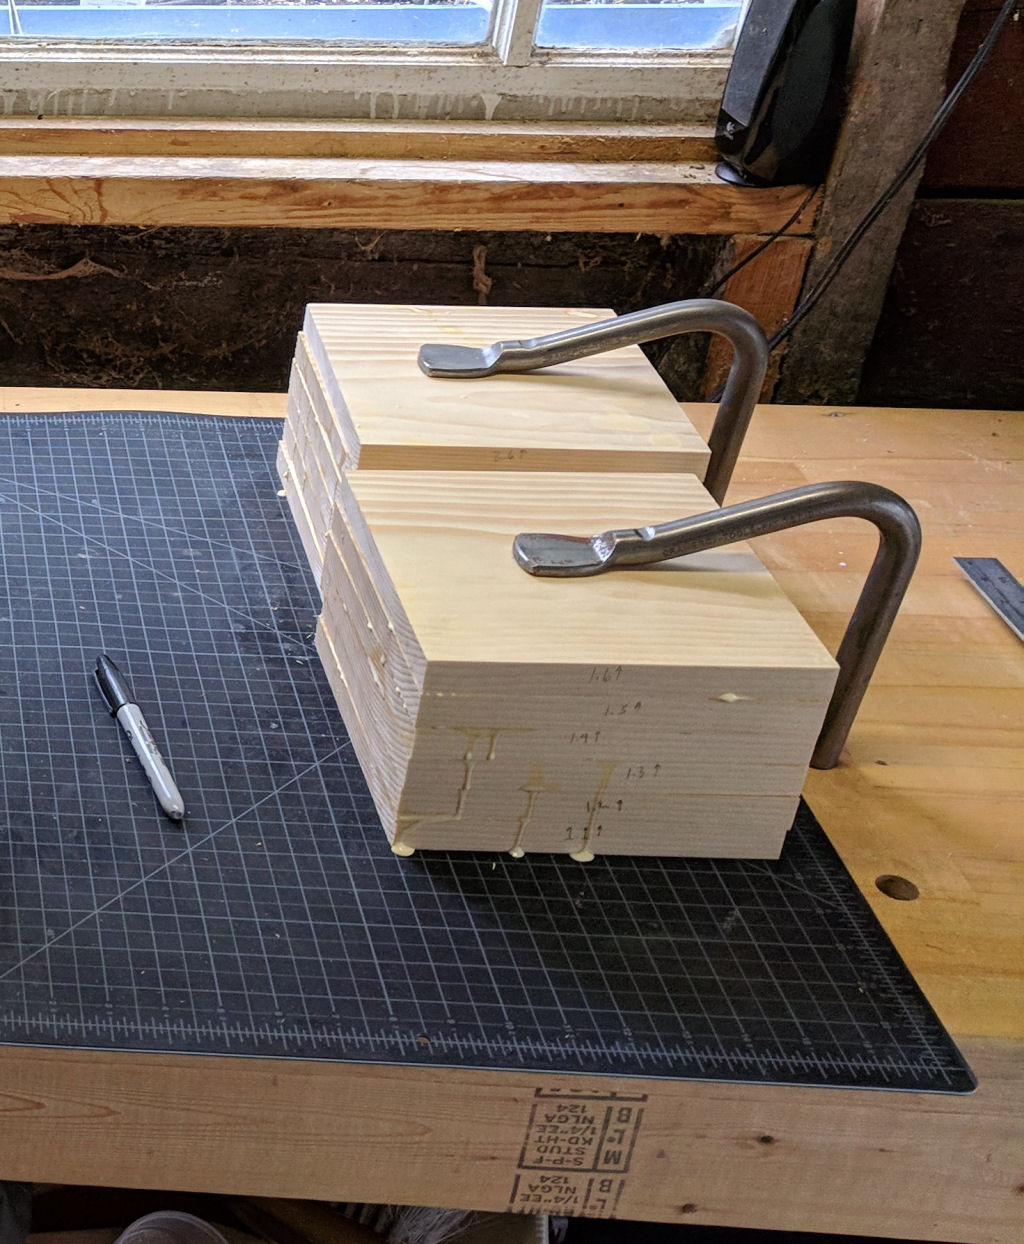
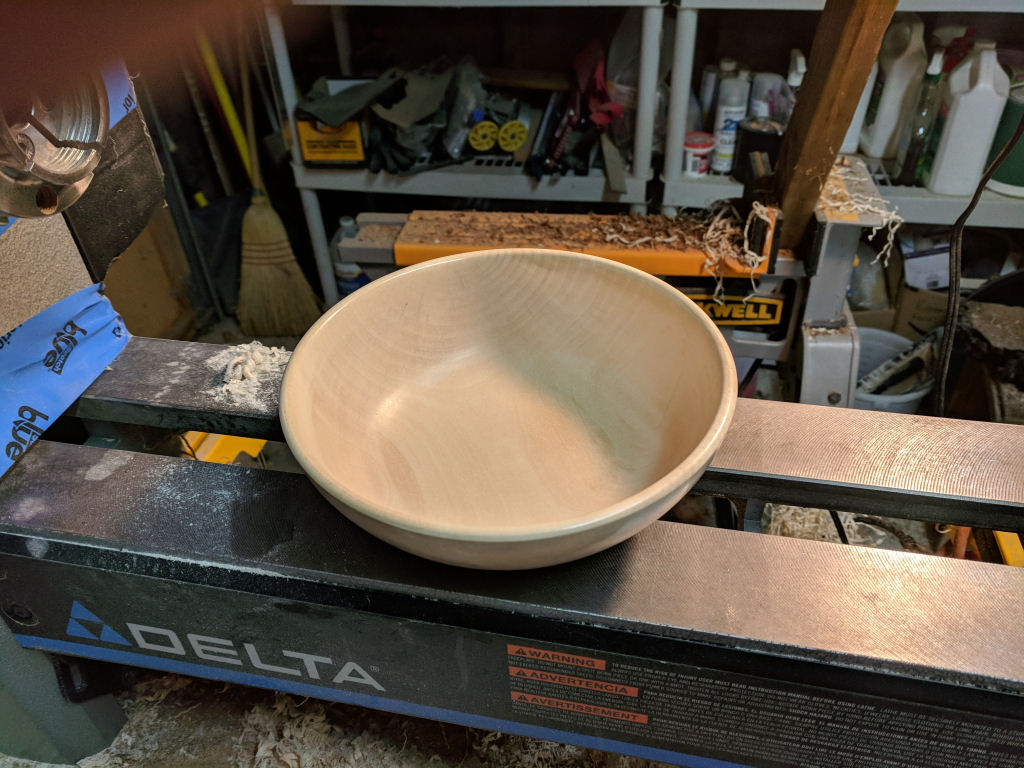
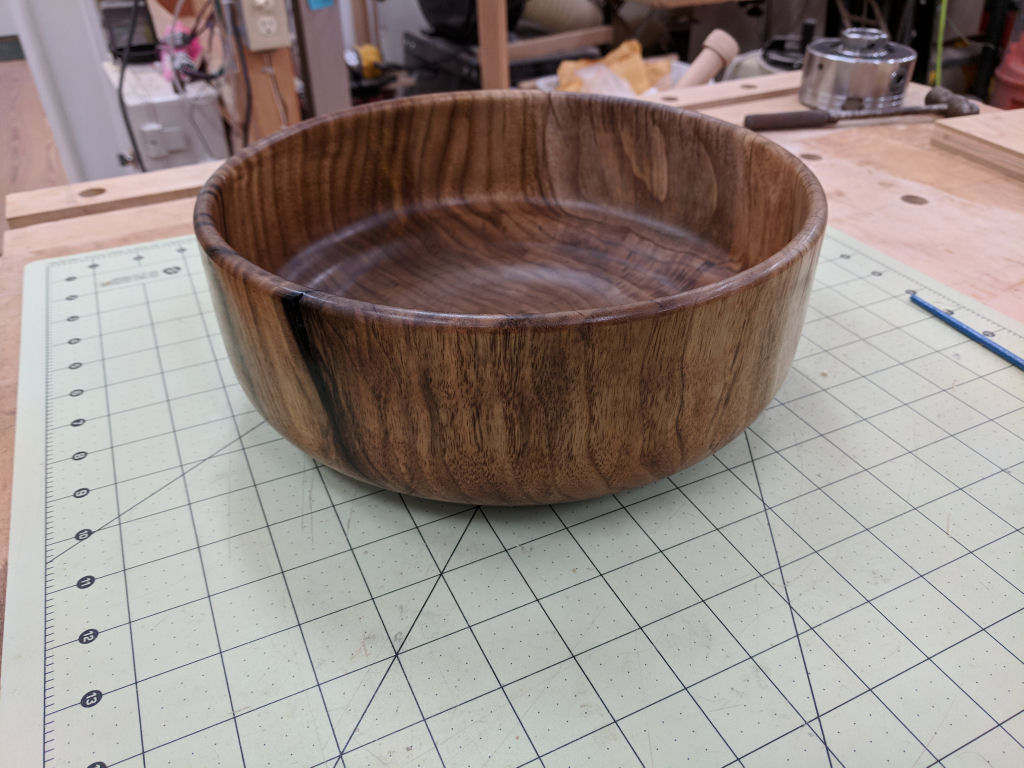
What do you do with a pile of pine boards glued together?

Why, you make a bowl, of course!

Side view.

I love the grain pattern that the stacked boards make!
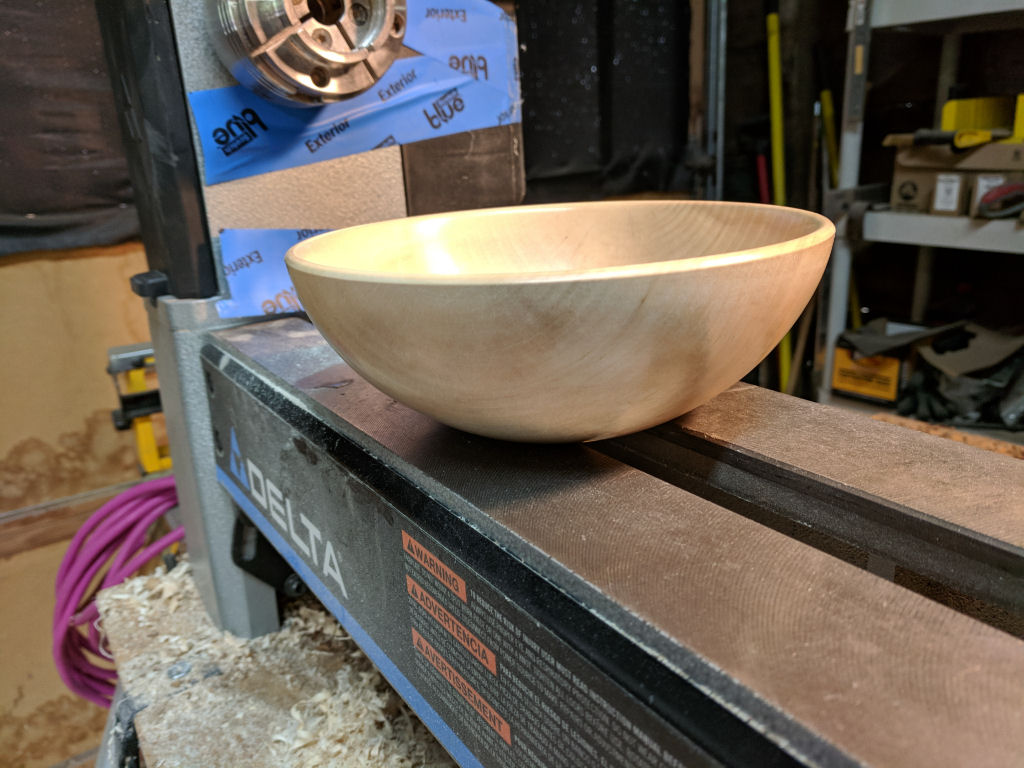
Gotta sign it, right?
By the way, this was before I was confident enough to turn off the bottom tenon…
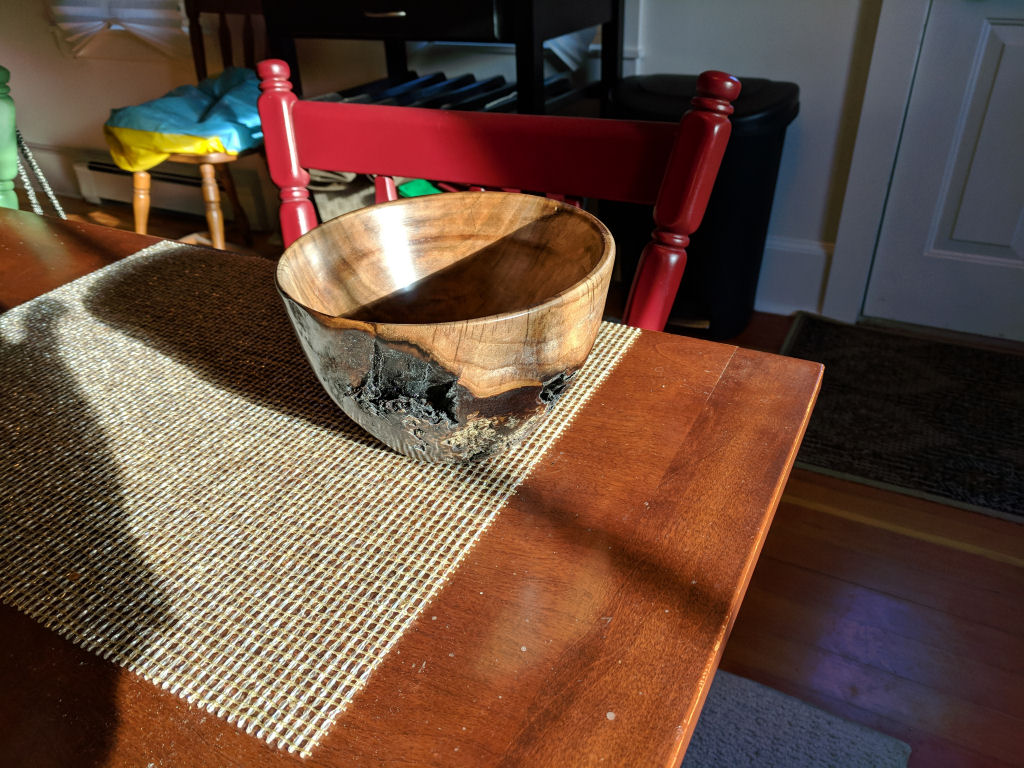
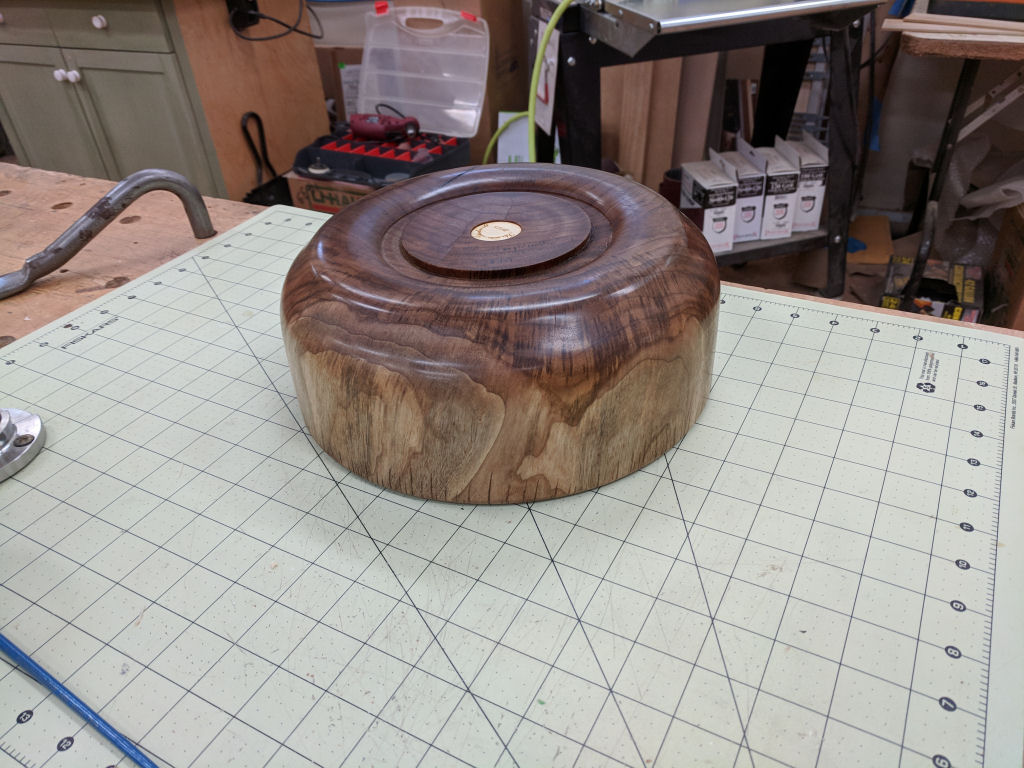
I got a nice collection of Maple chunks that my sister saved from her fallen tree. I decided to give a piece of it back to her…
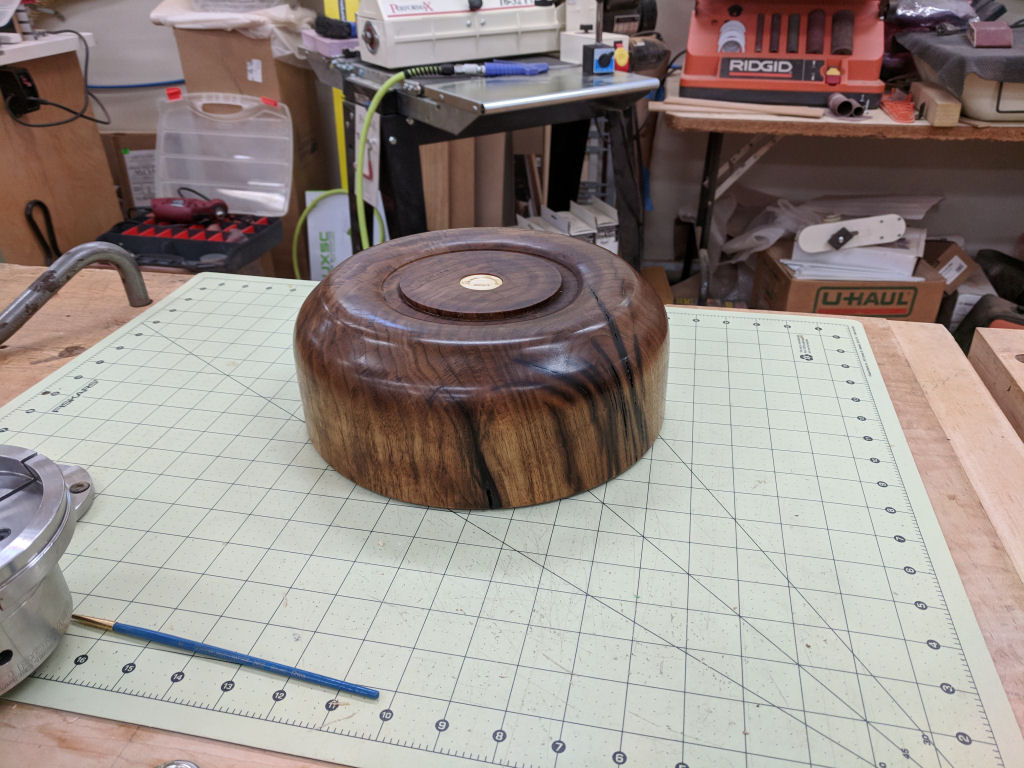
Maple Bowl, side view.
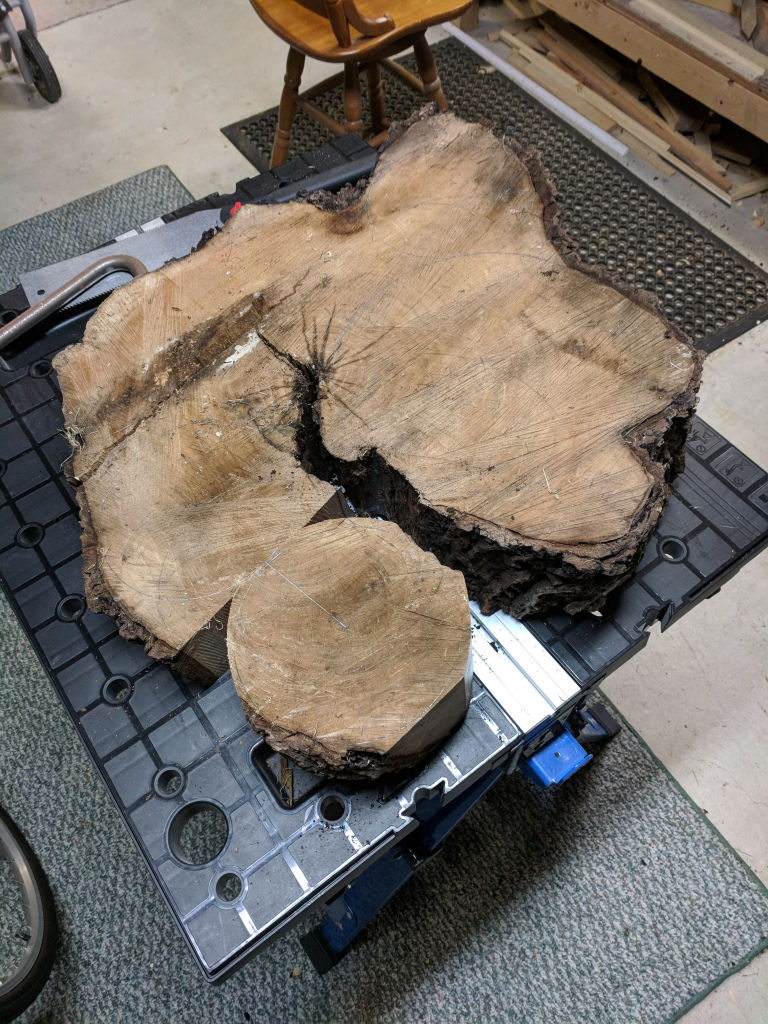
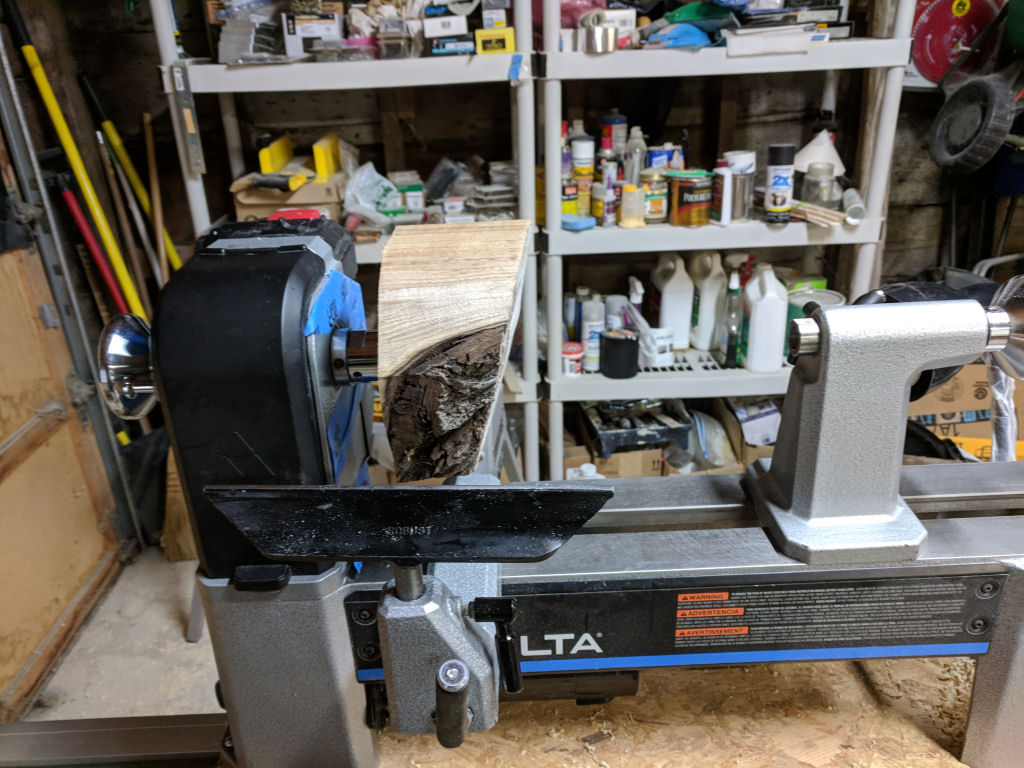
I got a slice of a butternut tree that was sitting in a friend’s pile of firewood. It seemed, if nothing else, it would be a good practice piece of wood. Note that I’ve marked into sections that could be isolated into turnings. The piece in the foreground has already been cut to a rough cylinder.
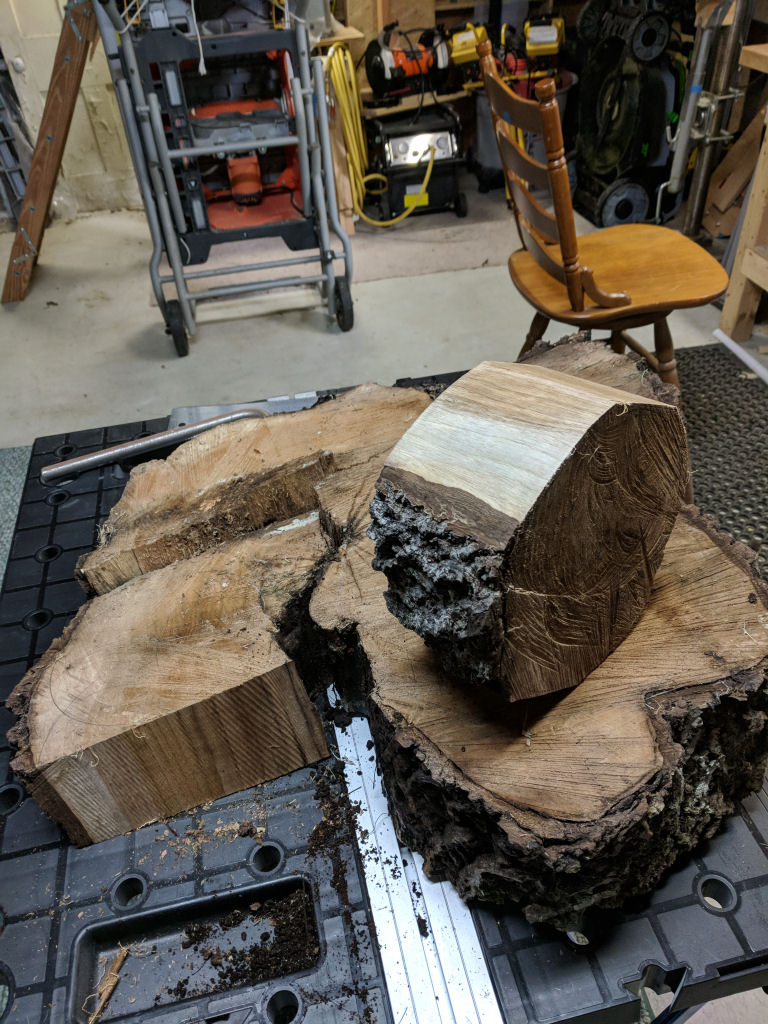
I used a sawzall to cut it into sections I could put on my small bandsaw so I could cut them into rough cylinders…

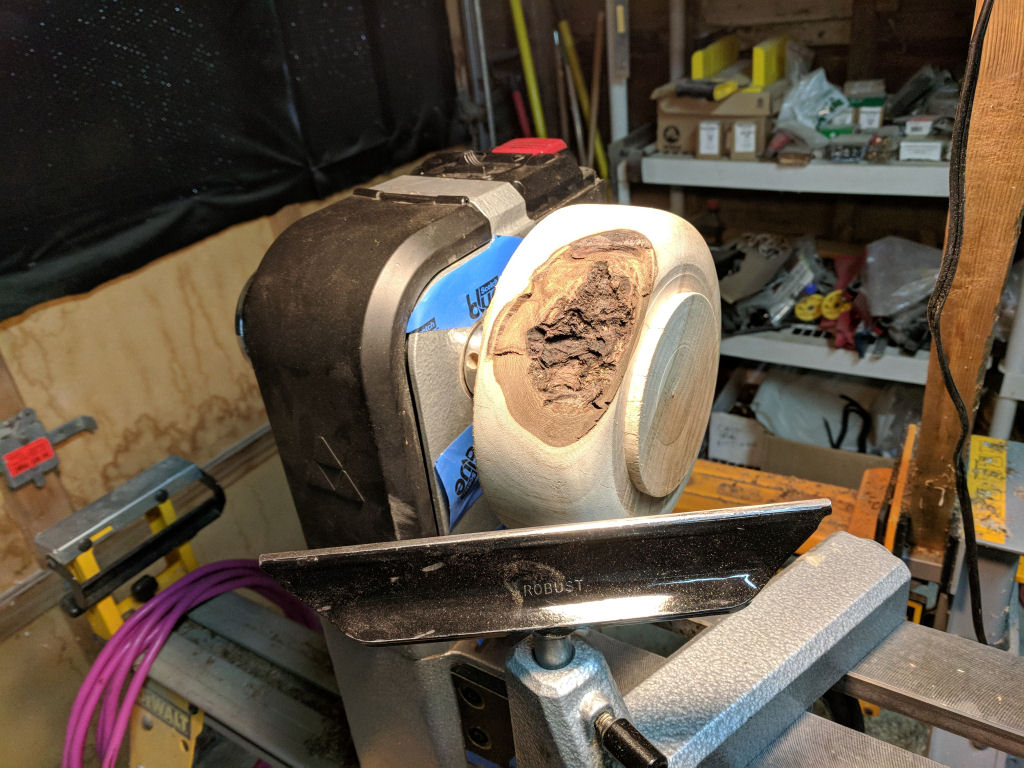
Next section isolated and cut on the bandsaw. Note that the slice of tree wasn’t cut neatly parallel. I’ll have to speak to my friend about how to cut firewood!
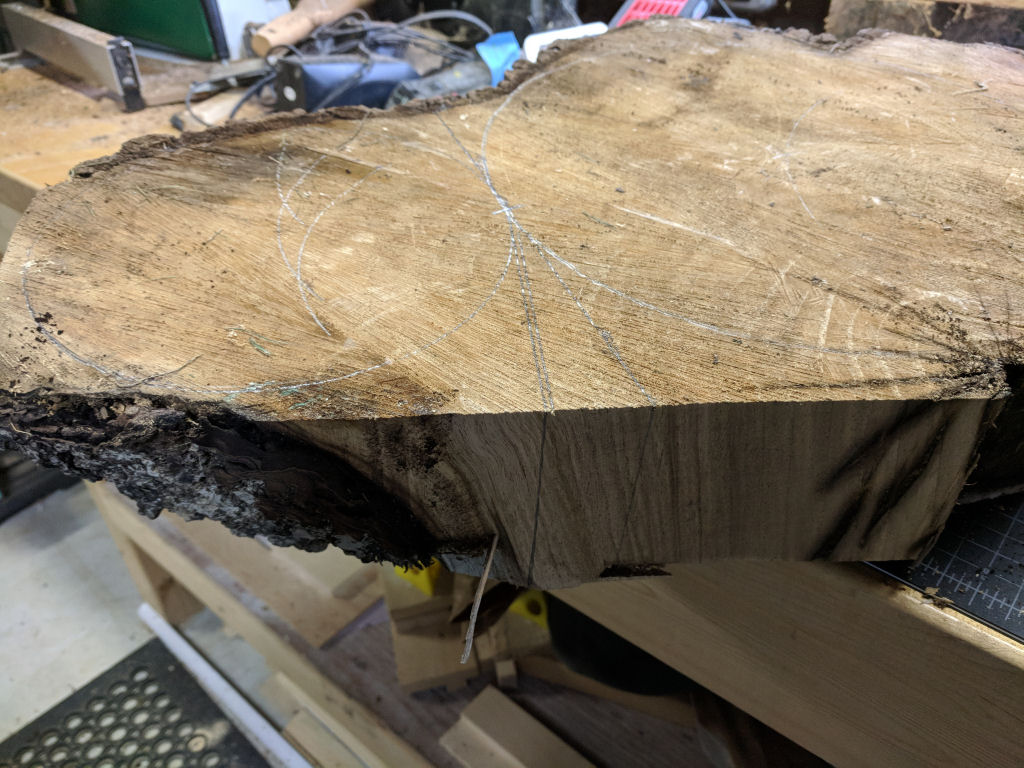
These last two sections are going to be a problem. Finding the tangent line to cut them apart and leave enough wood in both of them took some study.

Finally, the last piece wouldn’t fit in my tiny bandsaw so I had to ’round’ it by chopping off the corners with the sawzall.
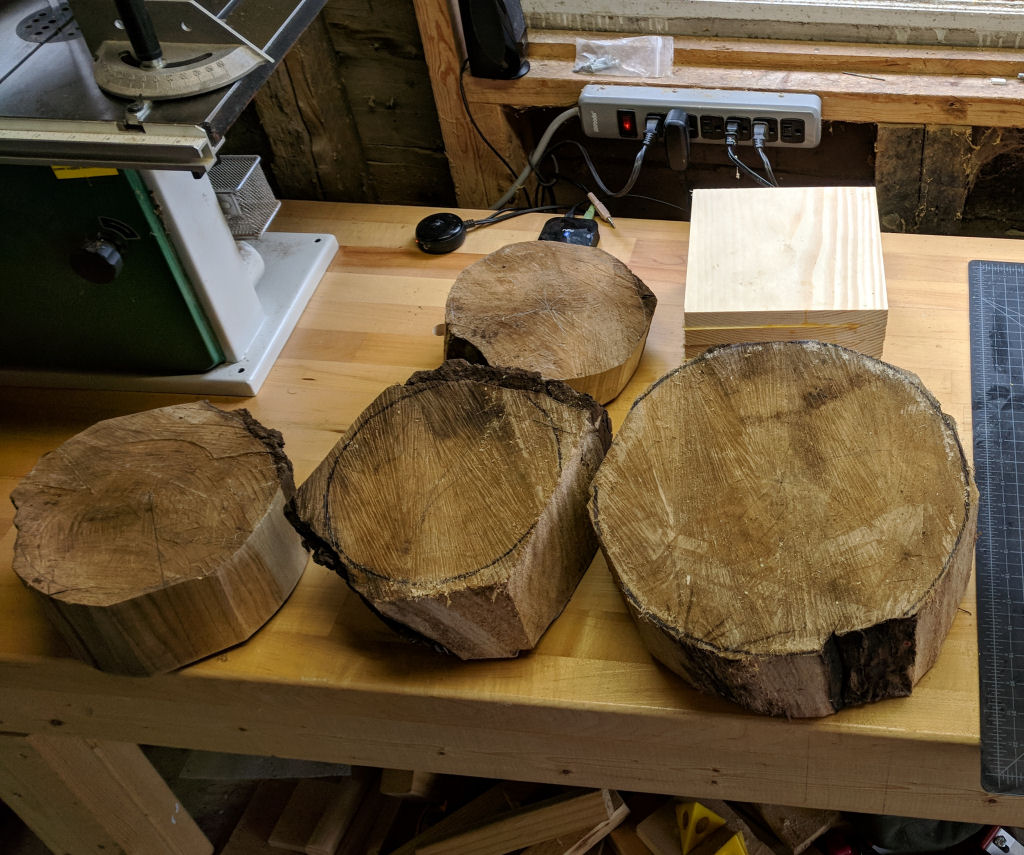
Four chunks from the original slice. Not bad. Now, let’s see what I can do with them!
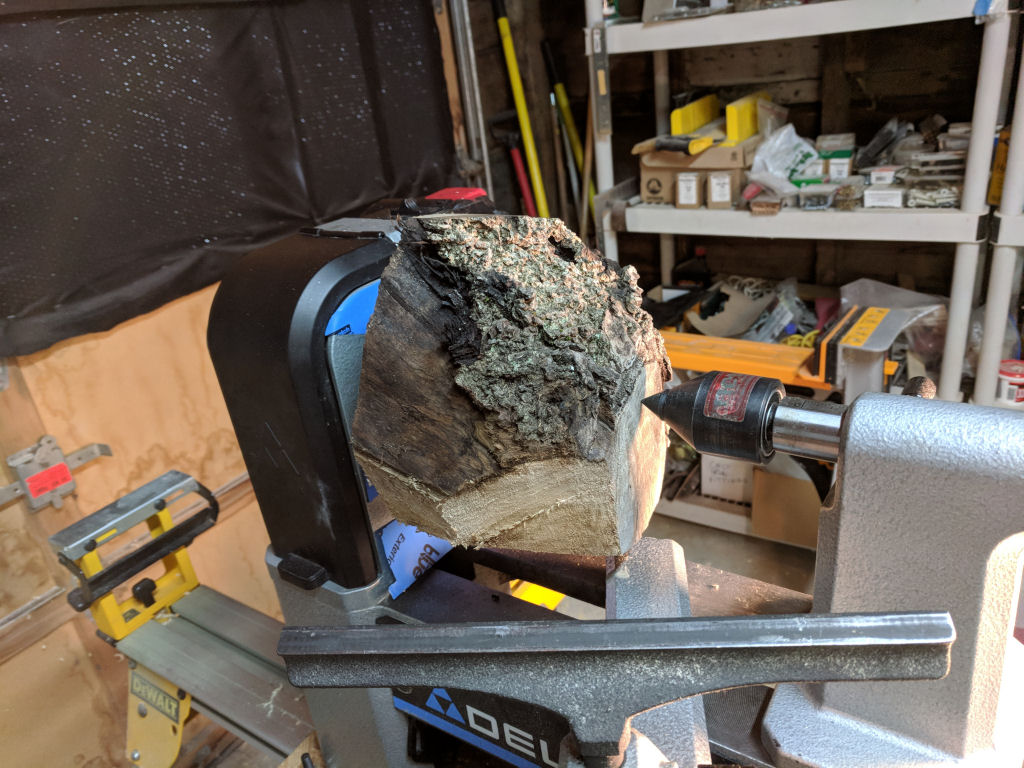
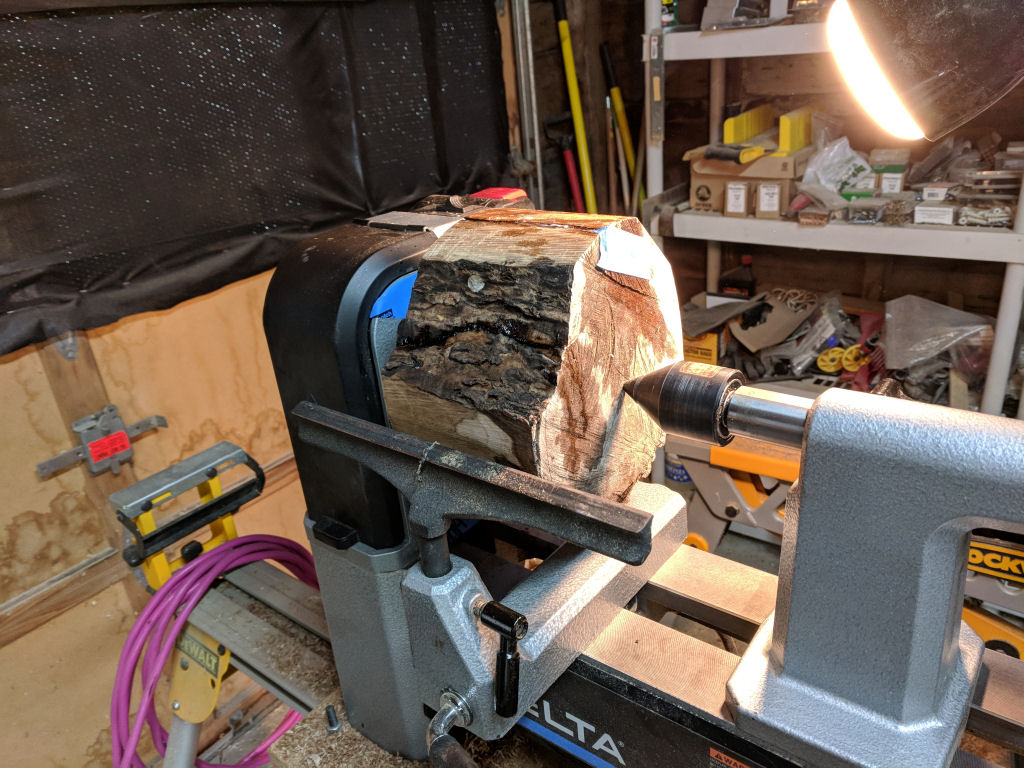
I started with one that was the second smallest. The smallest was too severely wedged for my confidence level…

Roughed down to something resembling the outline of a bowl. Pretty good start considering how much bark still remained.
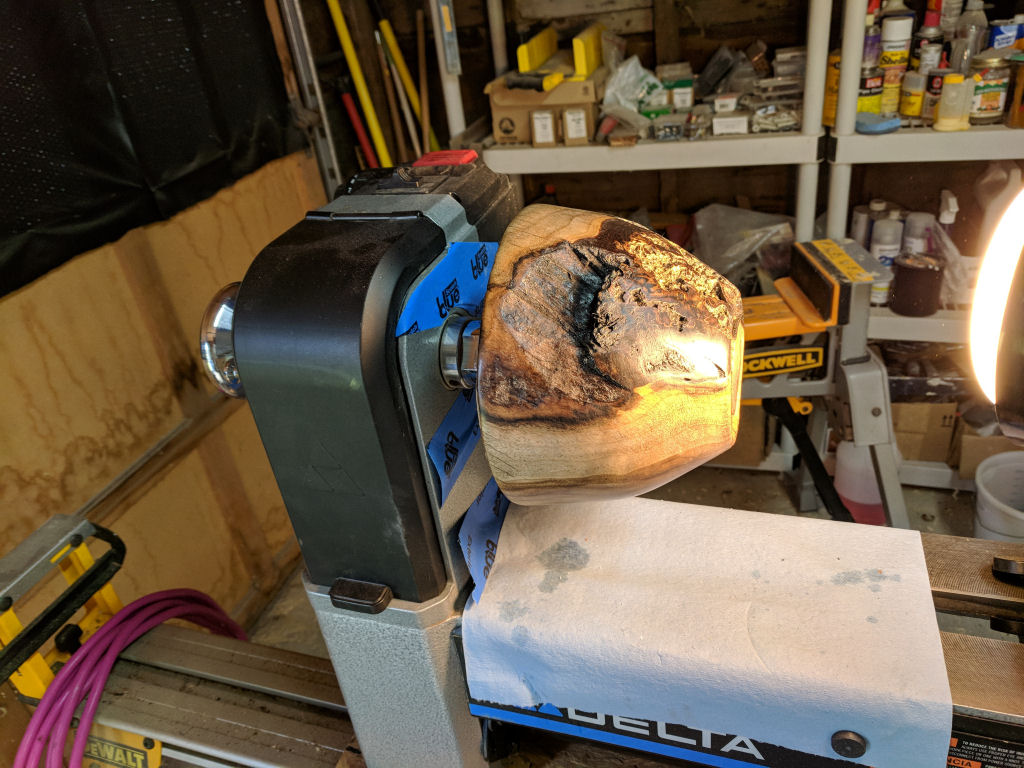
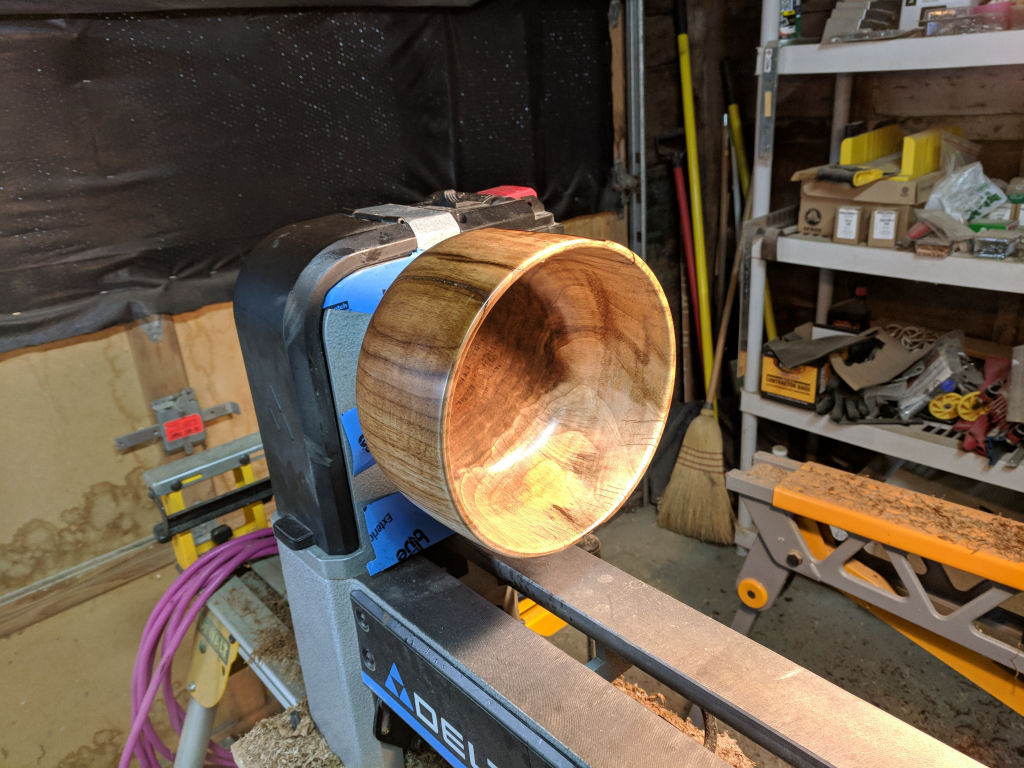
Looking pretty good. Still have to do the inside, but this is promising.
Wow! It actually came out! The outer bark and finish has a lot of CA glue holding it together, but it looks good.
Ok, let’s try the ‘wedgie’ one!

Highly wedged and lots of bark! Don’t know about this one…
Gosh, maybe it will be ok! Lots of bark, but it is interesting!
Now on to the midsized one… this one is fairly ‘civilized’, but took a lot of CA glue to seal the large cracks in it. You can see the masking tape on the surface to keep the CA glue from running out before it cured!
Yup, looks like this one will come out too!
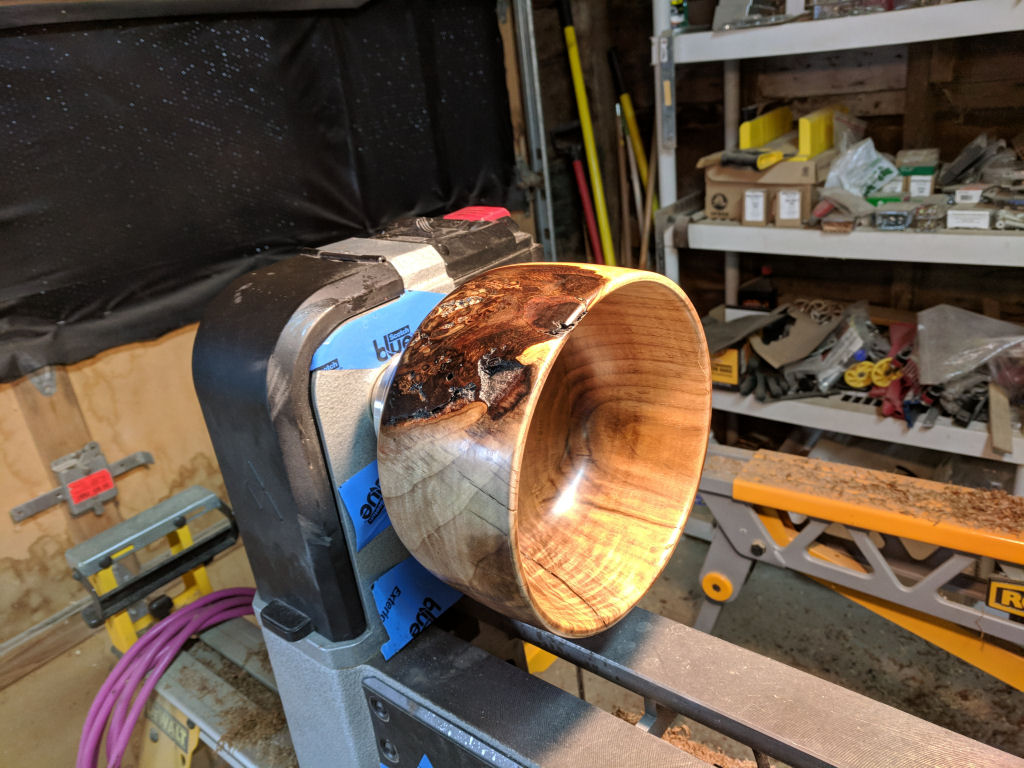
Another view showing the bark and cracks.
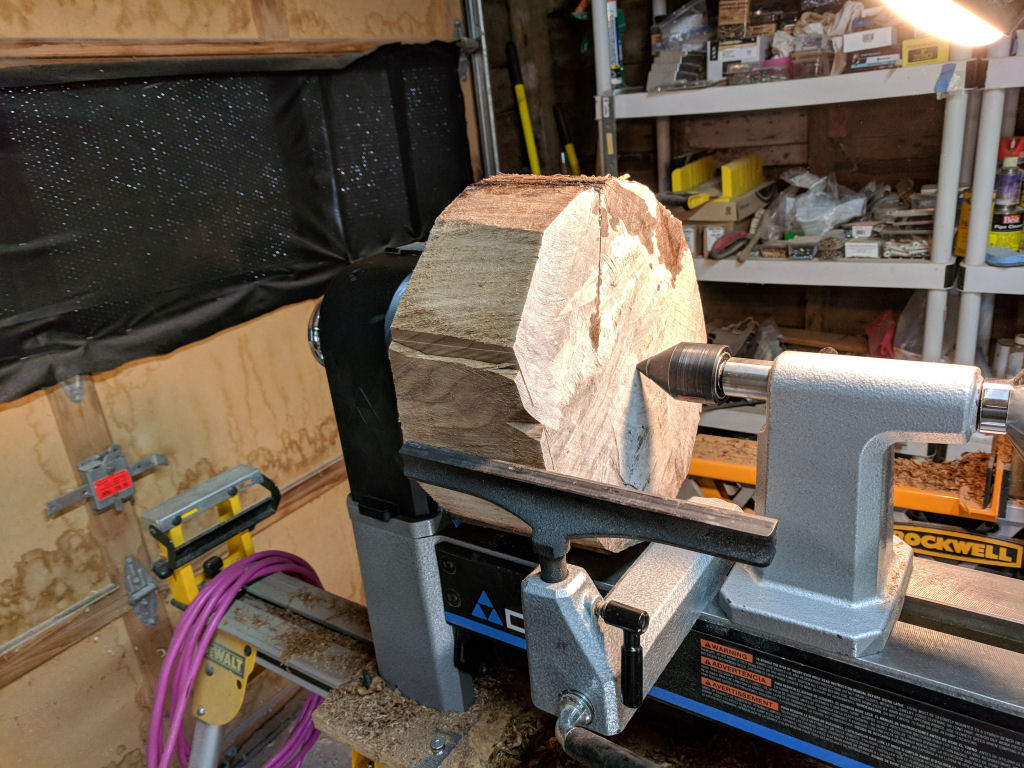
Finally on to the big chunk! Hmmmm, this may be a problem for this little lathe! That chunk is pretty heavy and it is NOT balanced!
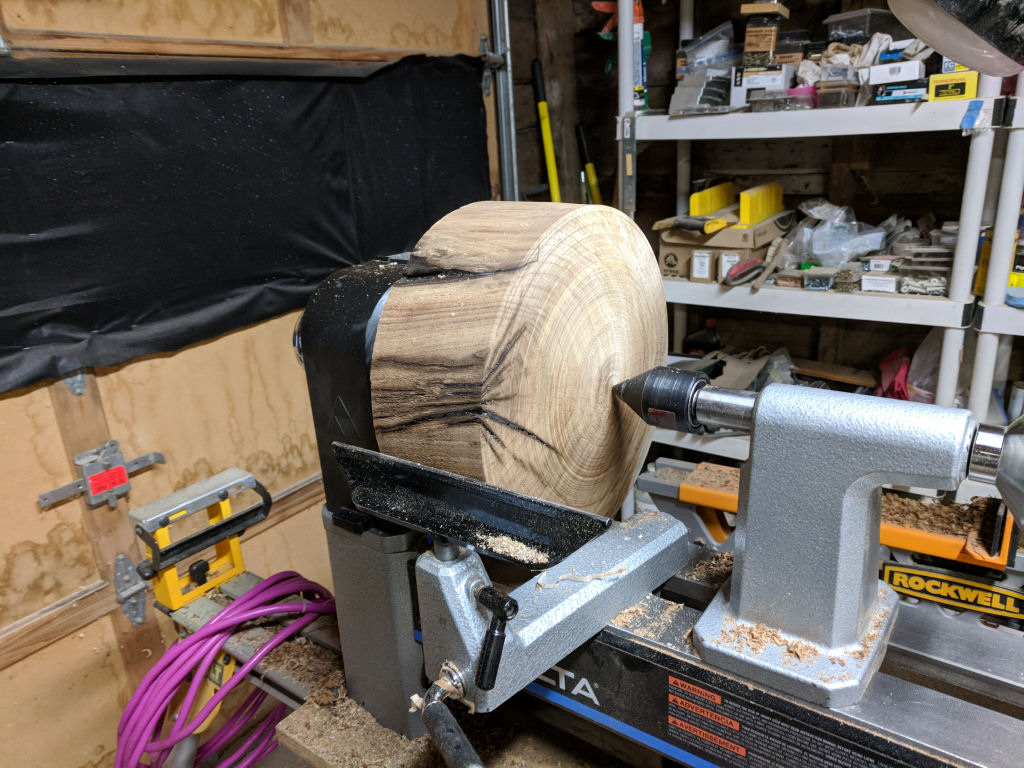
Well, I managed to get it round, but it was still out of balanced so I couldn’t get the speed high enough for me to get a good finish.
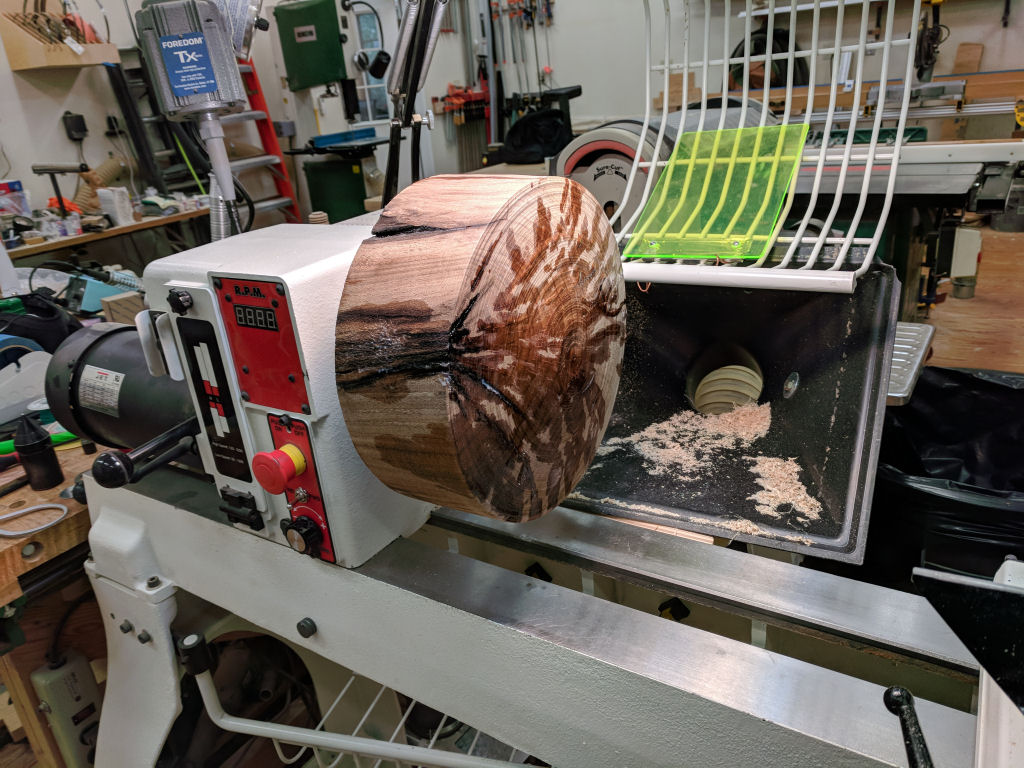
So, I brought it back to HIW workshop to finish on the big lathe. Note more CA glue to fix cracks that occurred since rough turning.
I had to use my big faceplate and big screws to mount it as I wasn’t confident that it would hold together with all the cracks.
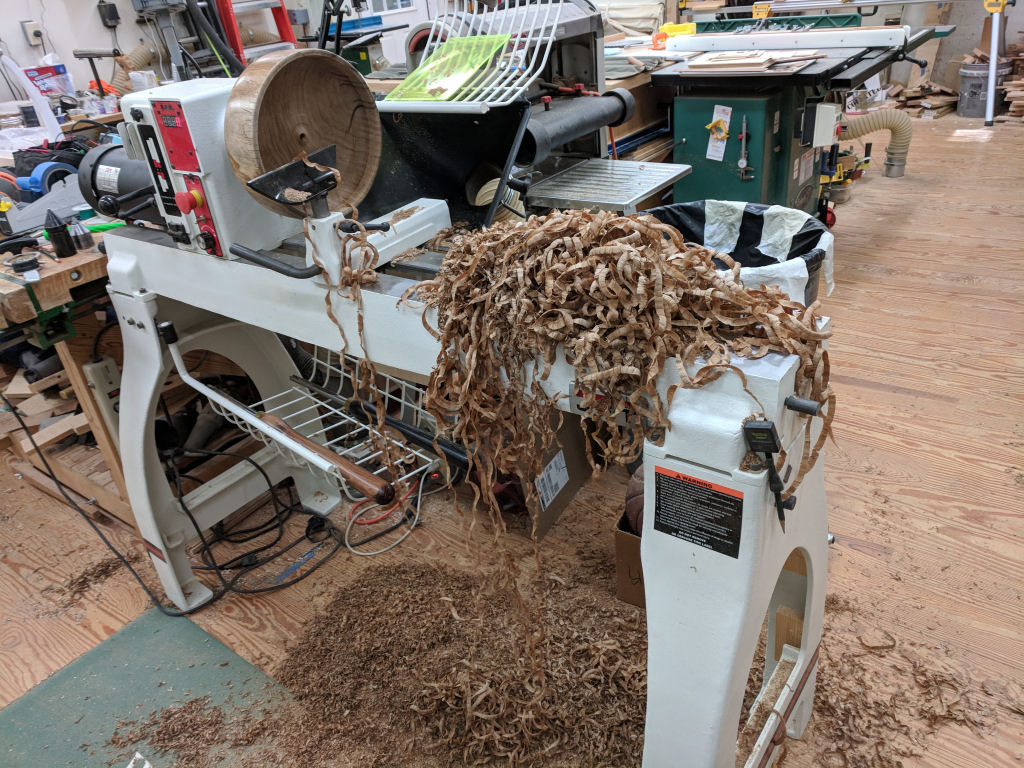
I’ve heard that you know that you’re cutting correctly when the shavings come off in streamers. Well, this pile was from one pass where the streamers literally flew over my shoulder while turning. It was quite thrilling!
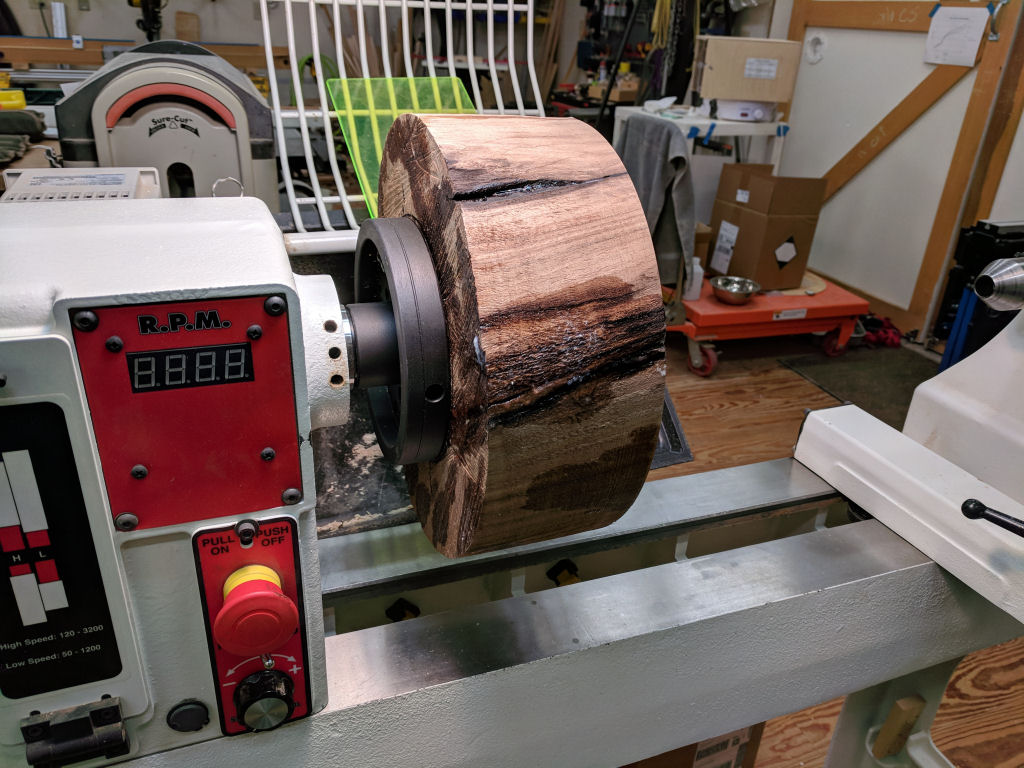
And it came out! I decided to make the mounting foot a ‘design detail’ because I didn’t have the set up to turn it off reliably.
Butternut is a lovely wood. I’m glad I rescued this piece from the firewood pile!
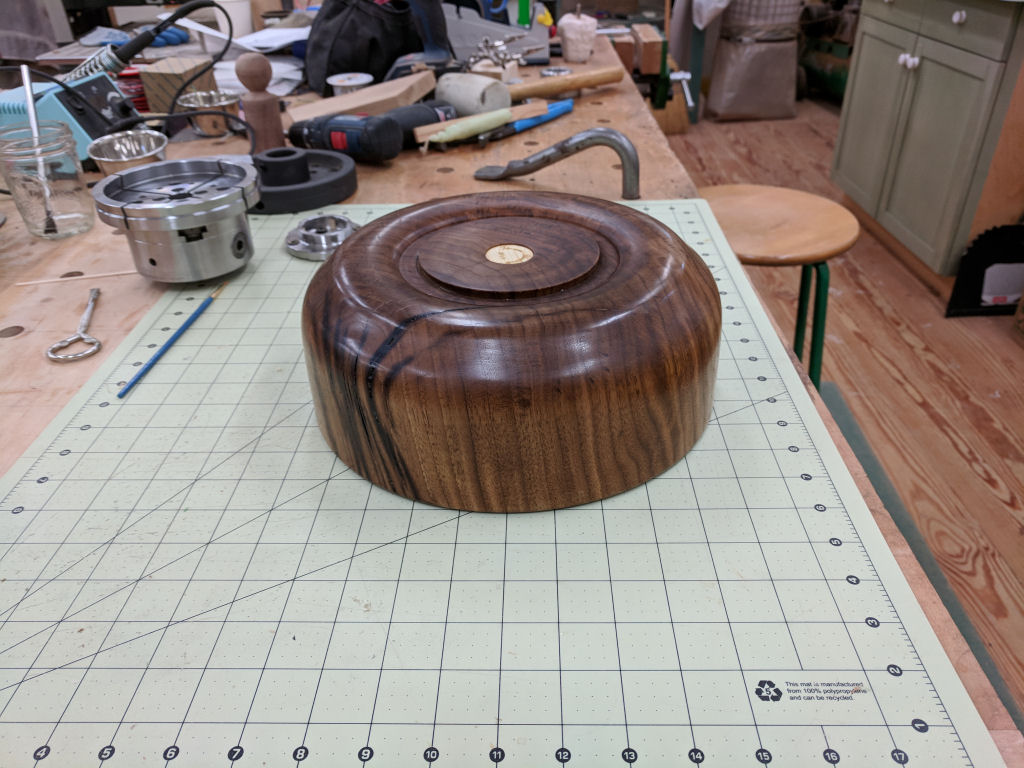
Another side view

Laser engraved and cut ‘signature’ medallion.
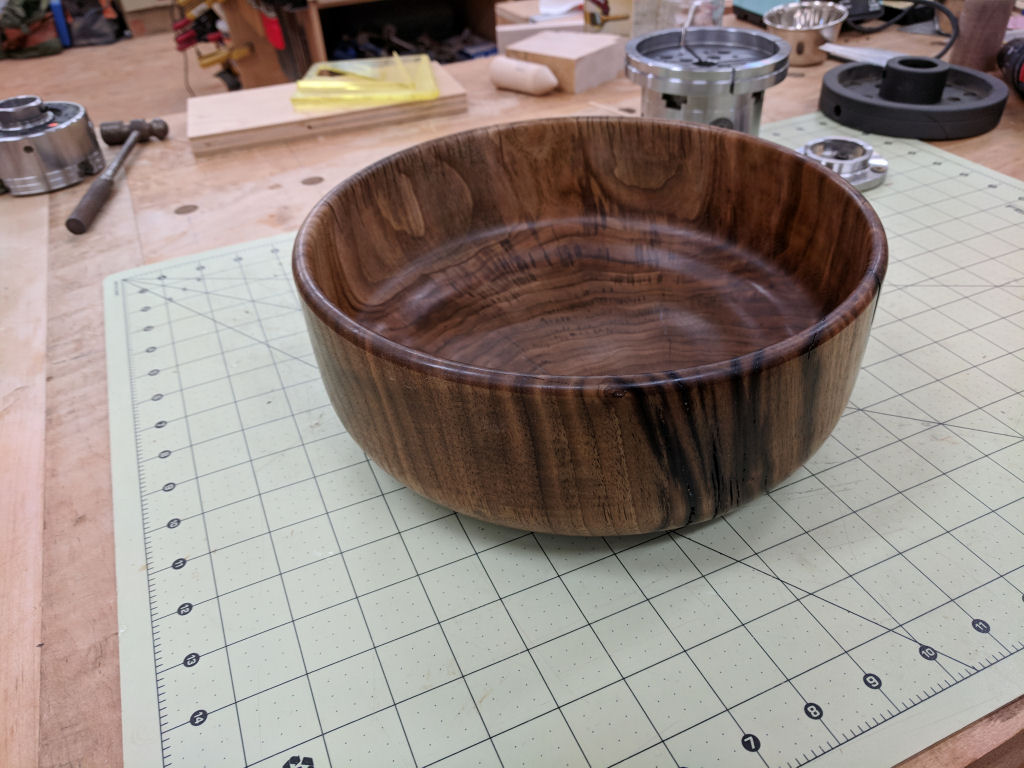
More lovely character of this piece.
One final view.
Leave a Reply