When installing hardwood flooring, especially long pieces (mine were up to 12 feet long), you will invariably run into boards that are somewhat ‘less than straight’ ![]()
Installing these are actually pretty easy, if you make the right jigs.
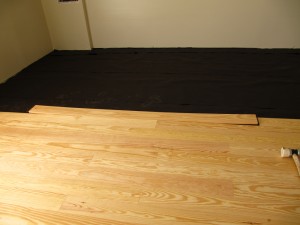
Here is an example of a board that is bowed length-wise (over 3″ of bow) and width-wise (by about 1/4″).
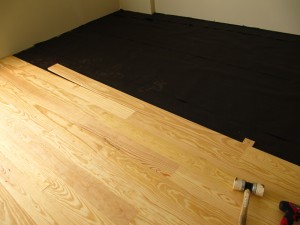
The first step is to flatten the board enough to get its groove positioned into the floor’s tongue. To do this, align the end closest to the last installed board and use a small tie down block to hold the end in place.
Once that end is held down, you can step on the far end and tap the board into the floor’s tongue. If the board isn’t bowed in any other way, then you can tap it home and staple it down, starting at the end furthest from the block. However, in this case, there was a slight bow width-wise so I had to install a jig I made to press the bow against the existing floor.
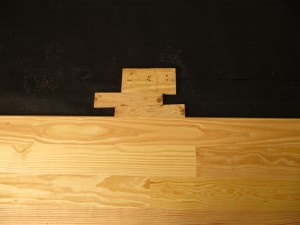
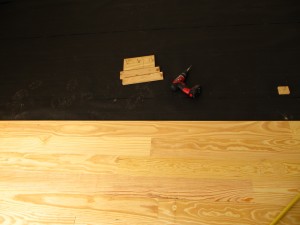
In this case, since the bow was fairly small, it only took a couple of taps to wedge the board into position. You can see that the jig has three pieces. One is just a hunk of flooring to anchor to the subfloor. The other two pieces are cut from a single scrap of flooring. The cut is along the length of the scrap at a very slight angle (basically a 1/2″ taper from side to side). With this taper you can compensate for up to 1″ of bow (I had some that were even worse than this – a crowbar comes in handy for these). Normally I would make this kind of cut on a table saw since you want the edge of the cut to be straight and smooth. Since my table saw is in storage until the Workshop is done (Classic Chicken and Egg problem) I used a jig saw and then a block plane to straighten and smooth the edges.
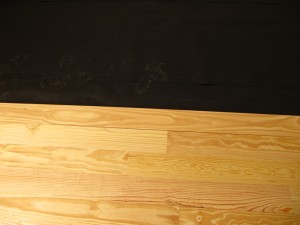
With the jig in place and the wedges shifted to press the bow against the existing flooring, it was a simple matter of tapping the board into position horizontally and stapling in place.
Perfect!
Leave a Reply