When assembling a big piece of equipment, like a Crane Hoist that weighs about 300 lbs and is over 8 feet tall and long, it helps if you either have 3 other guys to help you or you already have a Crane Hoist to help you lift and hold the pieces into position while you bolt them together.
Having neither of these things, then the next best thing is to CAREFULLY construct the pieces as sub-assemblies that you can lift and try to construct the entire item in piece wise steps.
Here is how I assembled the Crane Hoist I’ll need to assemble other Big Ass pieces of equipment in the future…
After assembling the two ends, the tricky part was attaching the overhead I-beam to the end bases. I could hold one base vertically in the workbench vise, but didn’t have anything solid or stable enough to hold the other base exactly the right distance from the opposite end. Plus, trying the hold and align the long I-beam while trying to attach bolts to one end was definitely not a safe prospect.
However, recognizing that the triangle formed by the I-beam and one of the bases would be solidly stable and that I could probably manage to lift HALF the weight of that sub-assembly (the other HALF of the weight would be borne by the floor and Workbench), I decided to start with this:
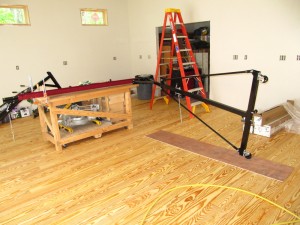
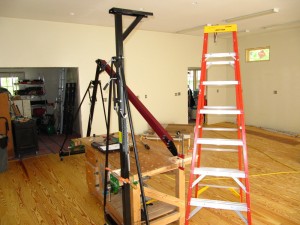
I rested the I-beam and the top of the End Base on the Workbench to assemble these together. Note the two F-Clamps on the left side of the Workbench. These serve two purposes. During this step, they keep the I-beam from sliding sideways and potentially falling off the Workbench during assembly. They also hold a couple of blocks of wood to the bench. These will be used in the next step…
Once the I-beam and one end are assembled, the assembly can be rotated to a partially standing position. Note that the blocks of wood, clamped to the Workbench, keep the end of the I-beam from sliding off the end of the Workbench.
With this setup stable, it was a simple matter to roll the base so that the I-beam was, once again, aligned with the length of the Workbench. Again, note the blocks of wood keeping the I-beam from sliding off the end of the Workbench.
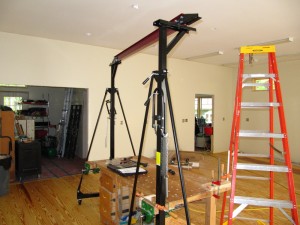
Note that the free End Base is now held upright in the Workbench vise, ready to attach the Beam assembly.
Another view prior to assembly. Note the F-Clamp holding the post of the Base solidly into the vise (I didn’t want any mishaps).
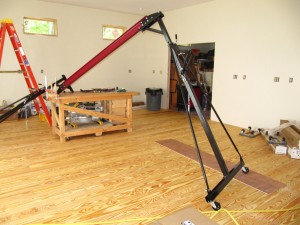
With this setup it was then very easy to lift up the end of the Beam and, given the rollers on the attached base, align the end of the Beam with the Base held in the vise.
I only inserted one bolt and loosely attached the nut, but this was enough to provide a pivot point (all the weight was borne by the two bases, not the bolt) so…
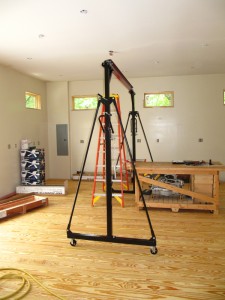
I just needed to rotate the end attached to the beam until the beam was aligned with the second base, bolt it down, and…
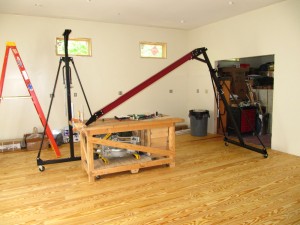
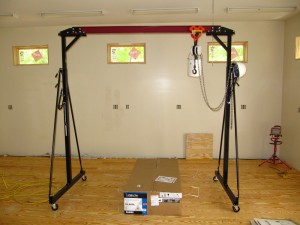
Done!
Note Hard Hat, ready to use!
Leave a Reply