As I’ve moved into smaller and smaller electronic devices in my projects (and gotten older) I find that I can no longer reliably solder some of the components to the printed circuit board by hand. I discovered that others had used toaster ovens for reflow soldering (Wikipedia link) where the printed circuit board solder pads are lightly covered with a solder paste, the surface mount components are placed on top of the paste, and the whole circuit board is heated in a sequence to solder all the components at once.
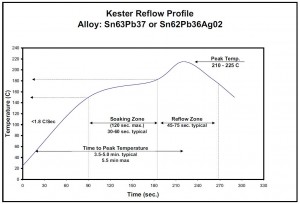
The sequence is supposed to look something like this (from Kester EP256 datasheet):
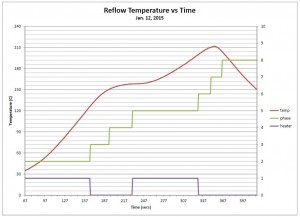
Here is what I was able to get with this oven:
Close enough! It takes a bit longer to reach target temperatures than the professional equipment, but mine uses FAR less power, and, what the heck, why do I care if it takes 5 minutes instead of 4 minutes to solder as many circuit boards as I have to do?
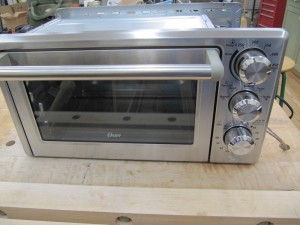
Here’s what the oven looks like:
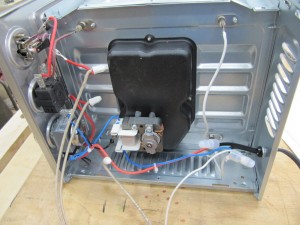
To convert, I had to take off the cover and rewire the controls. I disconnected the silly neon lamp on the front of the oven and used its wires to power my controller and then cut the main power line feeding the thermostat and branched off both sides to the solid state relay I use to control the heating element in a more sophisticated way.
Even though I have an embedded computer controlling the heater, I decided to leave the original timer and thermostat in place to provide a layer of safety to this tool (even though it won’t be left unattended – unless I have to go to the bathroom, the UPS man is delivering something, etc etc etc).
To monitor the temperature accurately, I installed a stainless steel probe K type Thermocouple.
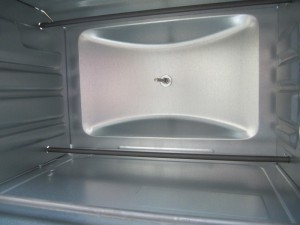
Inside of the oven with the shelves removed. You can see the stainless steel thermocouple that monitors the temperature right at the tray holding the workpieces.
Here is how it is mounted from the back. I was fortunate that this particular oven had the extended back (to provide room for the probe) AND had a little bumper installed exactly where I wanted to put the probe! I just removed the bumper and ended up with a pilot hole to drill for the probe!
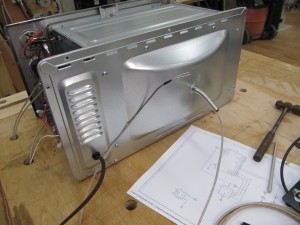
View from the back. Note how the oven extends outward, providing room and a pilot hole for the probe.
The new controller was built from an Arduino type processor called ‘Moteino‘. It is a very small circuit board and usually has an onboard radio for wireless applications, but, in this case, I didn’t need the radio. It’s very easy to program this module, very small footprint, and, short of making my own PCB, about as low cost as I could get! Of course, now that I have a reflow oven, I might be able to make my own board…
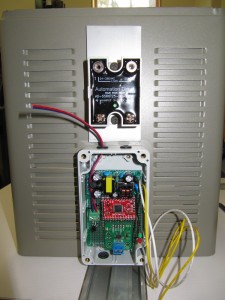
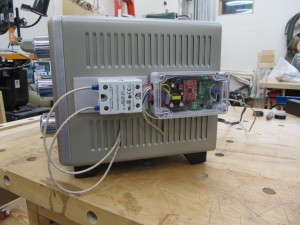
Mounted the new controls on the side. Shown is the new controller and solid state relay, which switches power to the heating element, mounted on a thick piece of aluminum to absorb any heat it generates.
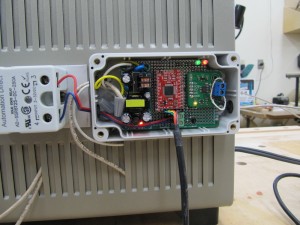
Close up of the controller. The red circuit board is the ‘smarts’ of the device while the circuit to the right converts the thermocouple signal to an accurate digital value used by the controller.
The red and green lights in the upper right are used for status. The red light’s intensity is proportional to the current temperature in the oven. The green light flashes based on which phase the sequence is in. And BOTH lights flash demandingly when I need to open the oven door to accelerate the cool down.
Leave a Reply