Won’t spend a lot of time here today, but here’s a sampling of this year’s Christmas presents that I’ve made:
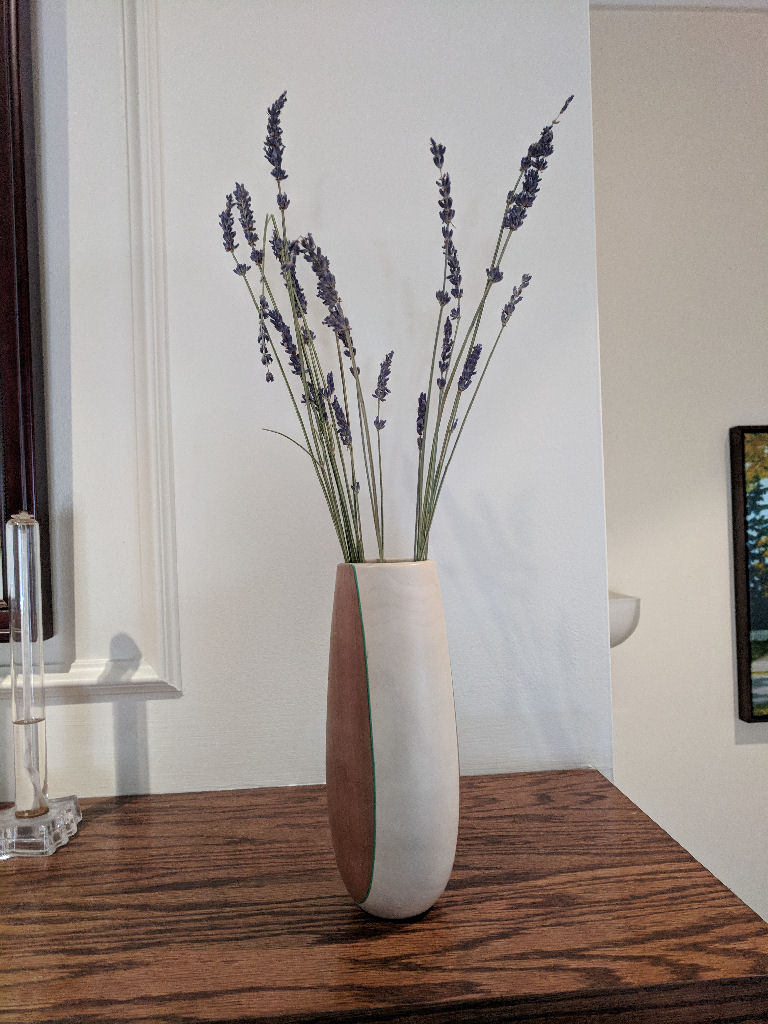
Bud Vase turned from Holly and Cherry.
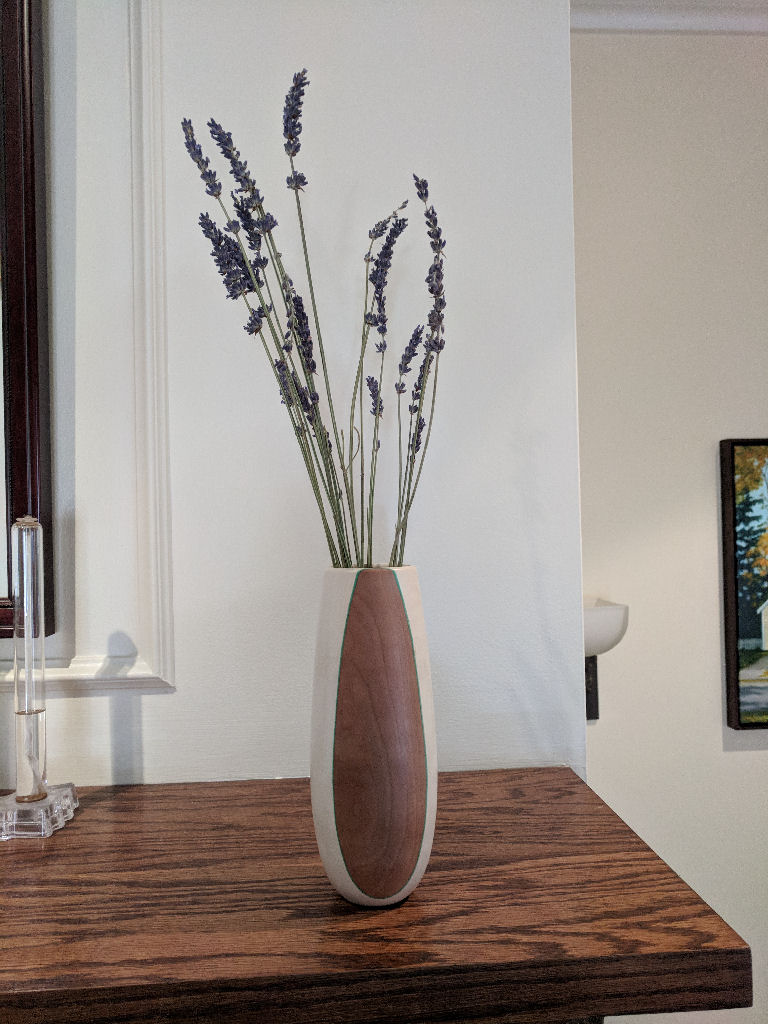
Bud Vase showing Cherry lamination.

Bud Vase bottom detail.
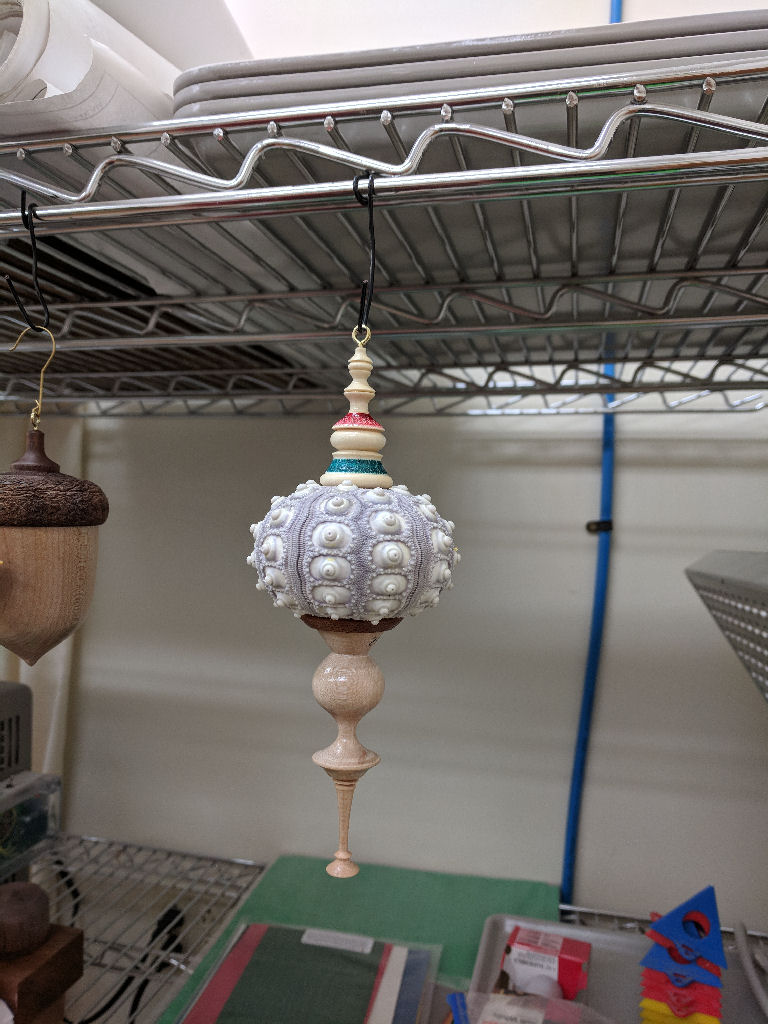
‘Sputnik’ Sea Urchin ornament.
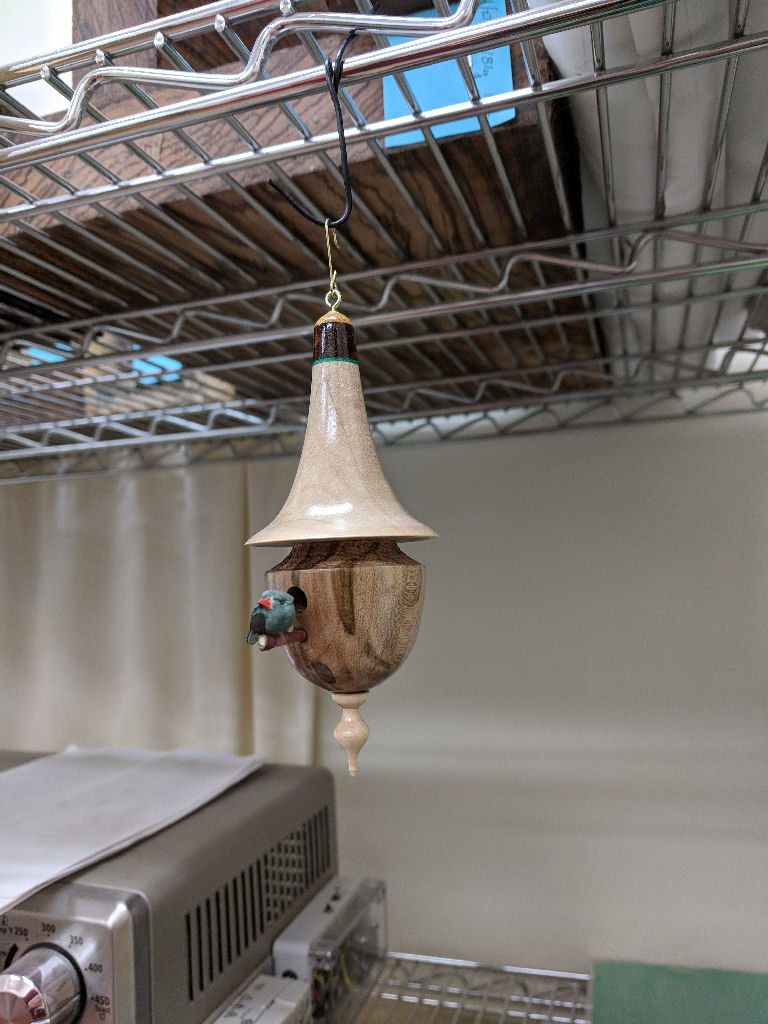
‘Dale Nish’ style Birdhouse ornament.
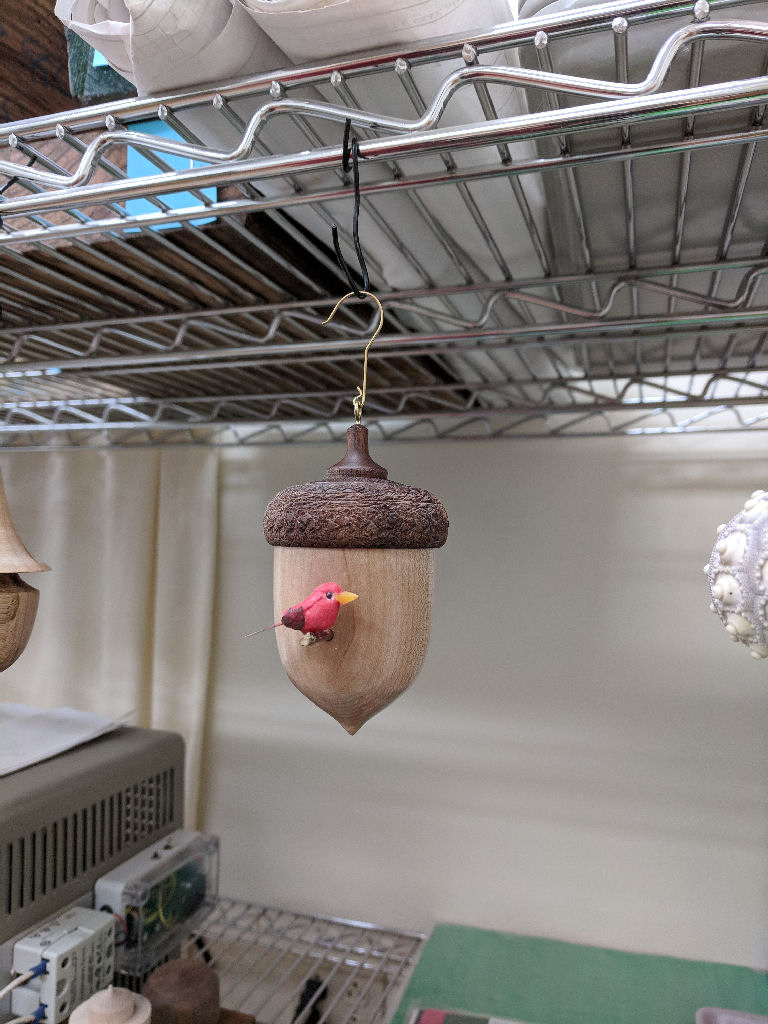
Acorn Birdhouse Ornament
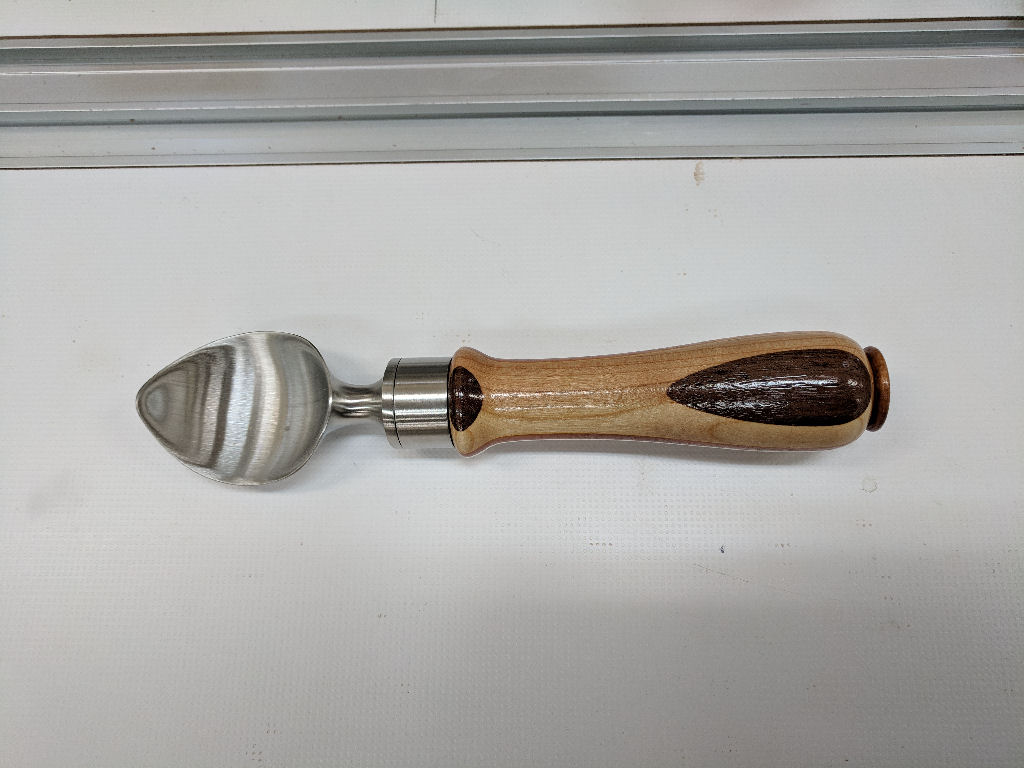
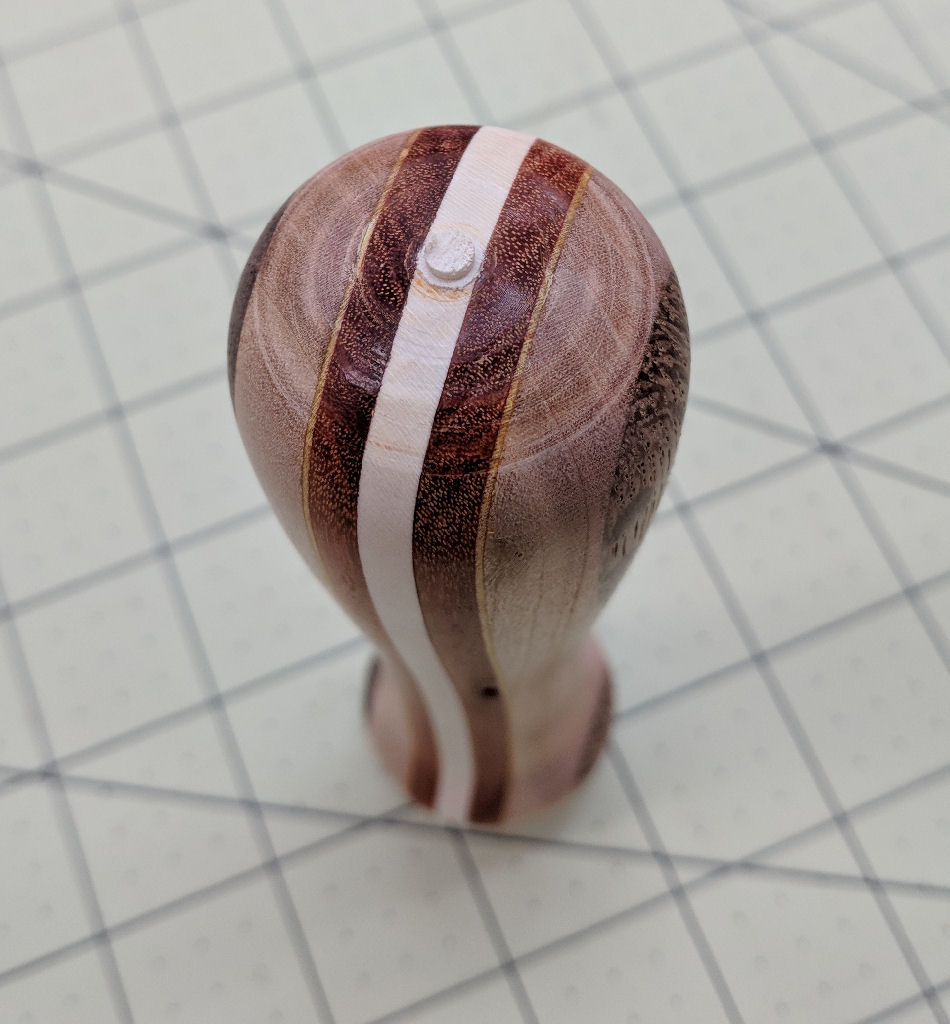
Ice Cream scoop with removable handle for dish washer cleaning.
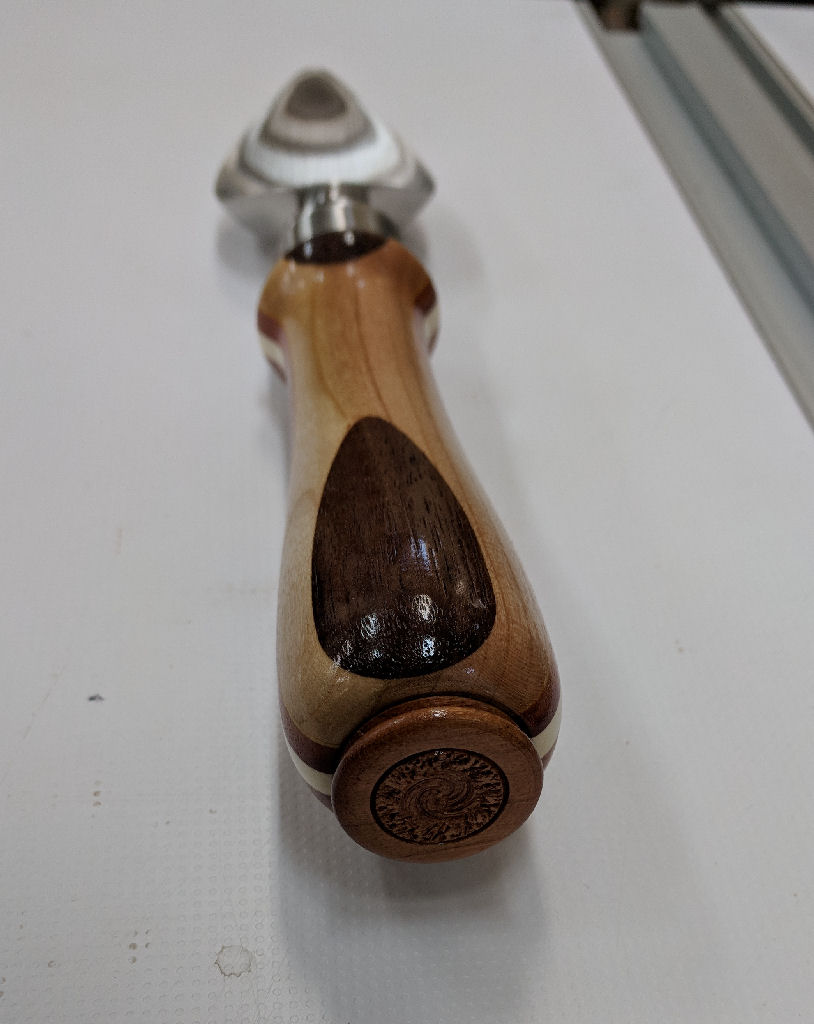
Close up of ‘button’ serendipitously added to the handle.
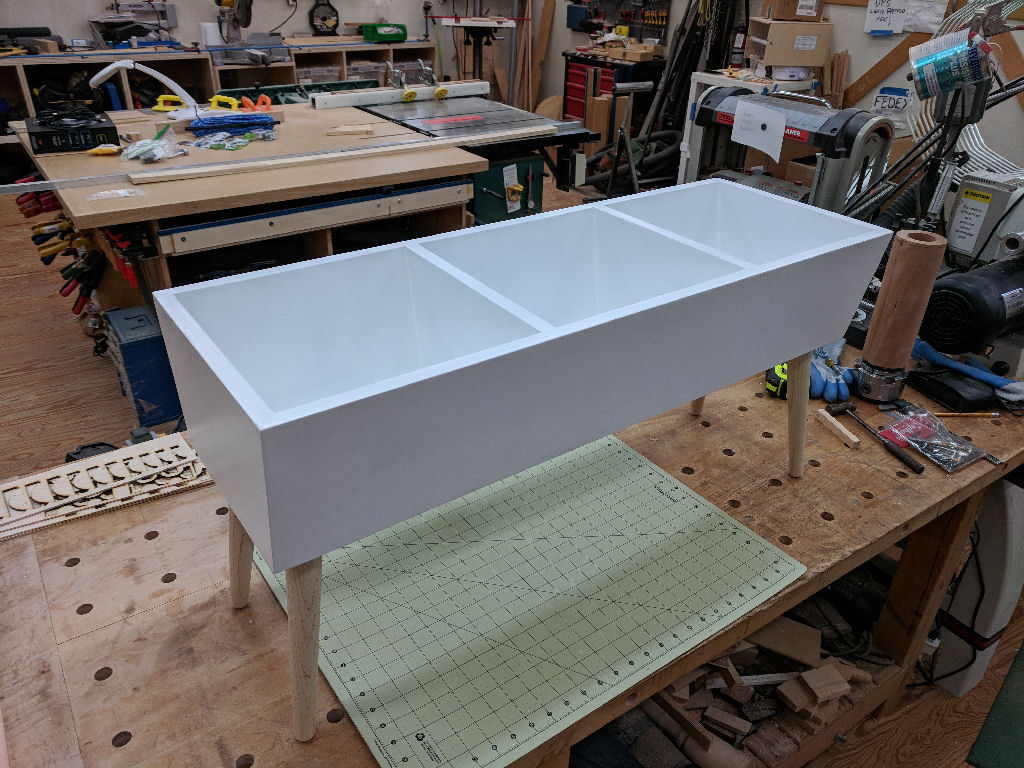
Book Bin to store our Granddaughter’s many books. Just the right height for her to reach in, pick a book, and bring to Grammy or Grandpa to read!
Outtakes
The secret to doing decent woodworking is to learn how to correct your mistakes. In the process of making some of these gifts, I made some doozies! I thought it would be interesting to show what mistakes were made and how they were corrected.
Here is the first one, and it is a doozie! When I was almost finished with the vase, I was shaping the bottom to make a nice stable base for the vase to stand on and, as I drew the tool away to examine the progress, I carelessly let the tool touch the workpiece. In an instant the spinning workpiece caught the tool and slammed it into the tool rest, making a huge dig in the side!

Major WHOOPS here! The nice smooth curve now has a nasty deep dig into it!
This vase was so far along and I had little confidence that I could fix this big gouge without significantly altering the overall curve of the piece. Fortunately, I live near a great resource, the Chapel Hill Woodturner’s Club, and I was able to go to their facility and ask Frank Penta, an extraordinarily talented woodturner, to help me. He was impressed with the vase and barely even noticed the nasty dig, which I thought totally killed the piece! I mounted the piece in the lathe and he showed me how a pro does it! The shavings coming off his tool were so light they literally floated in the air and, in no time, he had shaped the base to follow the curve and fix the piece! THANK YOU FRANK!
Here is the next one, while not as potentially tragic as the vase, it still left me with a case of having to fix a piece that was well on its way to something I liked, but dangerously close to being ruined!
As I was profiling the end of the handle, before removing it from the lathe, I was too heavy handed with the gouge and made the turn around the corner too close to the nicely shaped lamination on the top of the handle. Consequently I didn’t have enough room to try to fix this mess.
So… in this case, I realized without enough material to fix the end I knew I had to add more material!
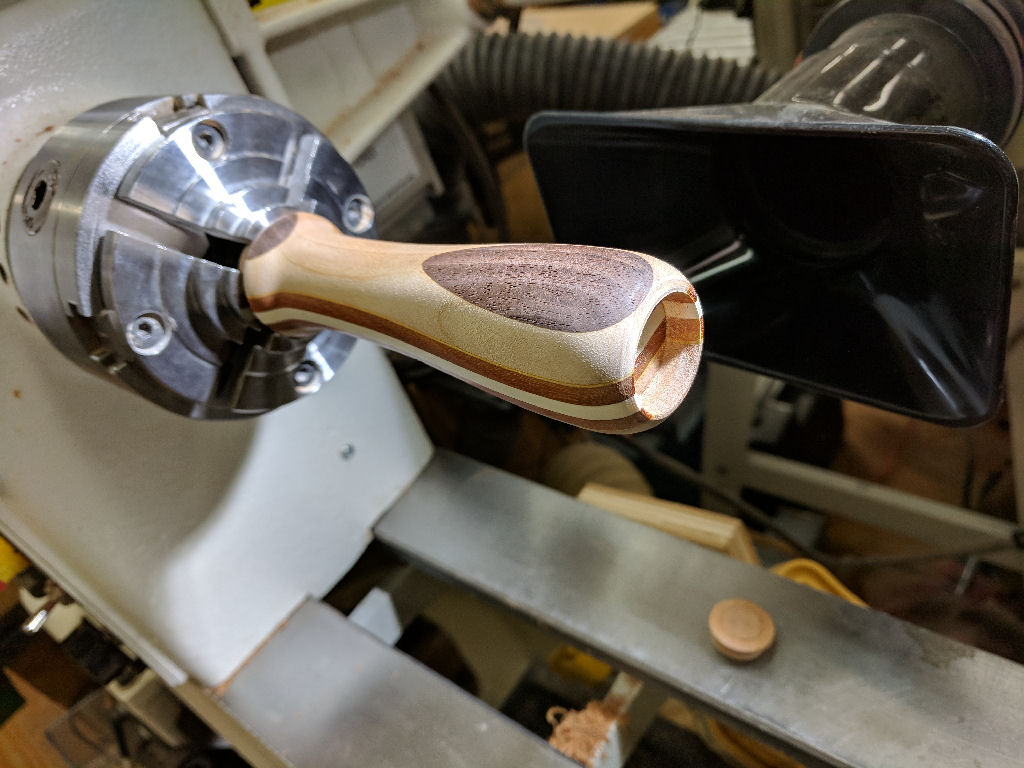
So, rather than trying to turn off a shape, I thought that I could drill out the end of the turning and add more material with a plug that would give me room to shape the end nicely. You can see the nice tear drop shape on the handle that I was trying to preserve.

I turned a scrap of Cherry to make a plug to cover the end of the handle. I decided, since I had plenty of scrap, to experiment with adding a design to make it look as an intended added detail.
So, in this case, the ‘fix’ was actually an enhancement to the original design as it added a unique detail that looked interesting and attractive AND covered up the mess up!
Leave a Reply