As my second project in my new Workshop, I’ve built a Sheet Goods Cutting Table. I saw this concept mentioned in a Woodworking forum (unfortunately I haven’t been able to find it to provide proper citation – I’ll update when I find it) when I was considering building or buying a panel cutter.
The idea is that the table is made to be sacrificial, you clamp your sheet good (plywood, paneling, etc.) to the top, clamp your circular saw guide to the sheet, and cut through the sheet slightly into the table top. The top will get chewed up after a while, but should remain planar and usable for a long time since you only make shallow cuts into the table.
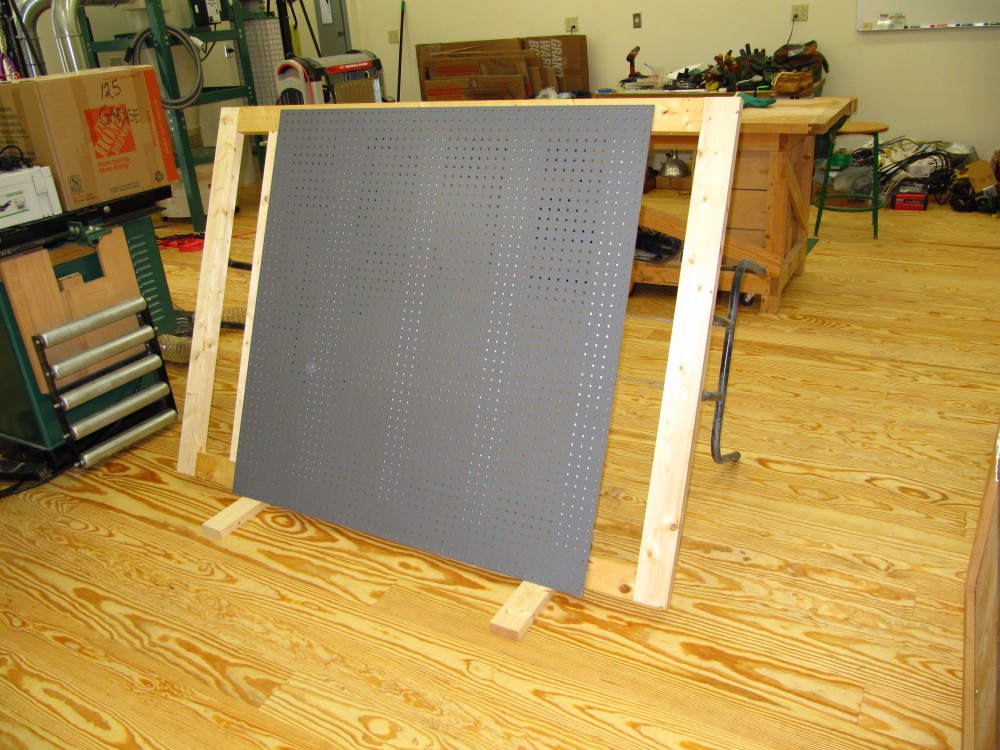
The real beauty of the concept, however, is how you load the table. Rather than trying to lift a heavy piece of plywood onto the table, you tip the table onto its side, placing its edge on a couple of 2x4s on the floor. You then carry the sheet to the table, carrying it so it’s perpendicular to the floor, and place its edge on the 2x4s as well. Then, gently leaning the sheet into the table, the sheet and table are stable and you can easily reach under the edge of the sheet (lifted up by the 2x4s) and literally roll the sheet and the table together until the table is upright. The weight decreases quickly as the table become more upright and the stable legs keep the sheet from shifting while you lift. Easy peasy!
Here’s the table…
-
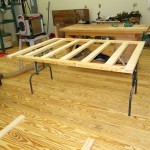
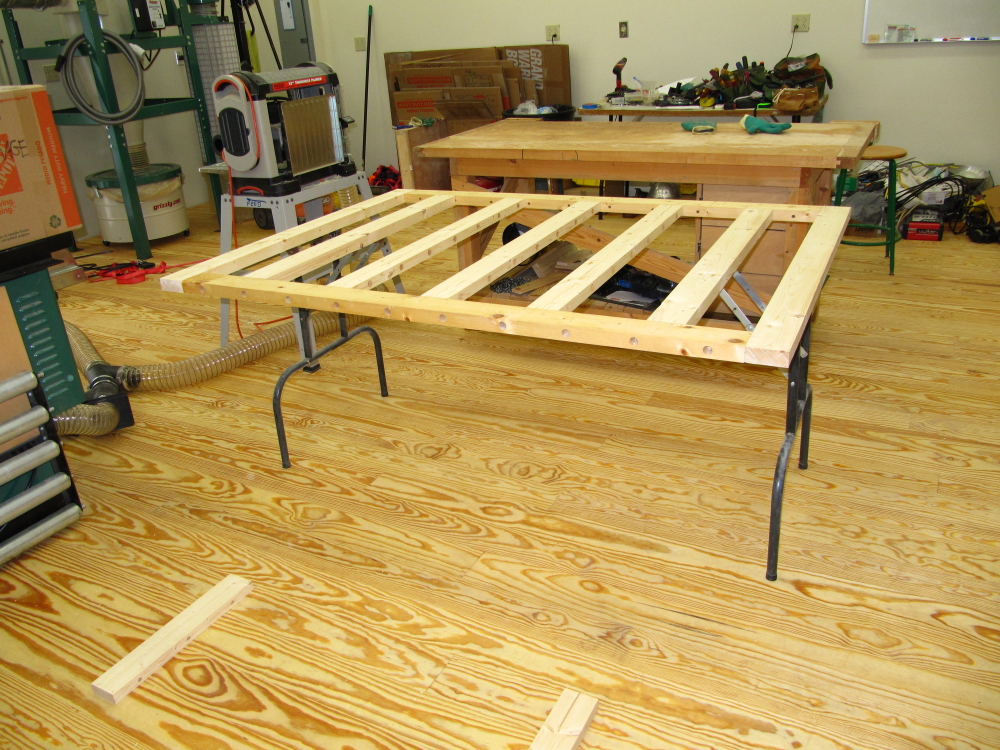
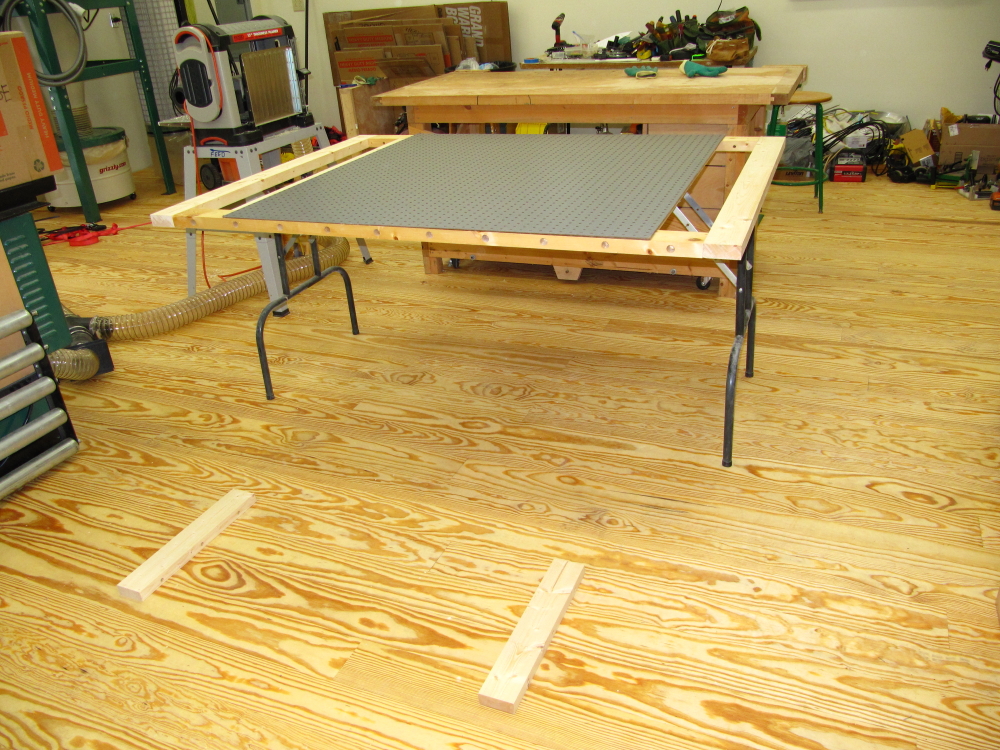
- Sheet Goods Cutting Table
-
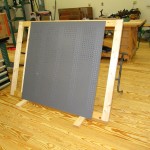
- Table on its side, loaded with a 4×4 sheet of flimsy pegboard.
-
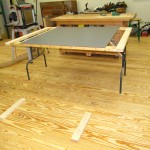
- Here ya go, ready to cut!
The pegboard was the only sheet I had on hand to demo the table, but, given the thin flimsy pegboard you get these days, the table comes in handy for managing this as well as heavy sheets. In fact, the first application of this table will be cutting up some FRP (Fiberglass Reinforced Plastic) sheets which are 4×8 feet yet only 0.090″ thick – very floppy and hard to manage. I’ll be using this material on the Main Workshop door.
Another feature of this table is the open top. When you’re cutting sheet material narrower than a solid top table it is very hard to clamp the piece or any cutting guides to the piece. With this design there are always some nearby opening in which a clamp can be inserted. Just be careful where you place your tools…
The construction is easy (if you have a Festool Domino). I used scrapped 2x4s that had outlived their usefulness as cauls (note the holes where I inserted threaded rods to clamp the cauls together). These were then ‘unbowed’ and ‘untwisted’, squared up, cut to size, and floating tenons were added to hold the pieces in alignment and give it strength without screws (not good to cut through screws with your circular saw) – 56 mortises in all.
The most difficult task was clearing off the Workbench so that I could assemble the 60 x 48 inch structure.
Finally, the legs on this table have a VERRRRY long history with me. These legs were salvaged from a work table I built when I first started my own Engineering Consulting business – in 1980… I still have a few of those work tables left. ![]()
The cutting table will eventually find its permanent home in the loft where I’ll store my sheet goods. I’ll rough cut in the loft so that I only need to move small pieces down to the Workshop.