As I was learning to use the Mini Mill, I learned that constant feed rate is both important AND hard to do when you’re turning the axis wheel by hand. It’s also tiring if you have to keep going back and forth over a reasonable length on the table.
Reading up on various machinist’s fora, there were two recommendations for early add-ons to any mill purchase. The first is to add a Digital Readout, which is needed to get around the normal backlash in the table positioning controls. I knew this right away and added that upgrade as part of the initial installation. The second recommendation is to add a power feed on the X axis (the long axis). So this addition was expected and I ordered the parts and raw material right away.
It was necessary to use the Mill and the Lathe to make the custom parts so was, on the whole, a great first project for the ‘Machine Shop’.
Here is the design that I first captured in Sketchup, a 3D CAD program I’ve used for years.
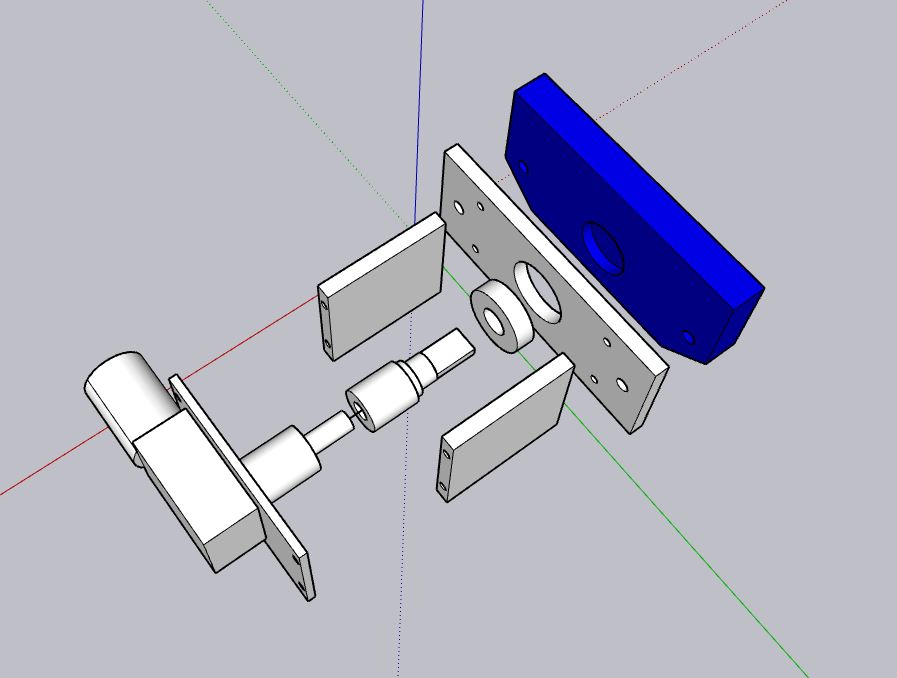
Exploded Sketchup model of the power feed assembly.
Here are the pieces before assembly:
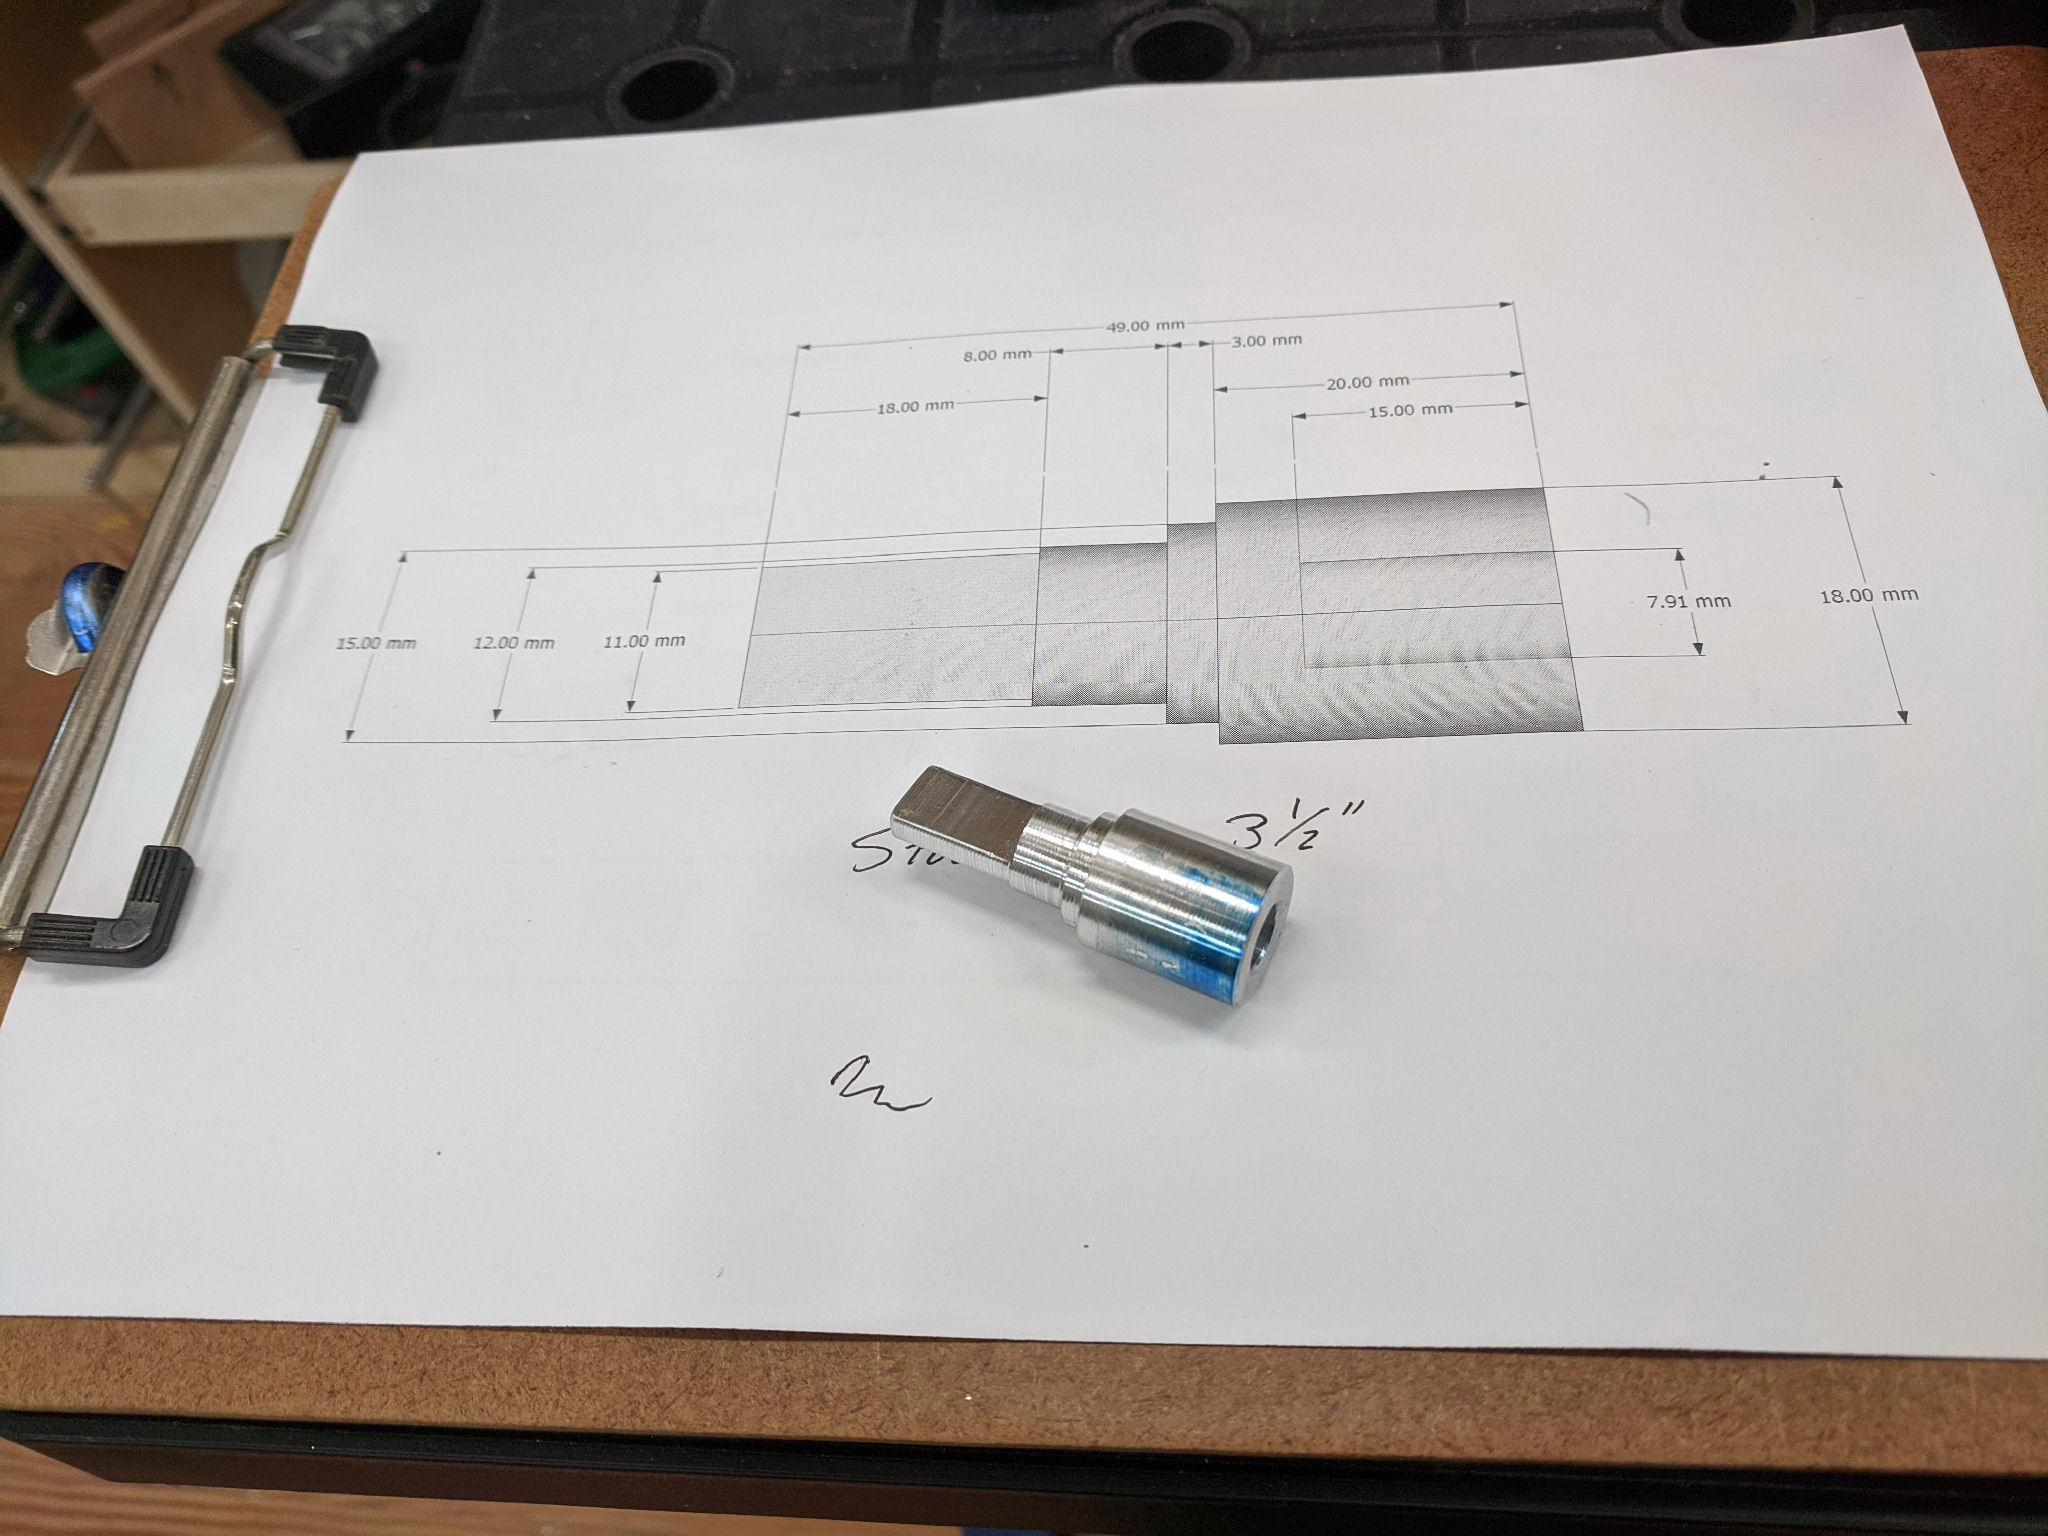
My first ‘machined’ part! The drive pin from the power feed to the table X axis lead screw.

Power Feed Parts ready for assembly. All but the gear motor, bearing, and coupling were machined in the ‘machine shop’.
Finally, here is the final power feed. It works well, although I have to admit that I had to upgrade the motor to a slightly more powerful gear motor.
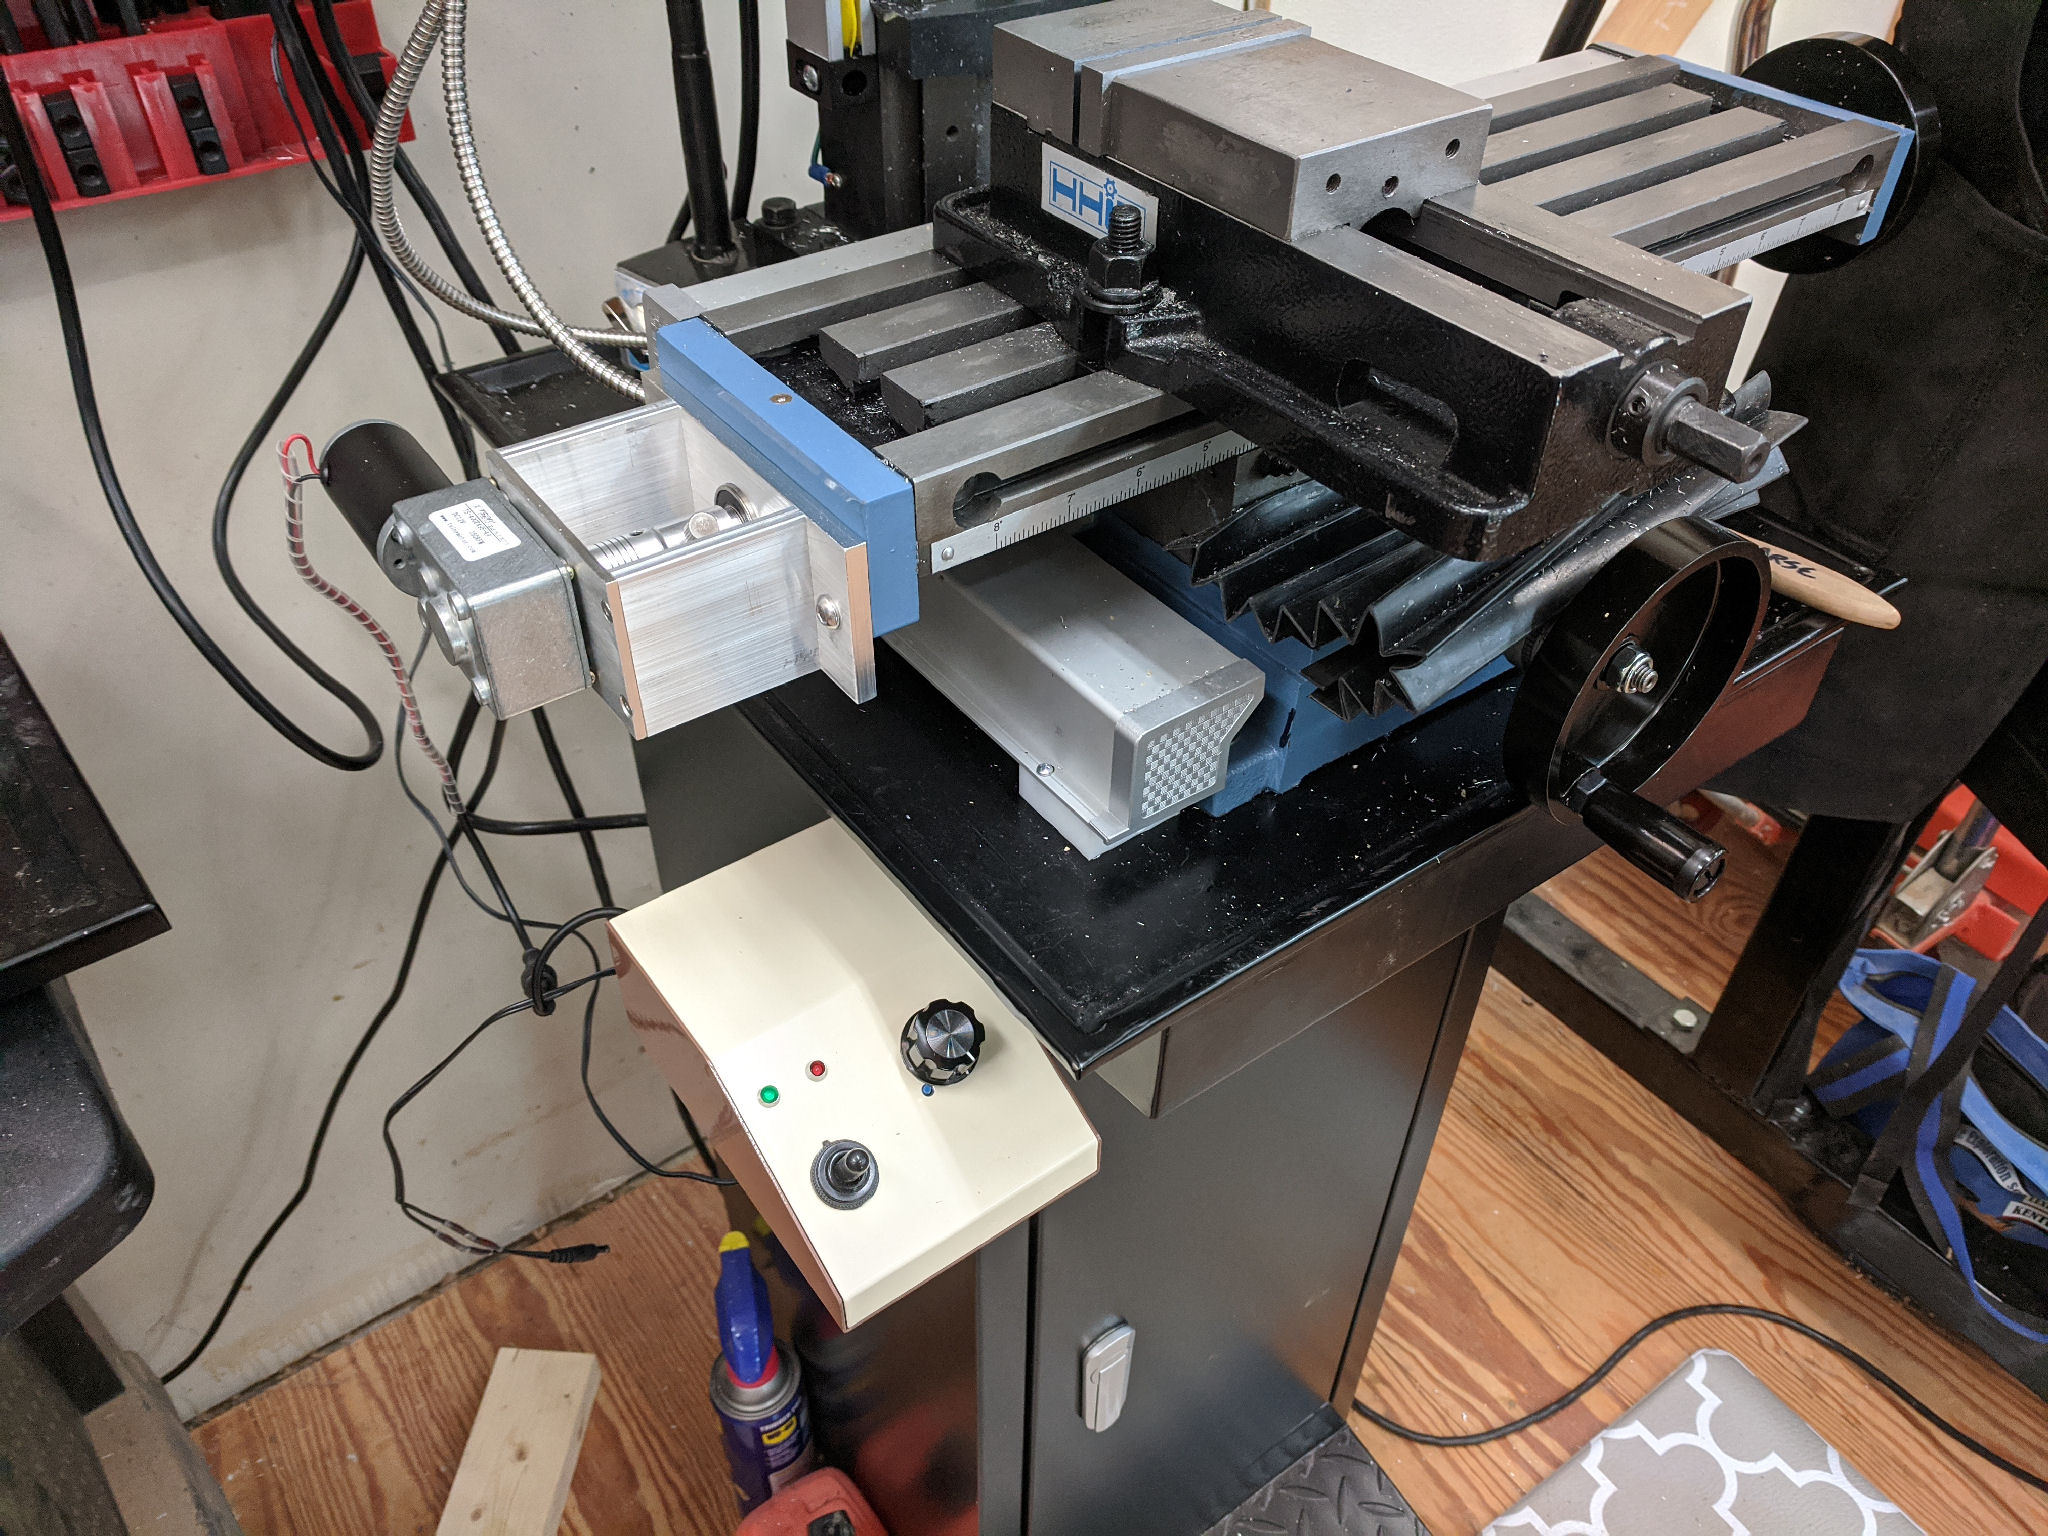
Completed Power Feed attached to the Mill Table. Electronics box below the power feed.
Leave a Reply