First Freehand turned part on Mini Lathe

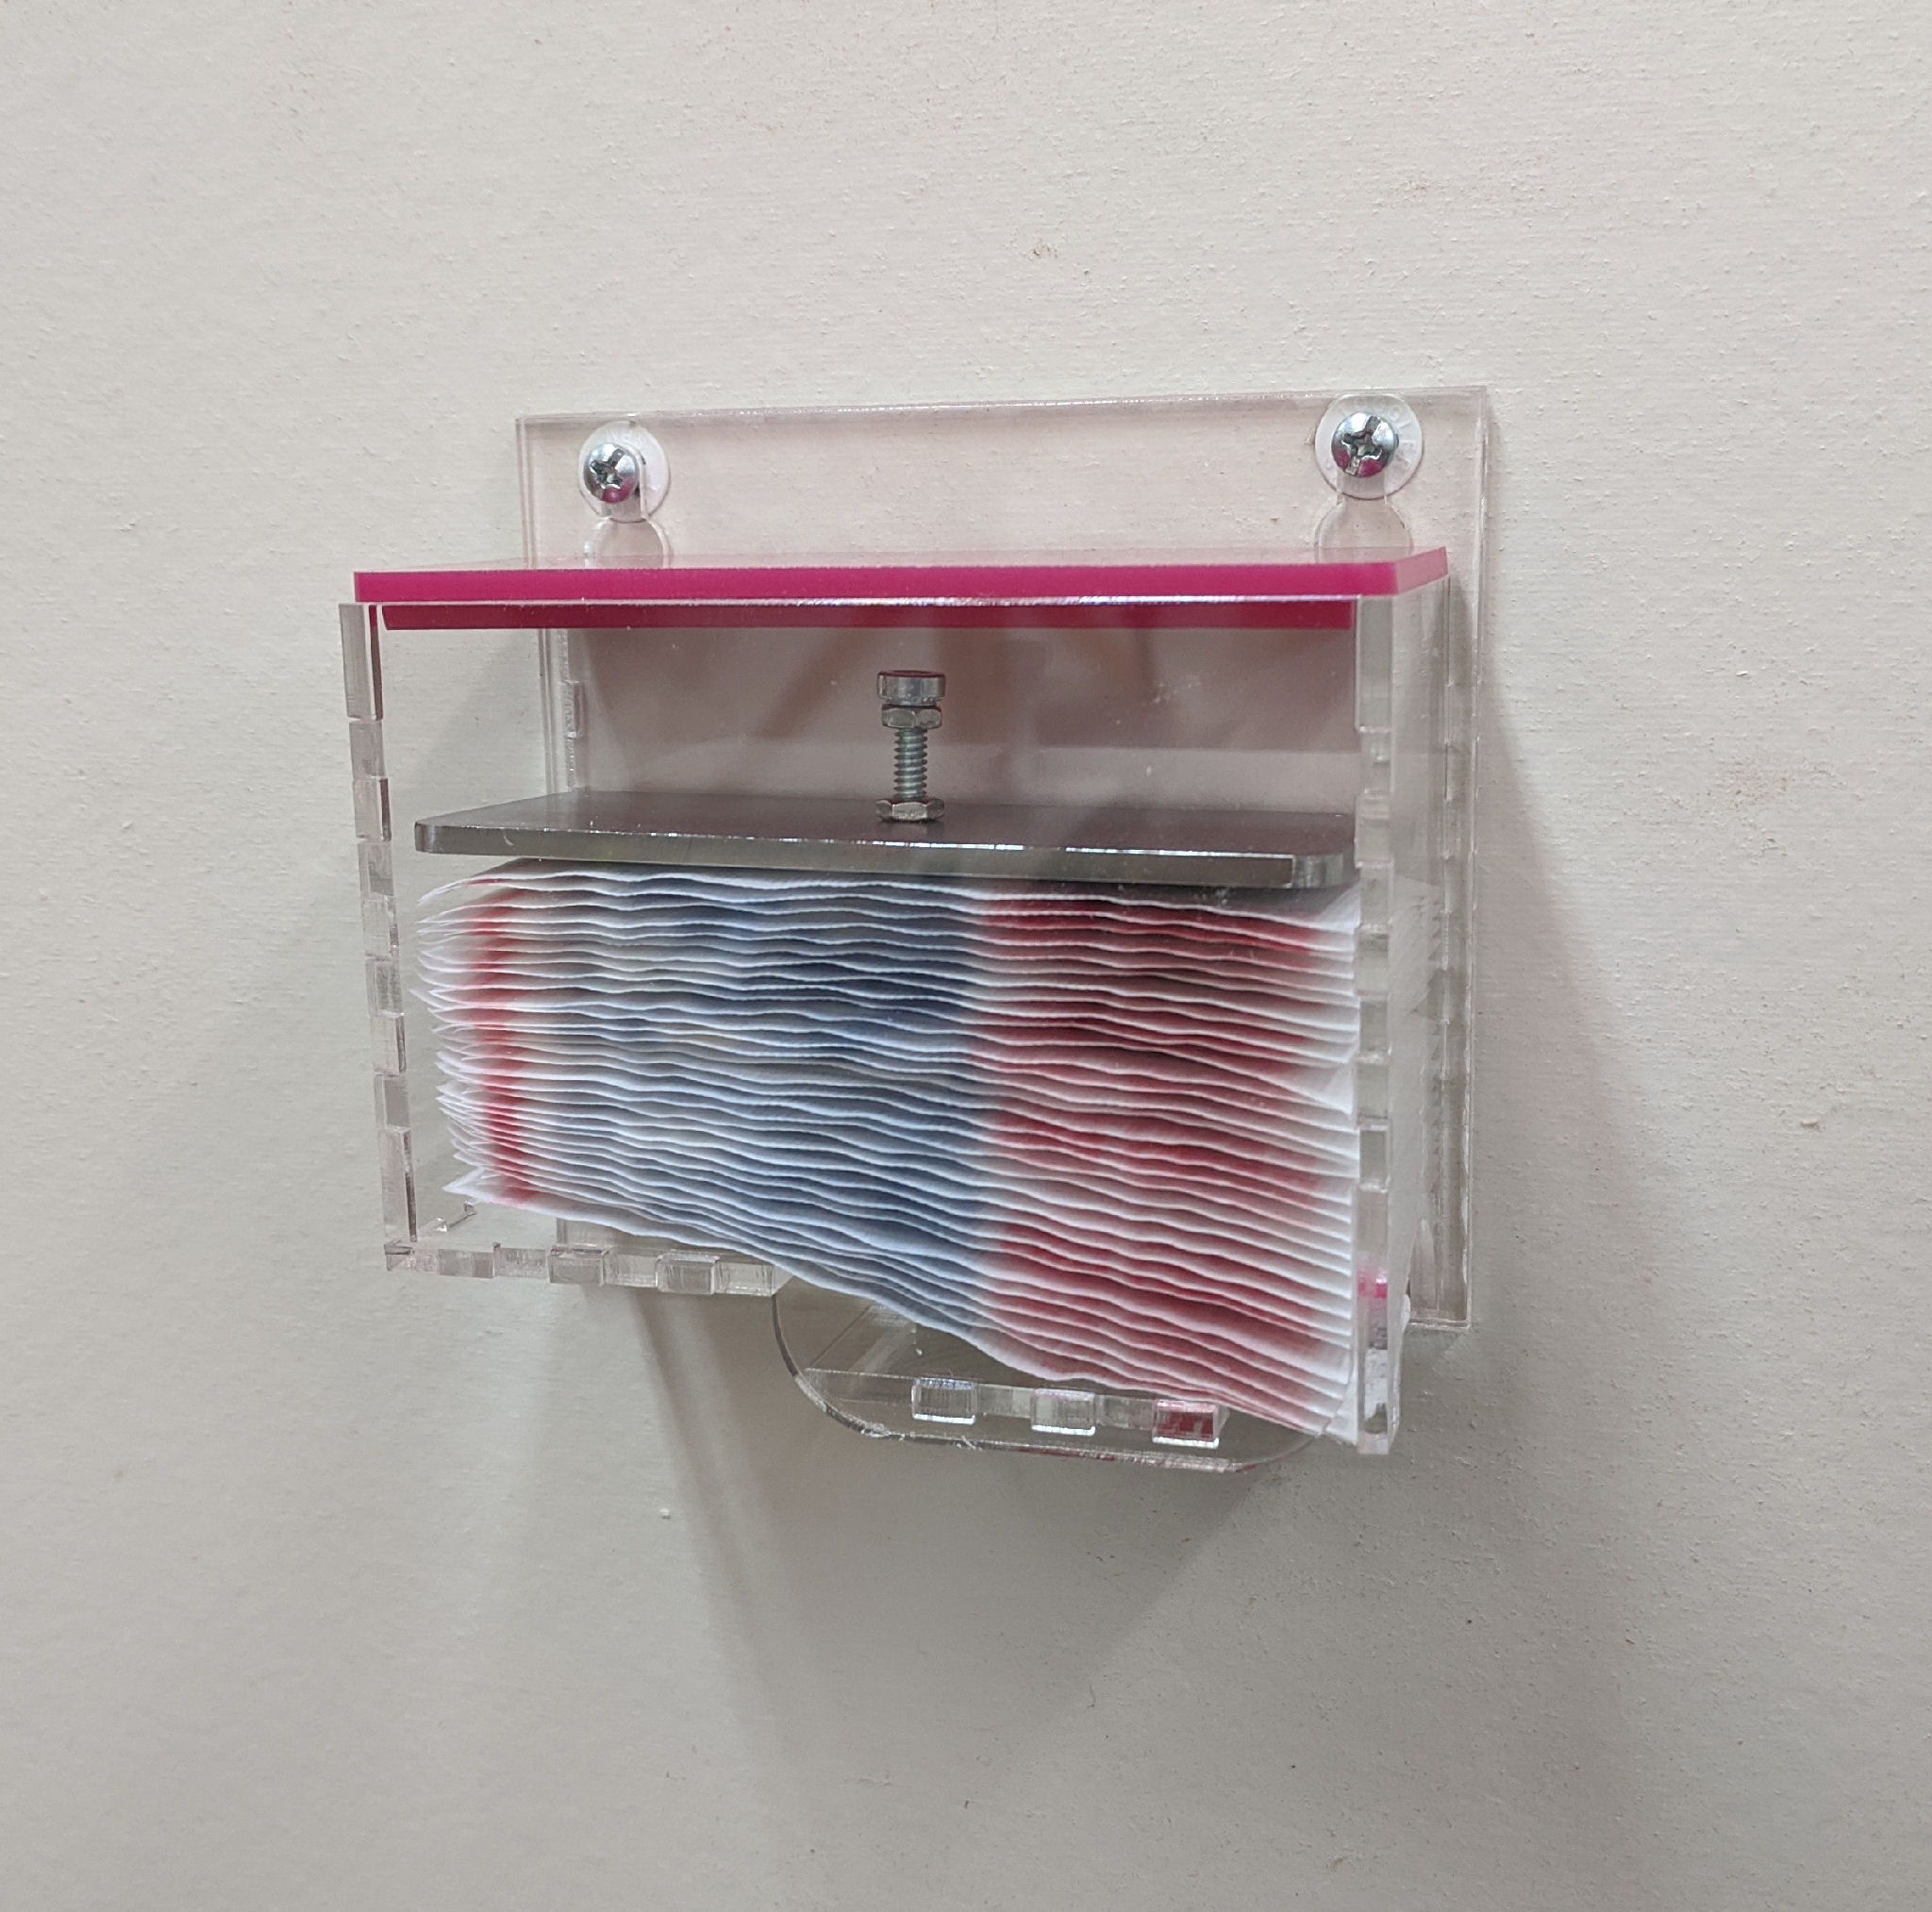
I decided that the screw used to lift the weight on the Bandaid dispenser was unsightly and needed some dressing up.  I also wanted to try to turn some brass on the lathe.

I figured a nice Brass Knob would look good.   Something with a nice smooth curve and a polished look.  As I thought about it, however, I realized using the Lathe cross slide controls would make it very hard to get a smooth continuous curve.  Reading up on this kind of turning I learned that smooth curves like this, if not cut on a CNC lathe, are generally turned freehand.  I’ve done enough wood turning so I thought I’d give it a try…


Click to view larger photo.

Brass Knob with initial curves established.

Heck, that wasn’t so hard…  Let’s continue…

Click to view larger photo.

Brass Knob, all turned and polished, ready to be parted.

Click to view larger photo.

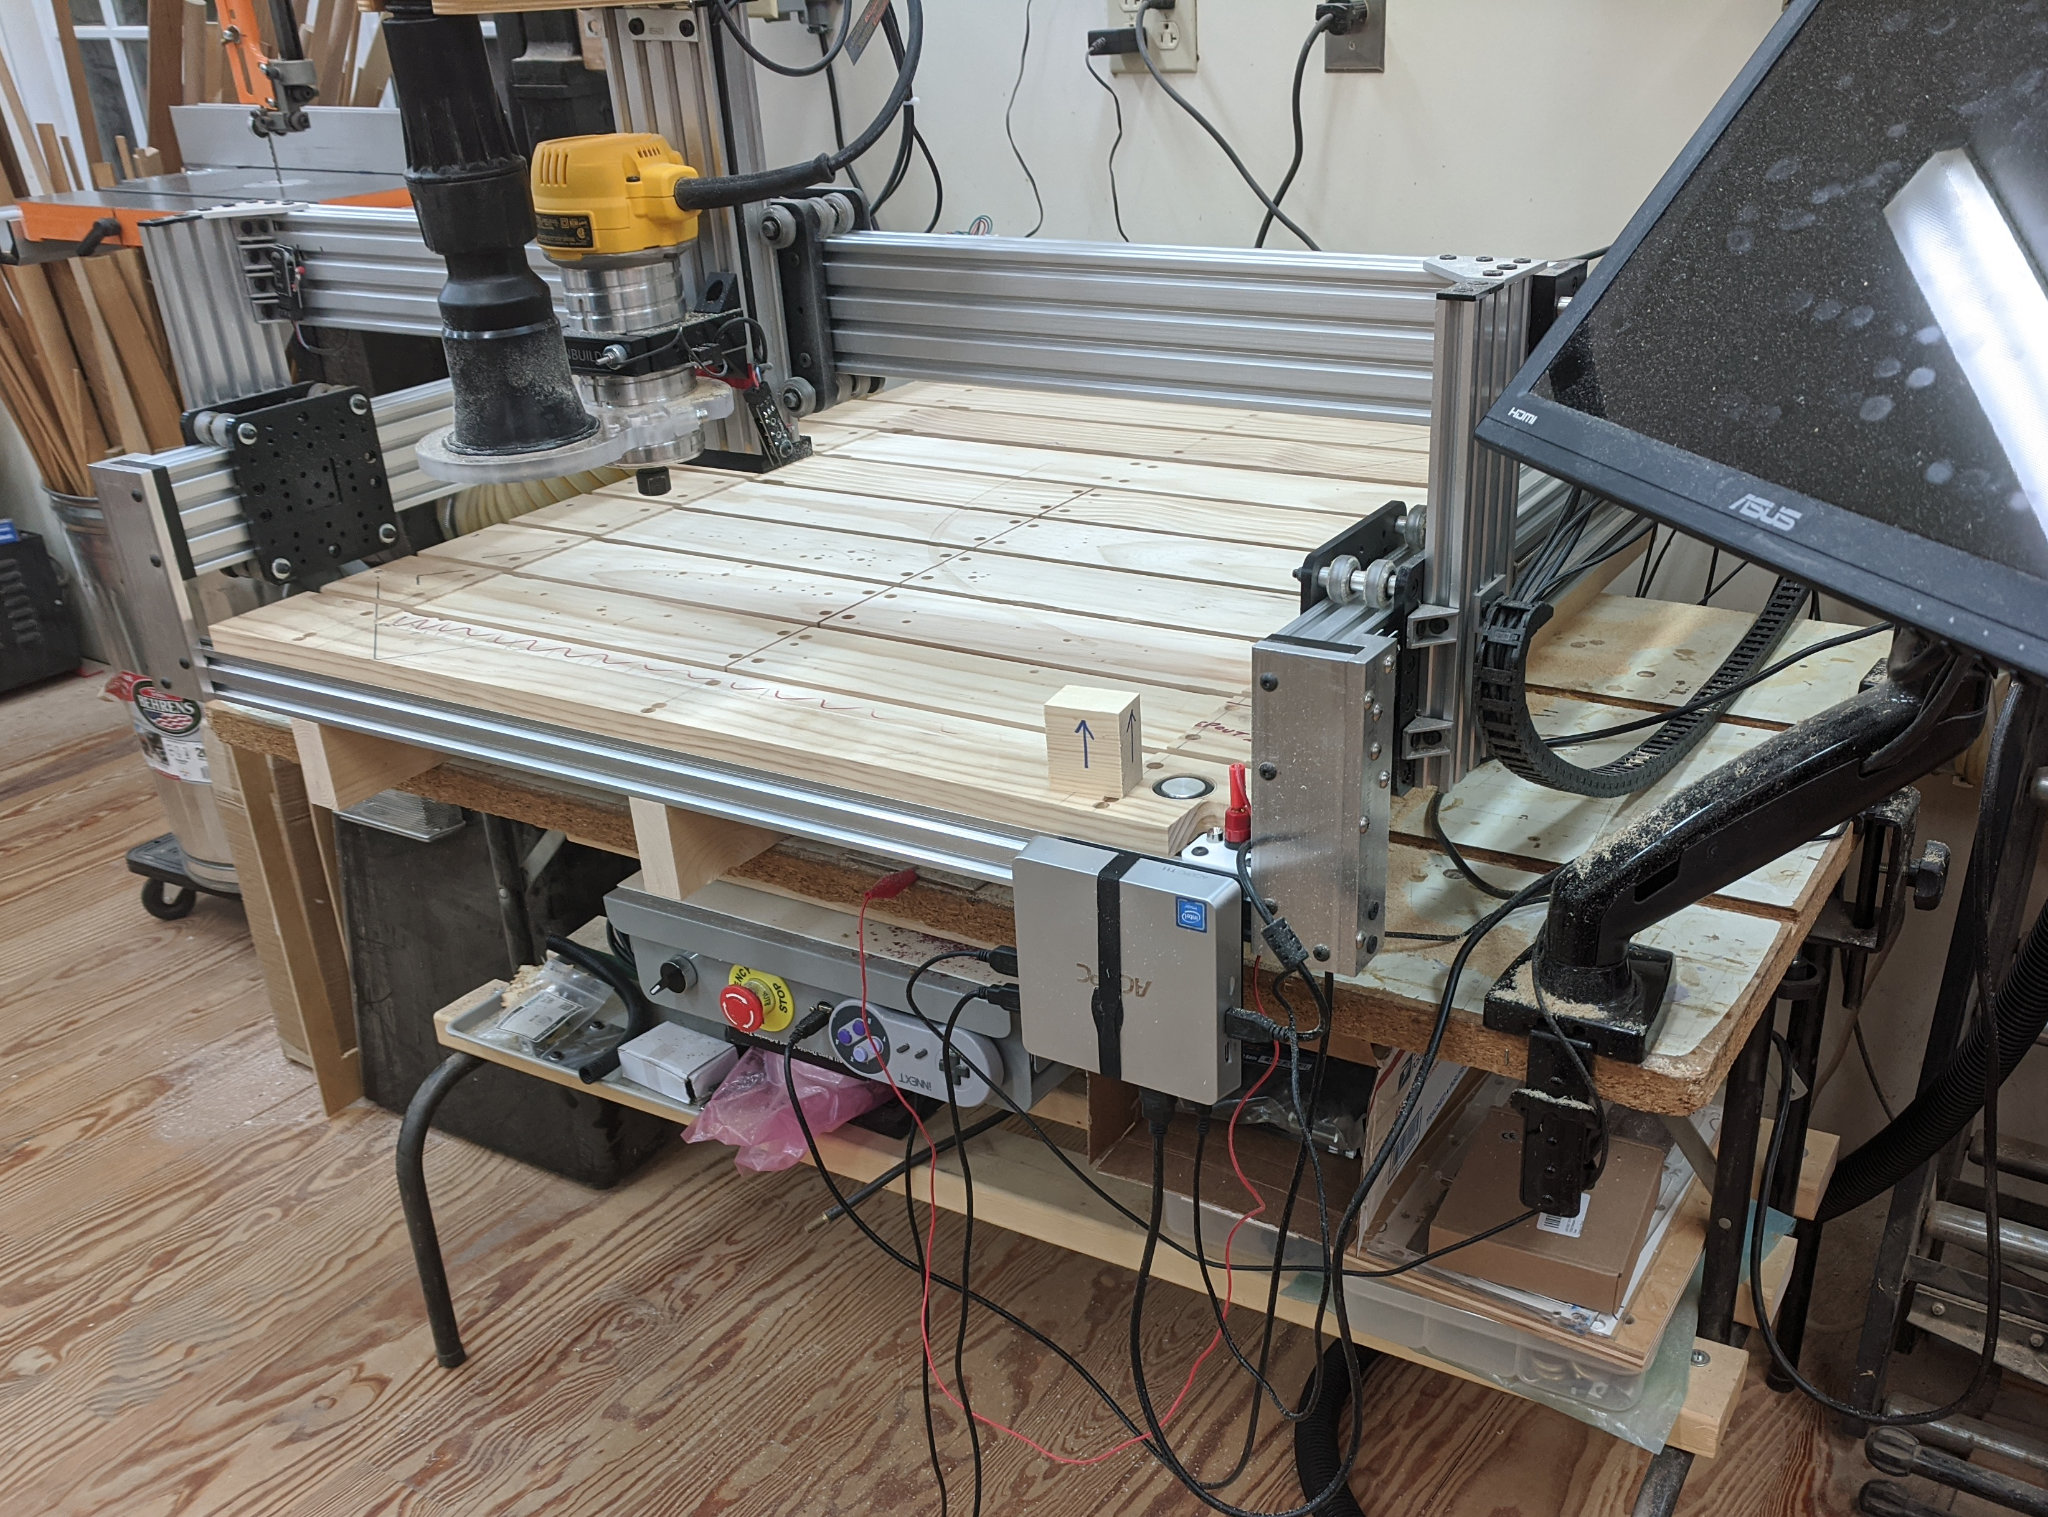
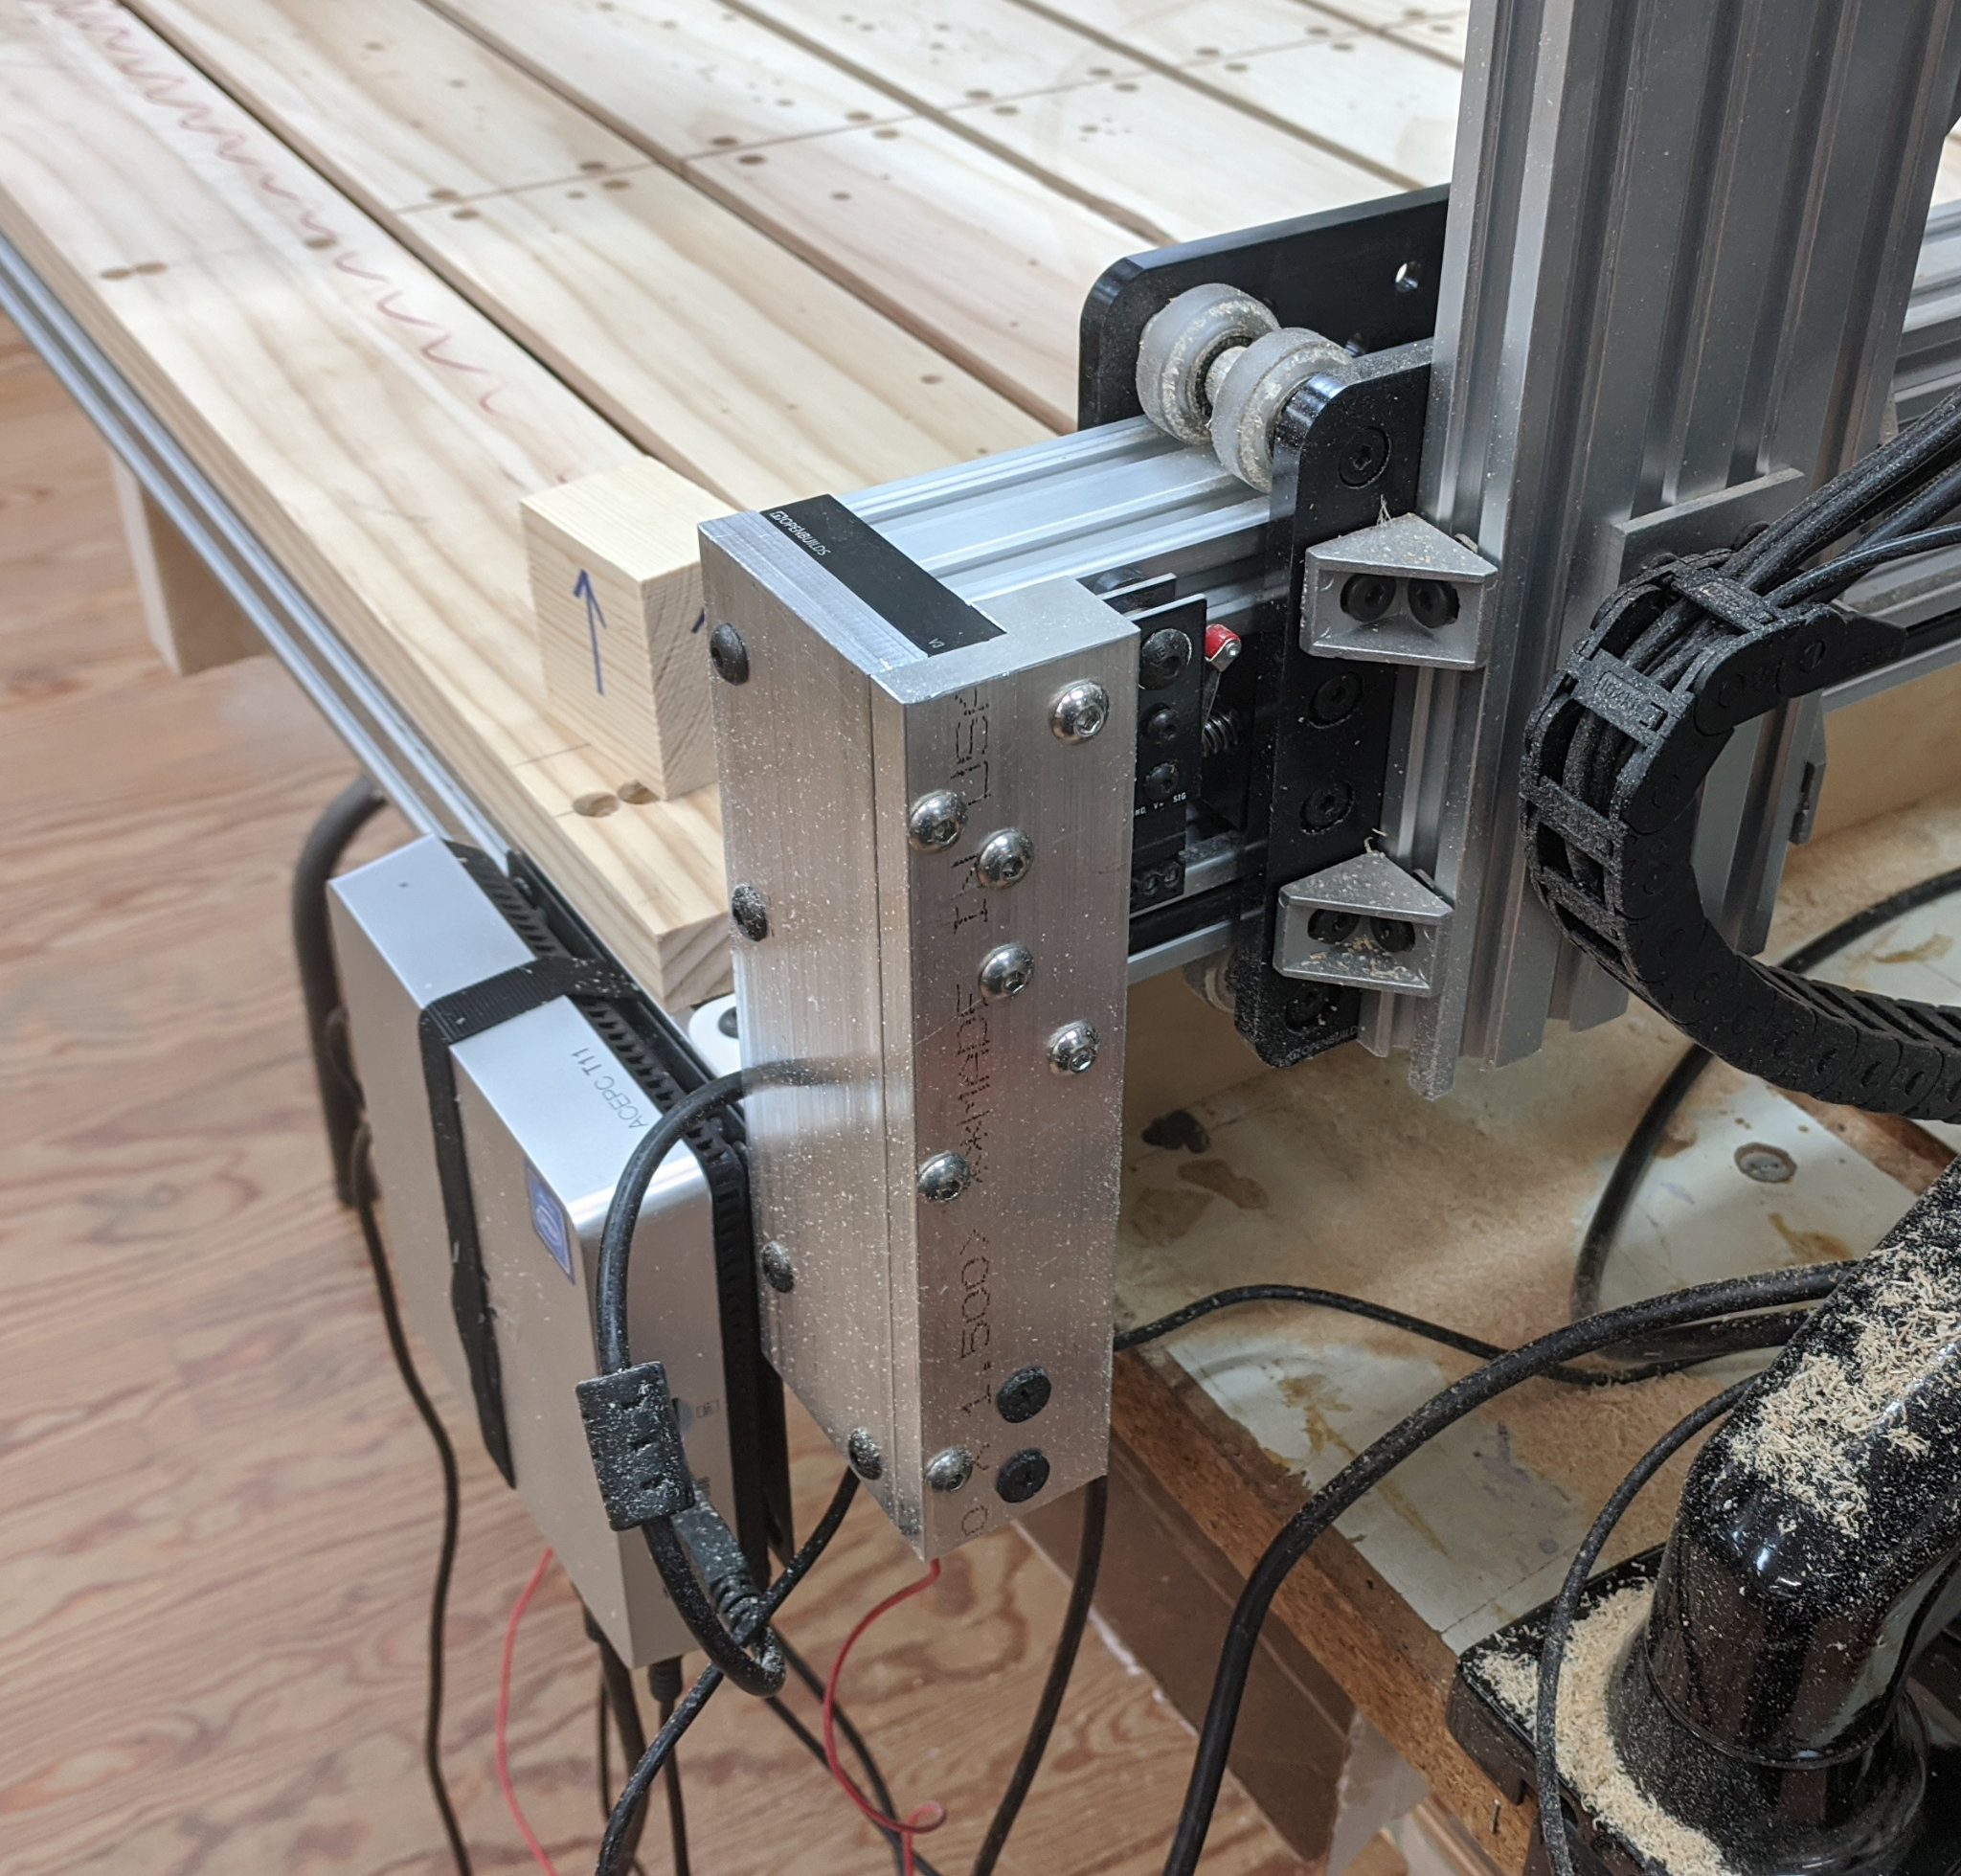
Here is the setup of the support I used to freehand turn the brass knob. The carbide turning gouge rest on the 123 block held in place with the magnet.

Click to view larger photo.

Brass Knob, ready to be removed from the brass rod stock.

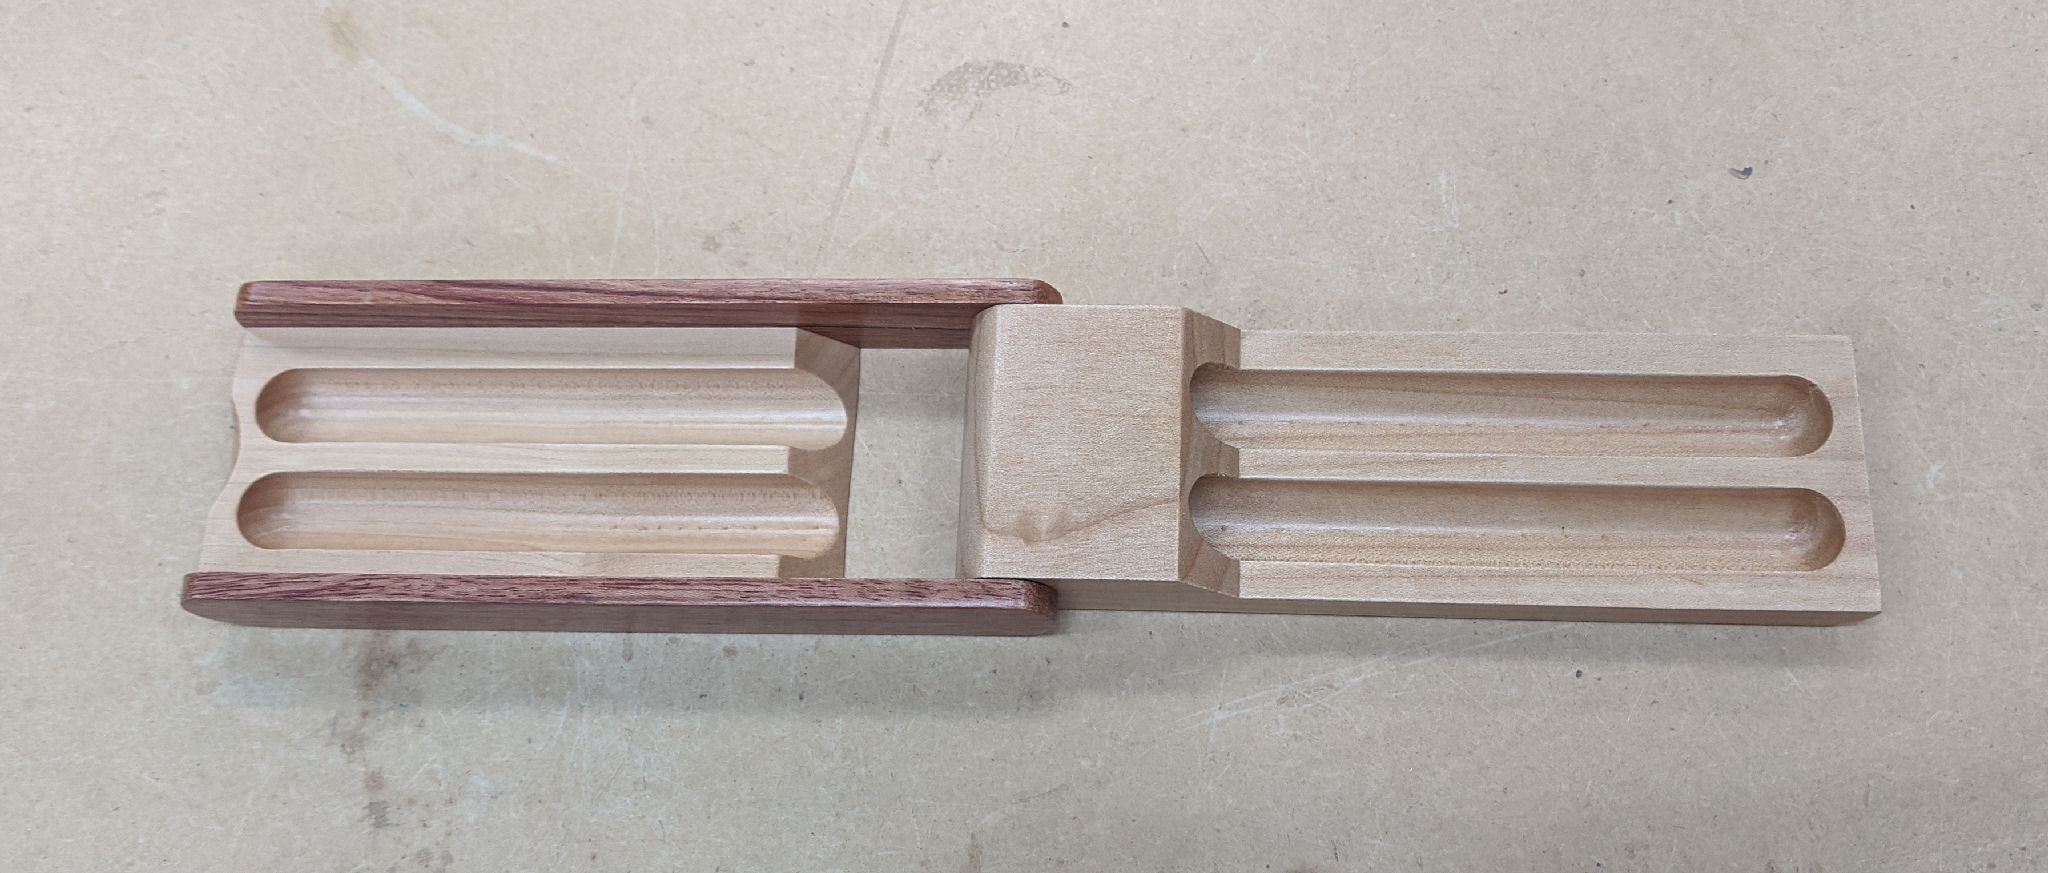
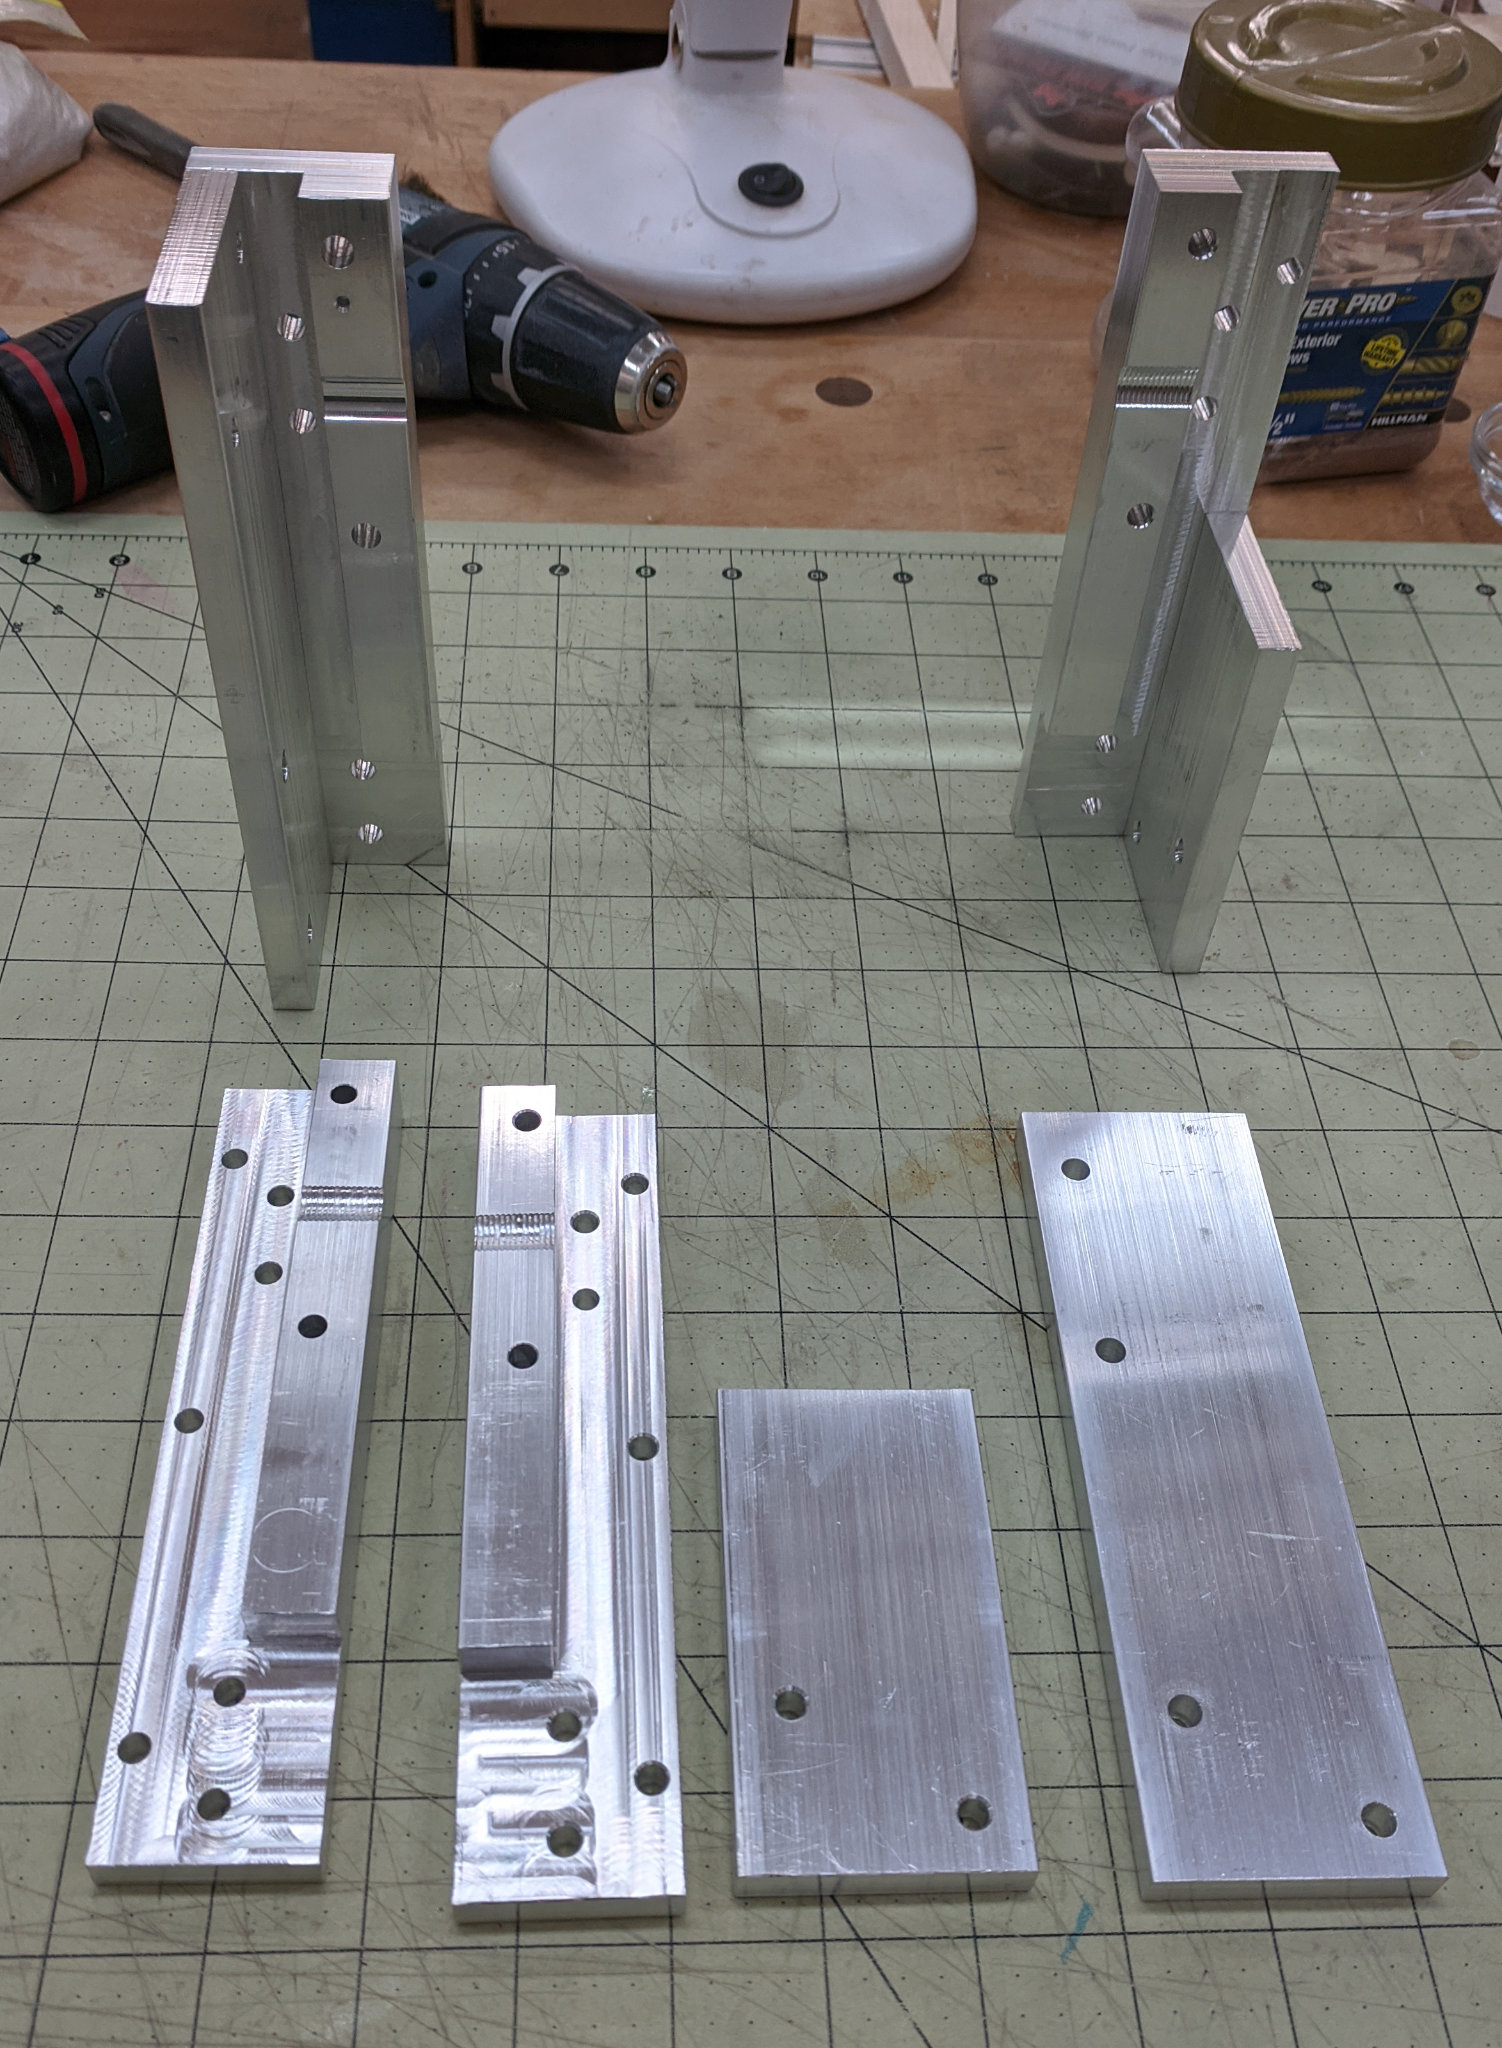
Finally, with the knob left with just a little nub at the bottom of the base, I needed to make a clamp that would hold the knob while I machined the base.  I couldn’t use the vice directly on the soft brass, so…

Click to view larger photo.

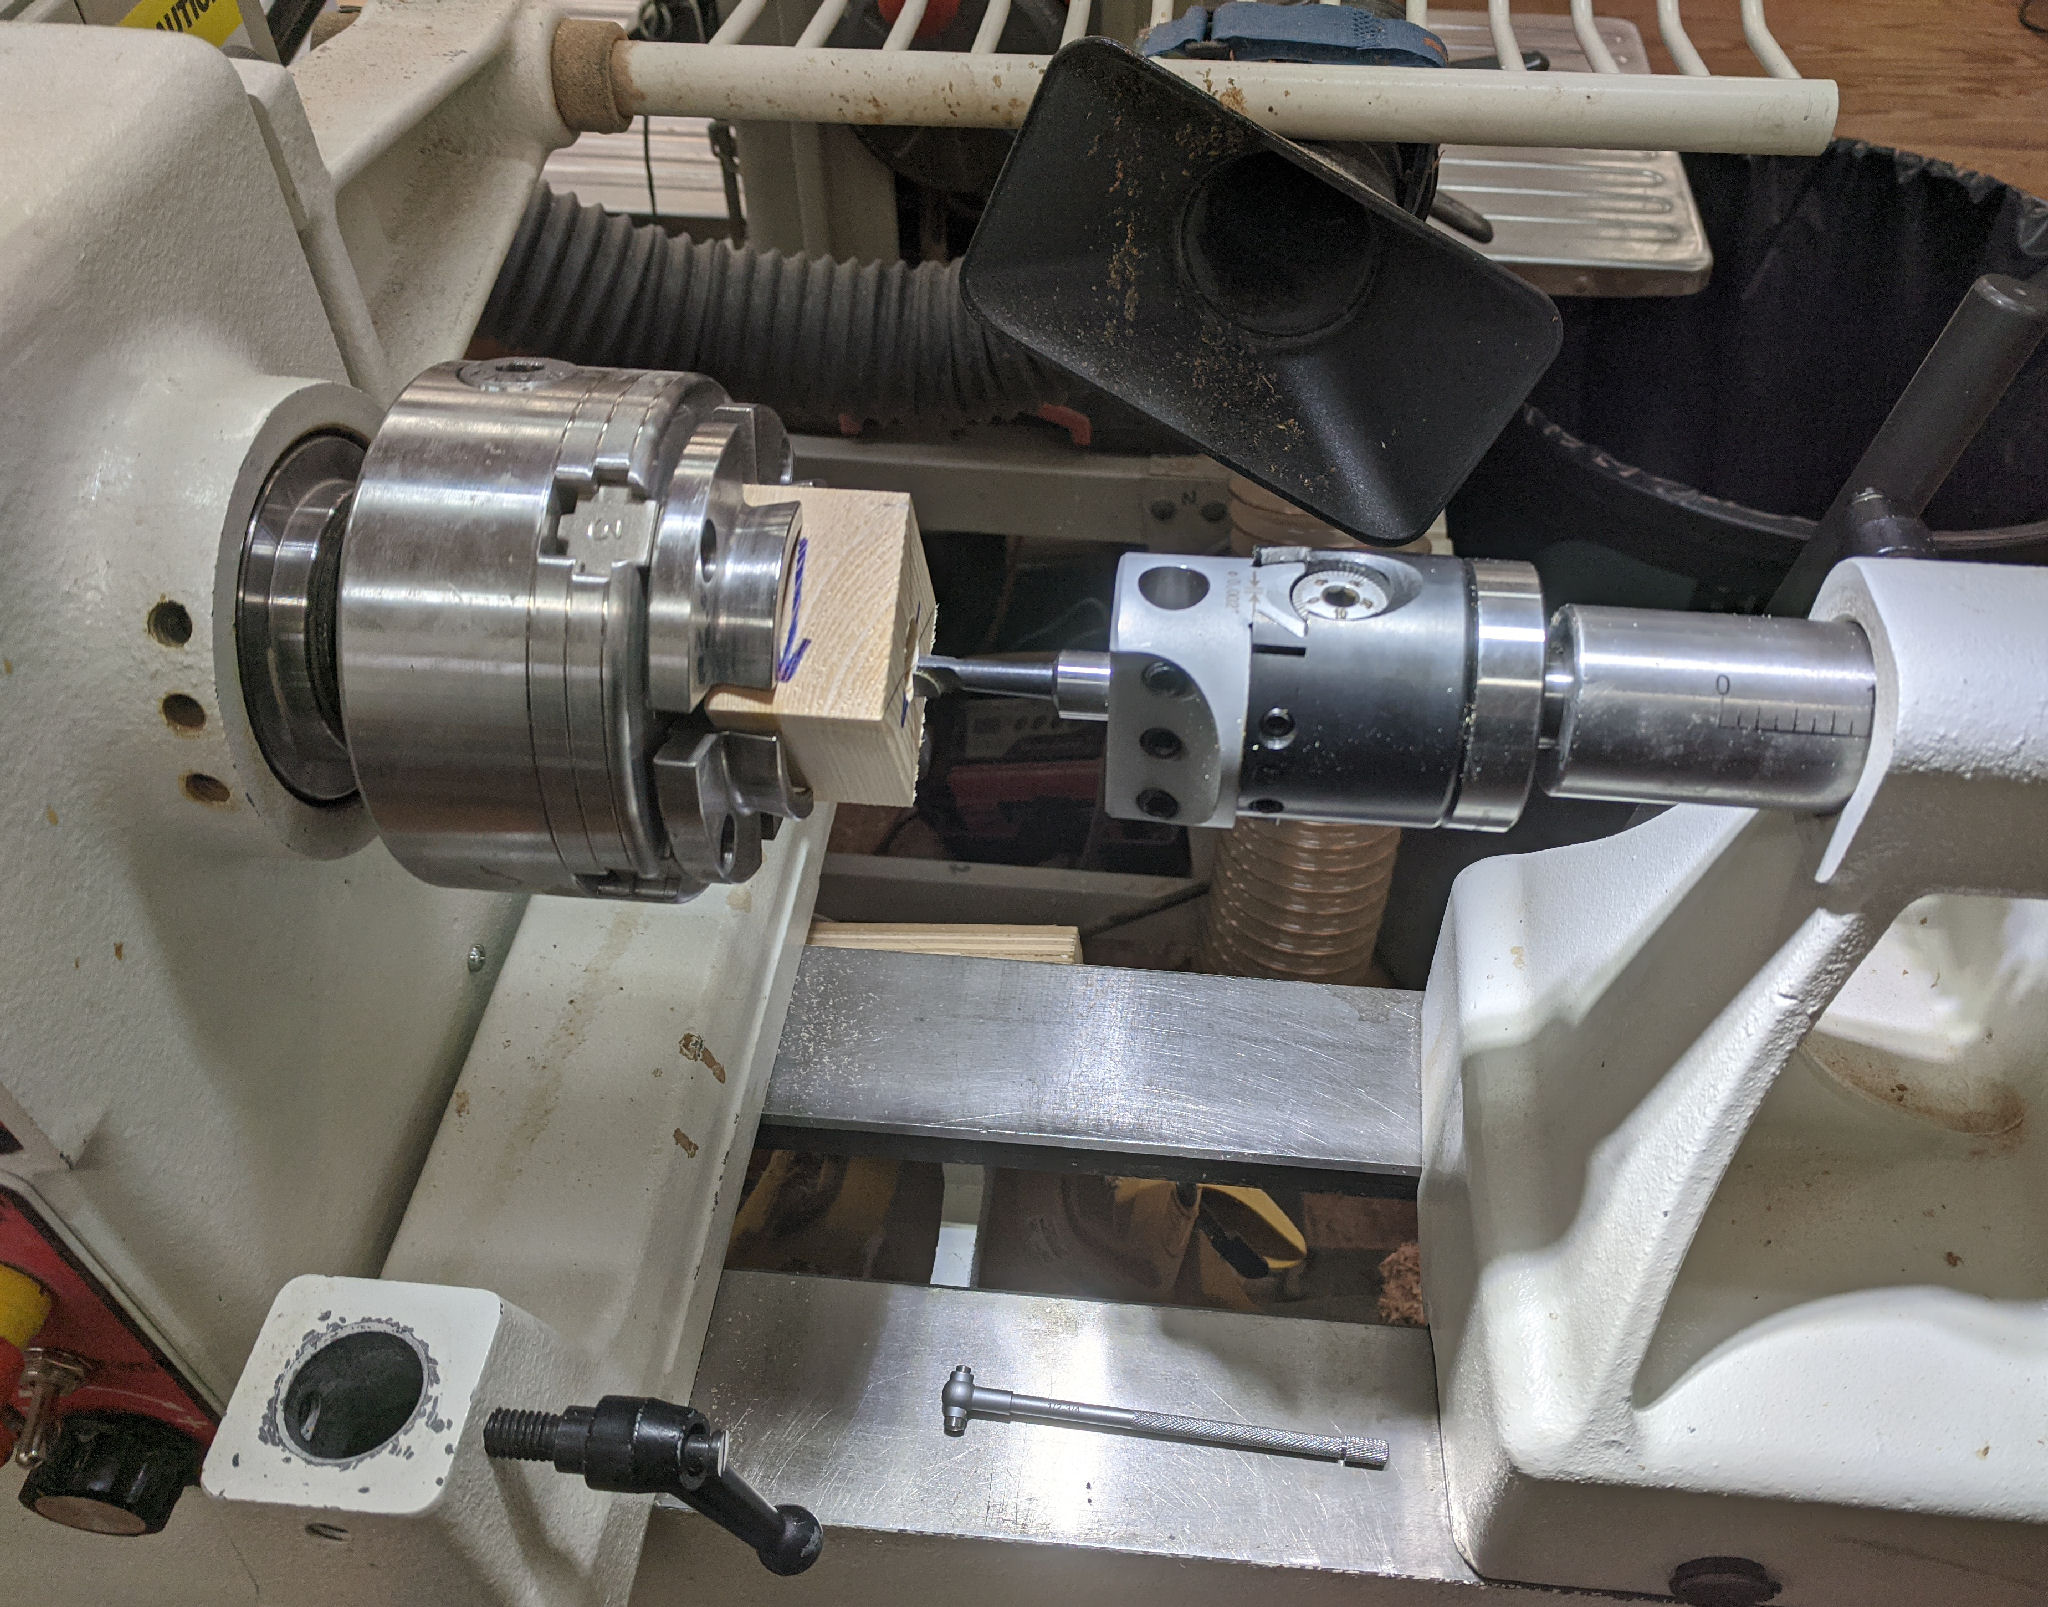
First time I used the Boring head with the new MT2 post I got as a Christmas present. I needed the adjustable boring head to machine a two level hole exactly the same diameters as the brass knob.

Click to view larger photo.

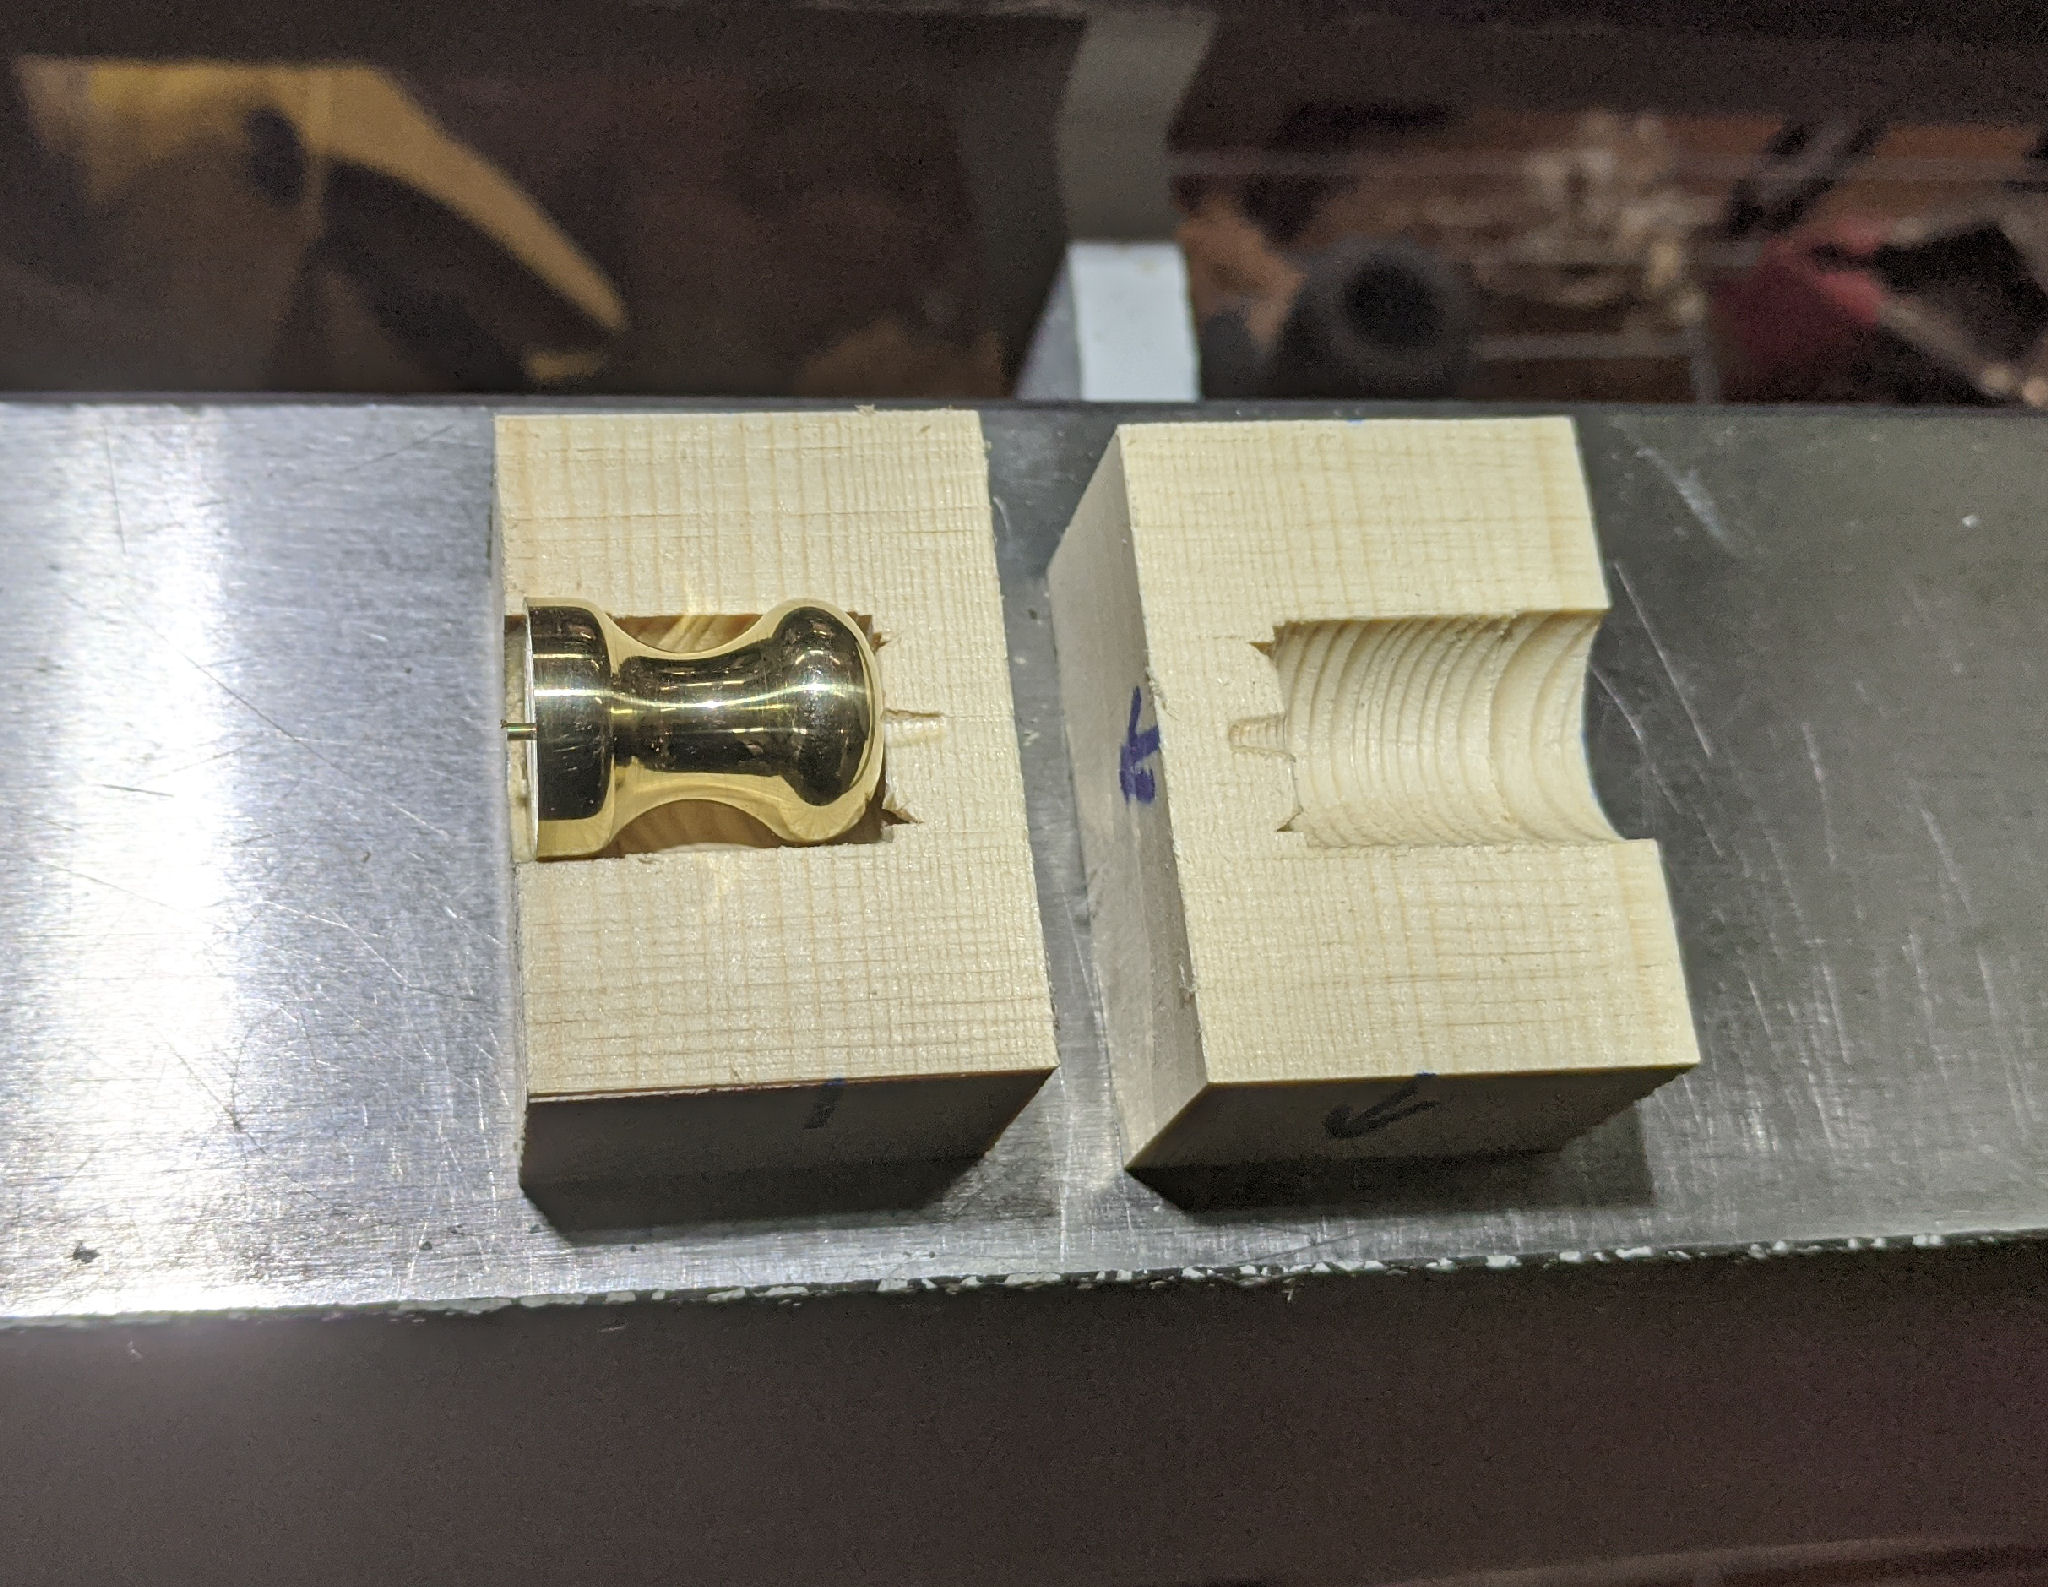
Cross-section view of the clamp. Note the two tiers of diameters so the knob is held tightly at top and bottom without marring the polished surface.

Click to view larger photo.

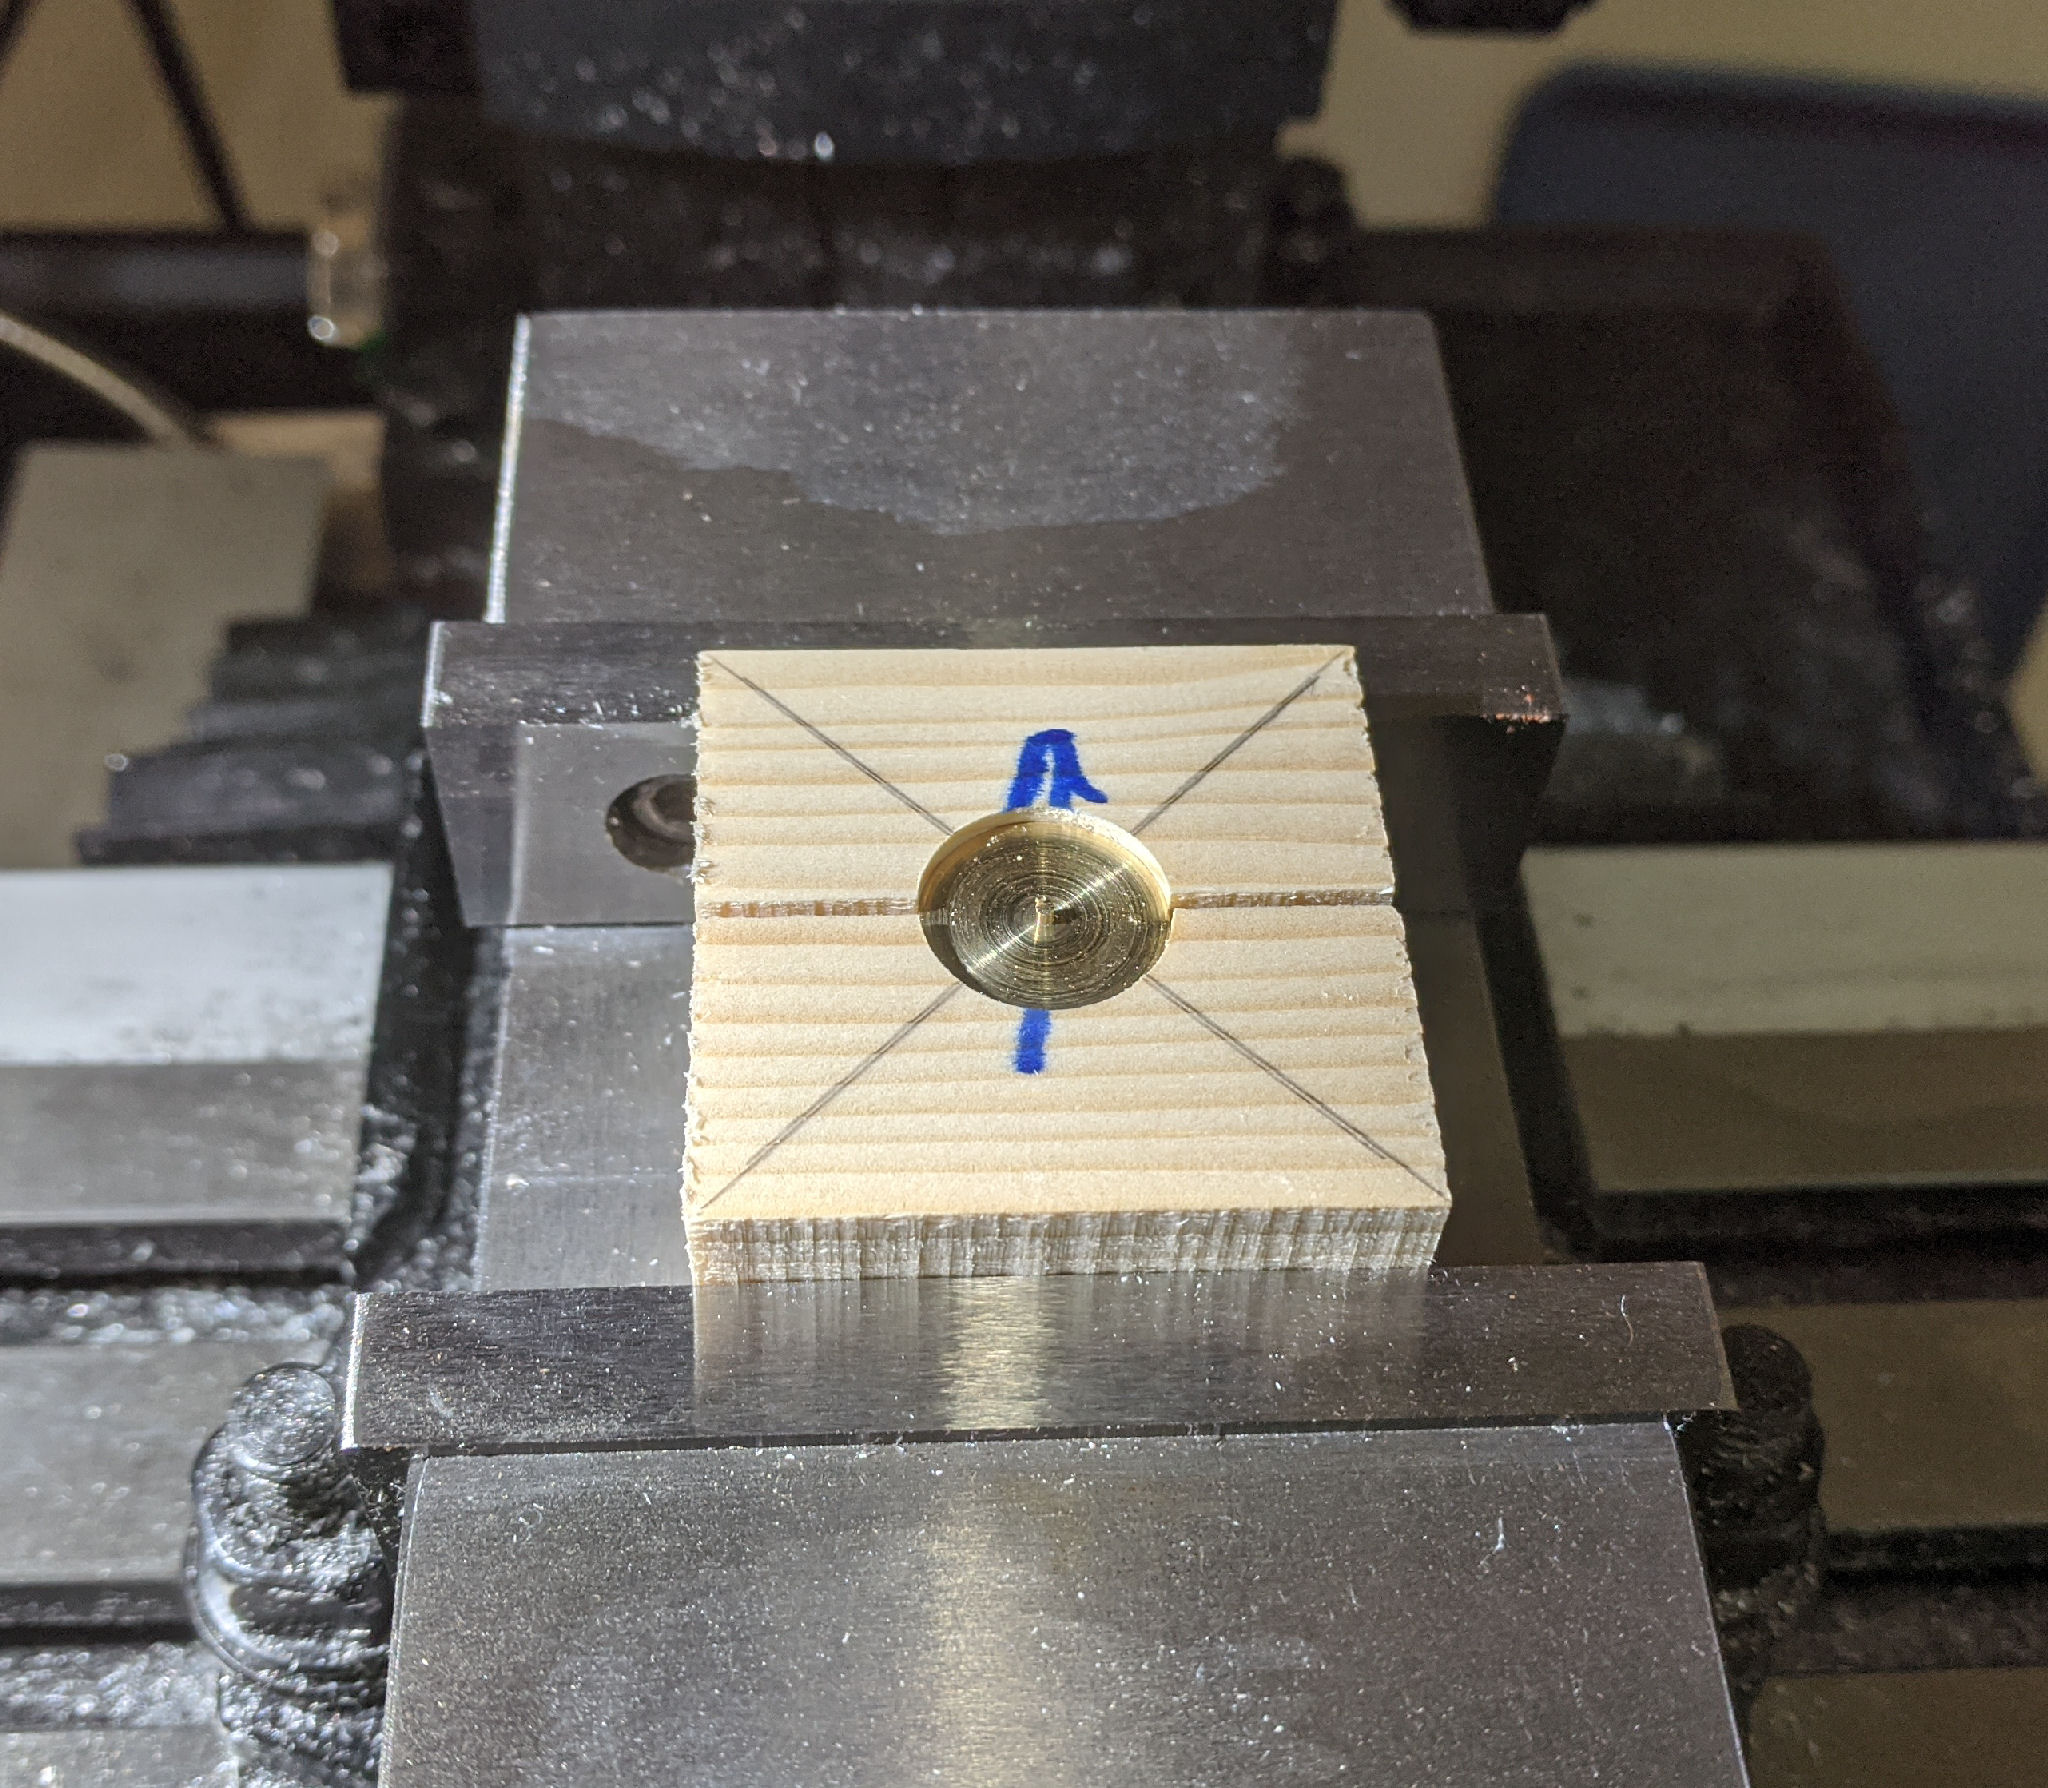
Here is the knob, clamped on the Mill so that the nub can be milled off and a threaded hole can be machined exactly into the center of the base.

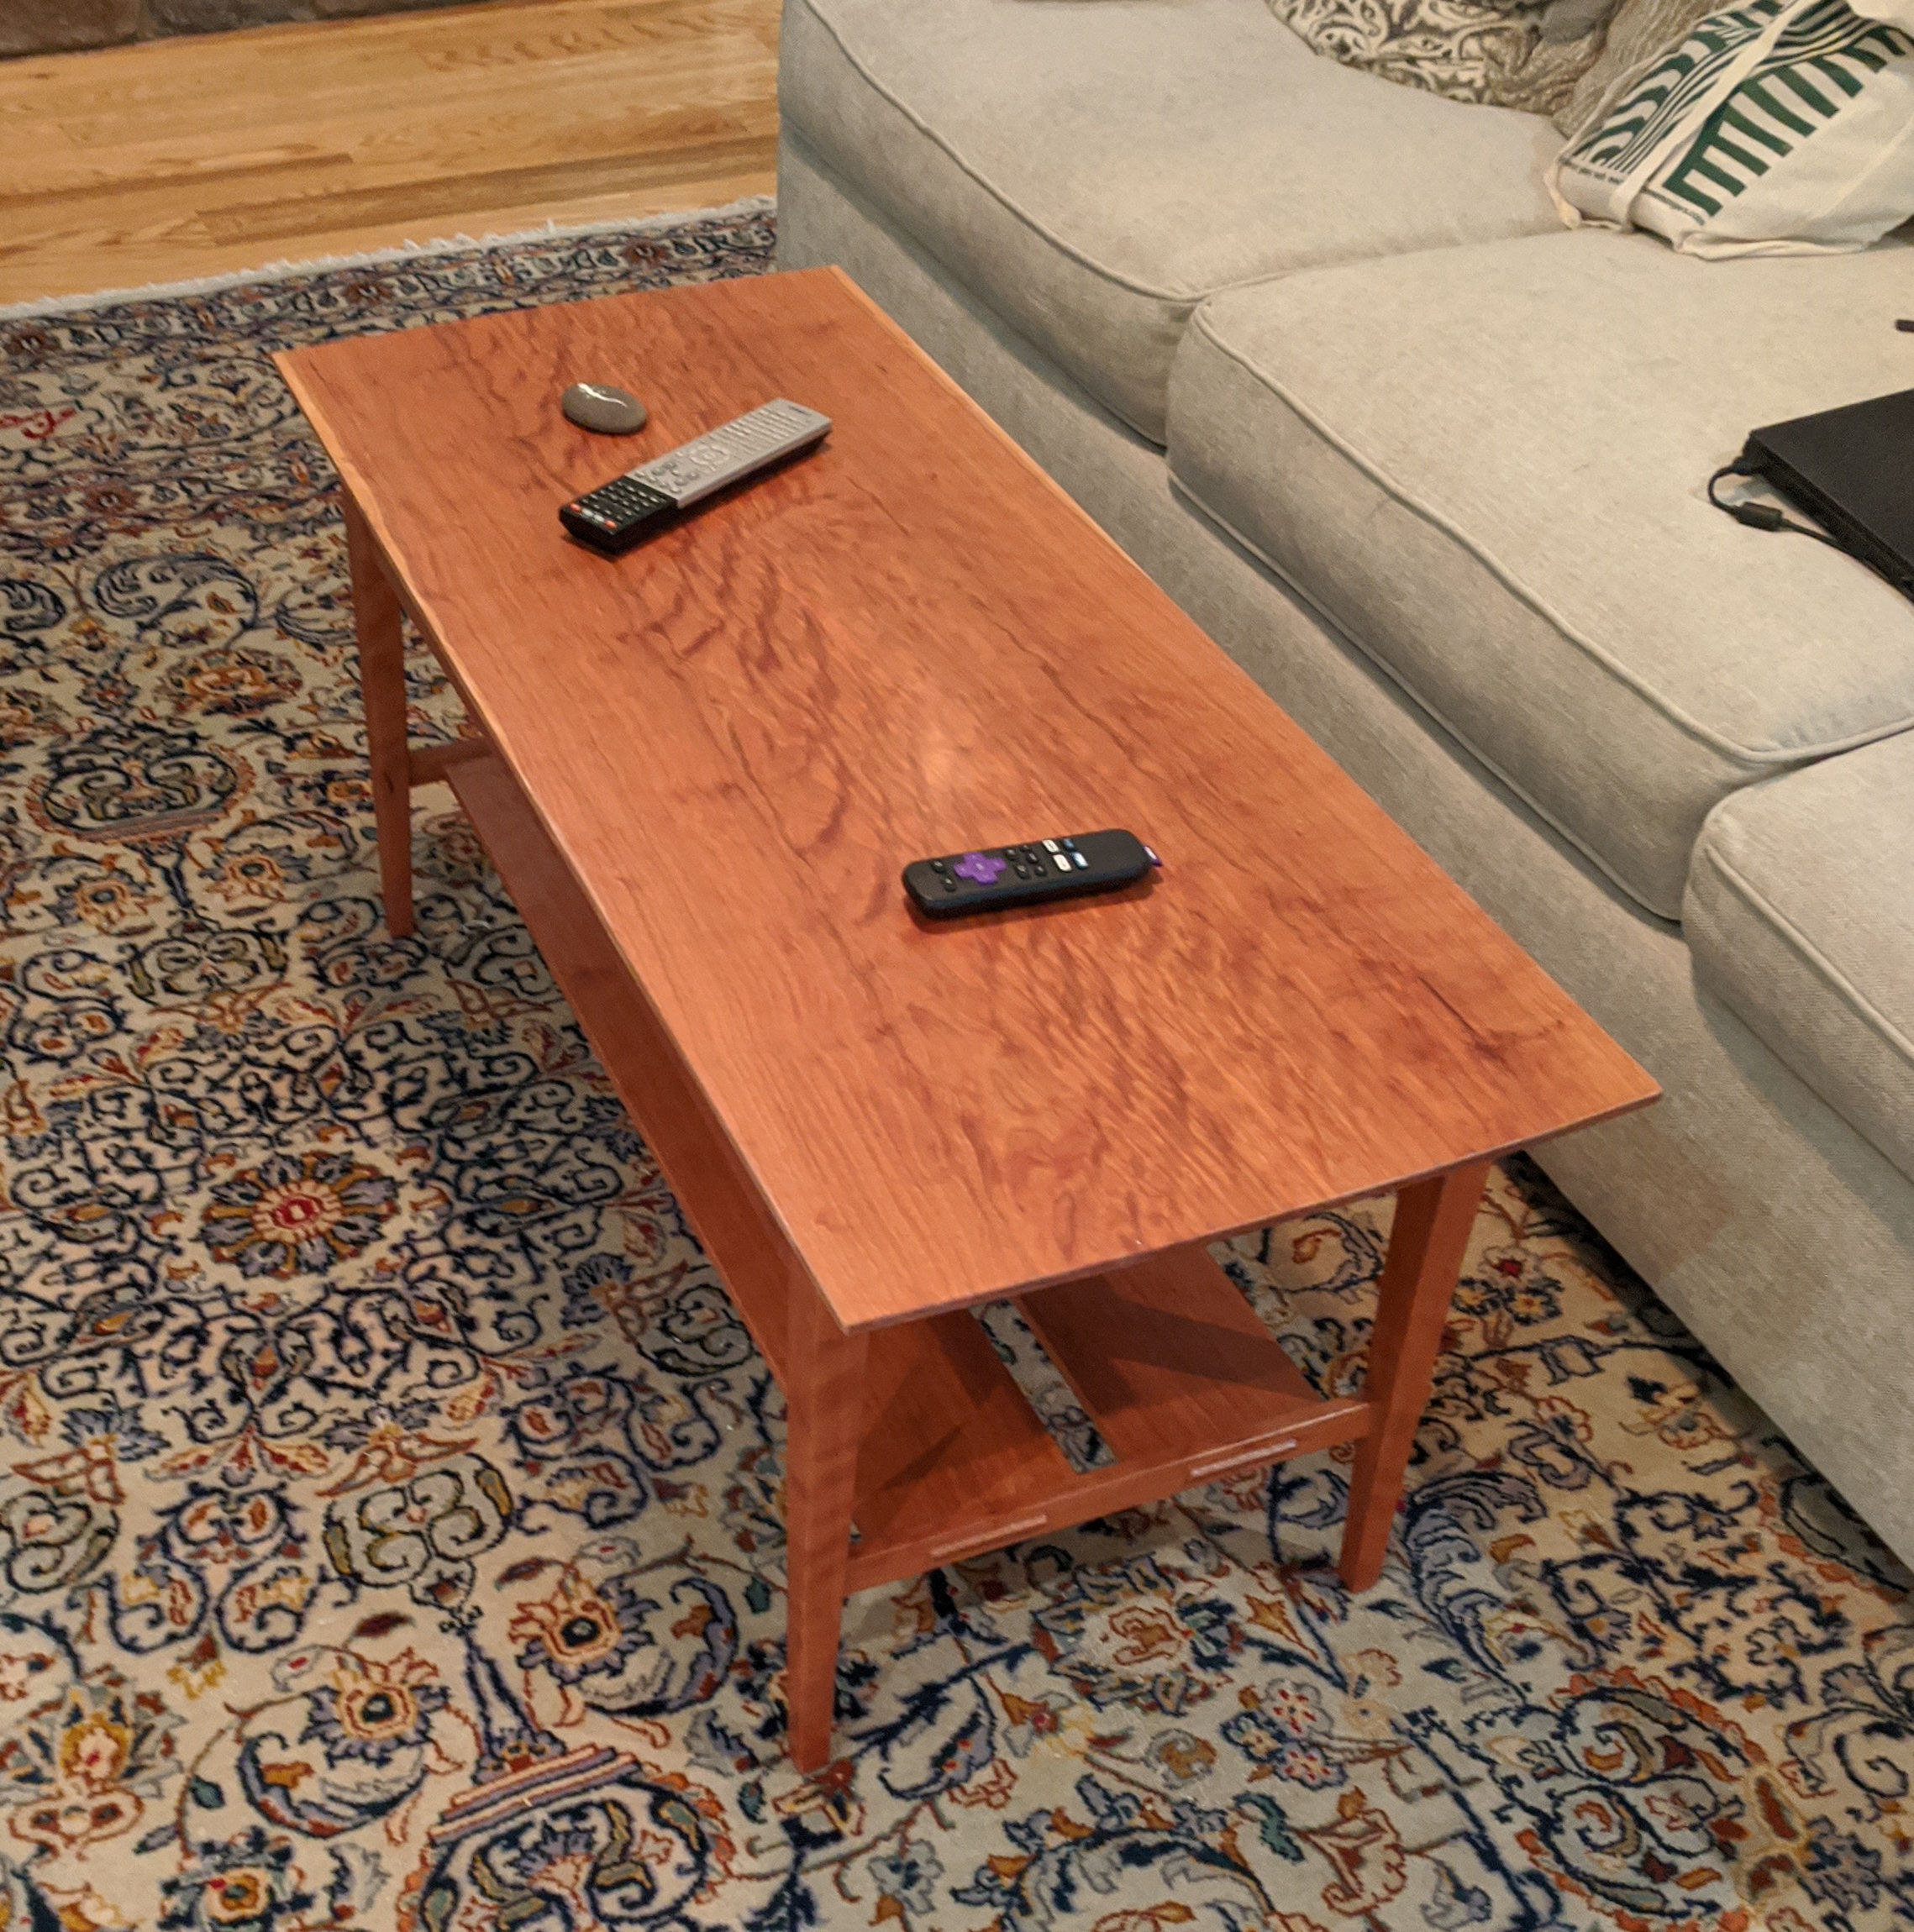
And here is the result!


Click to view larger photo.

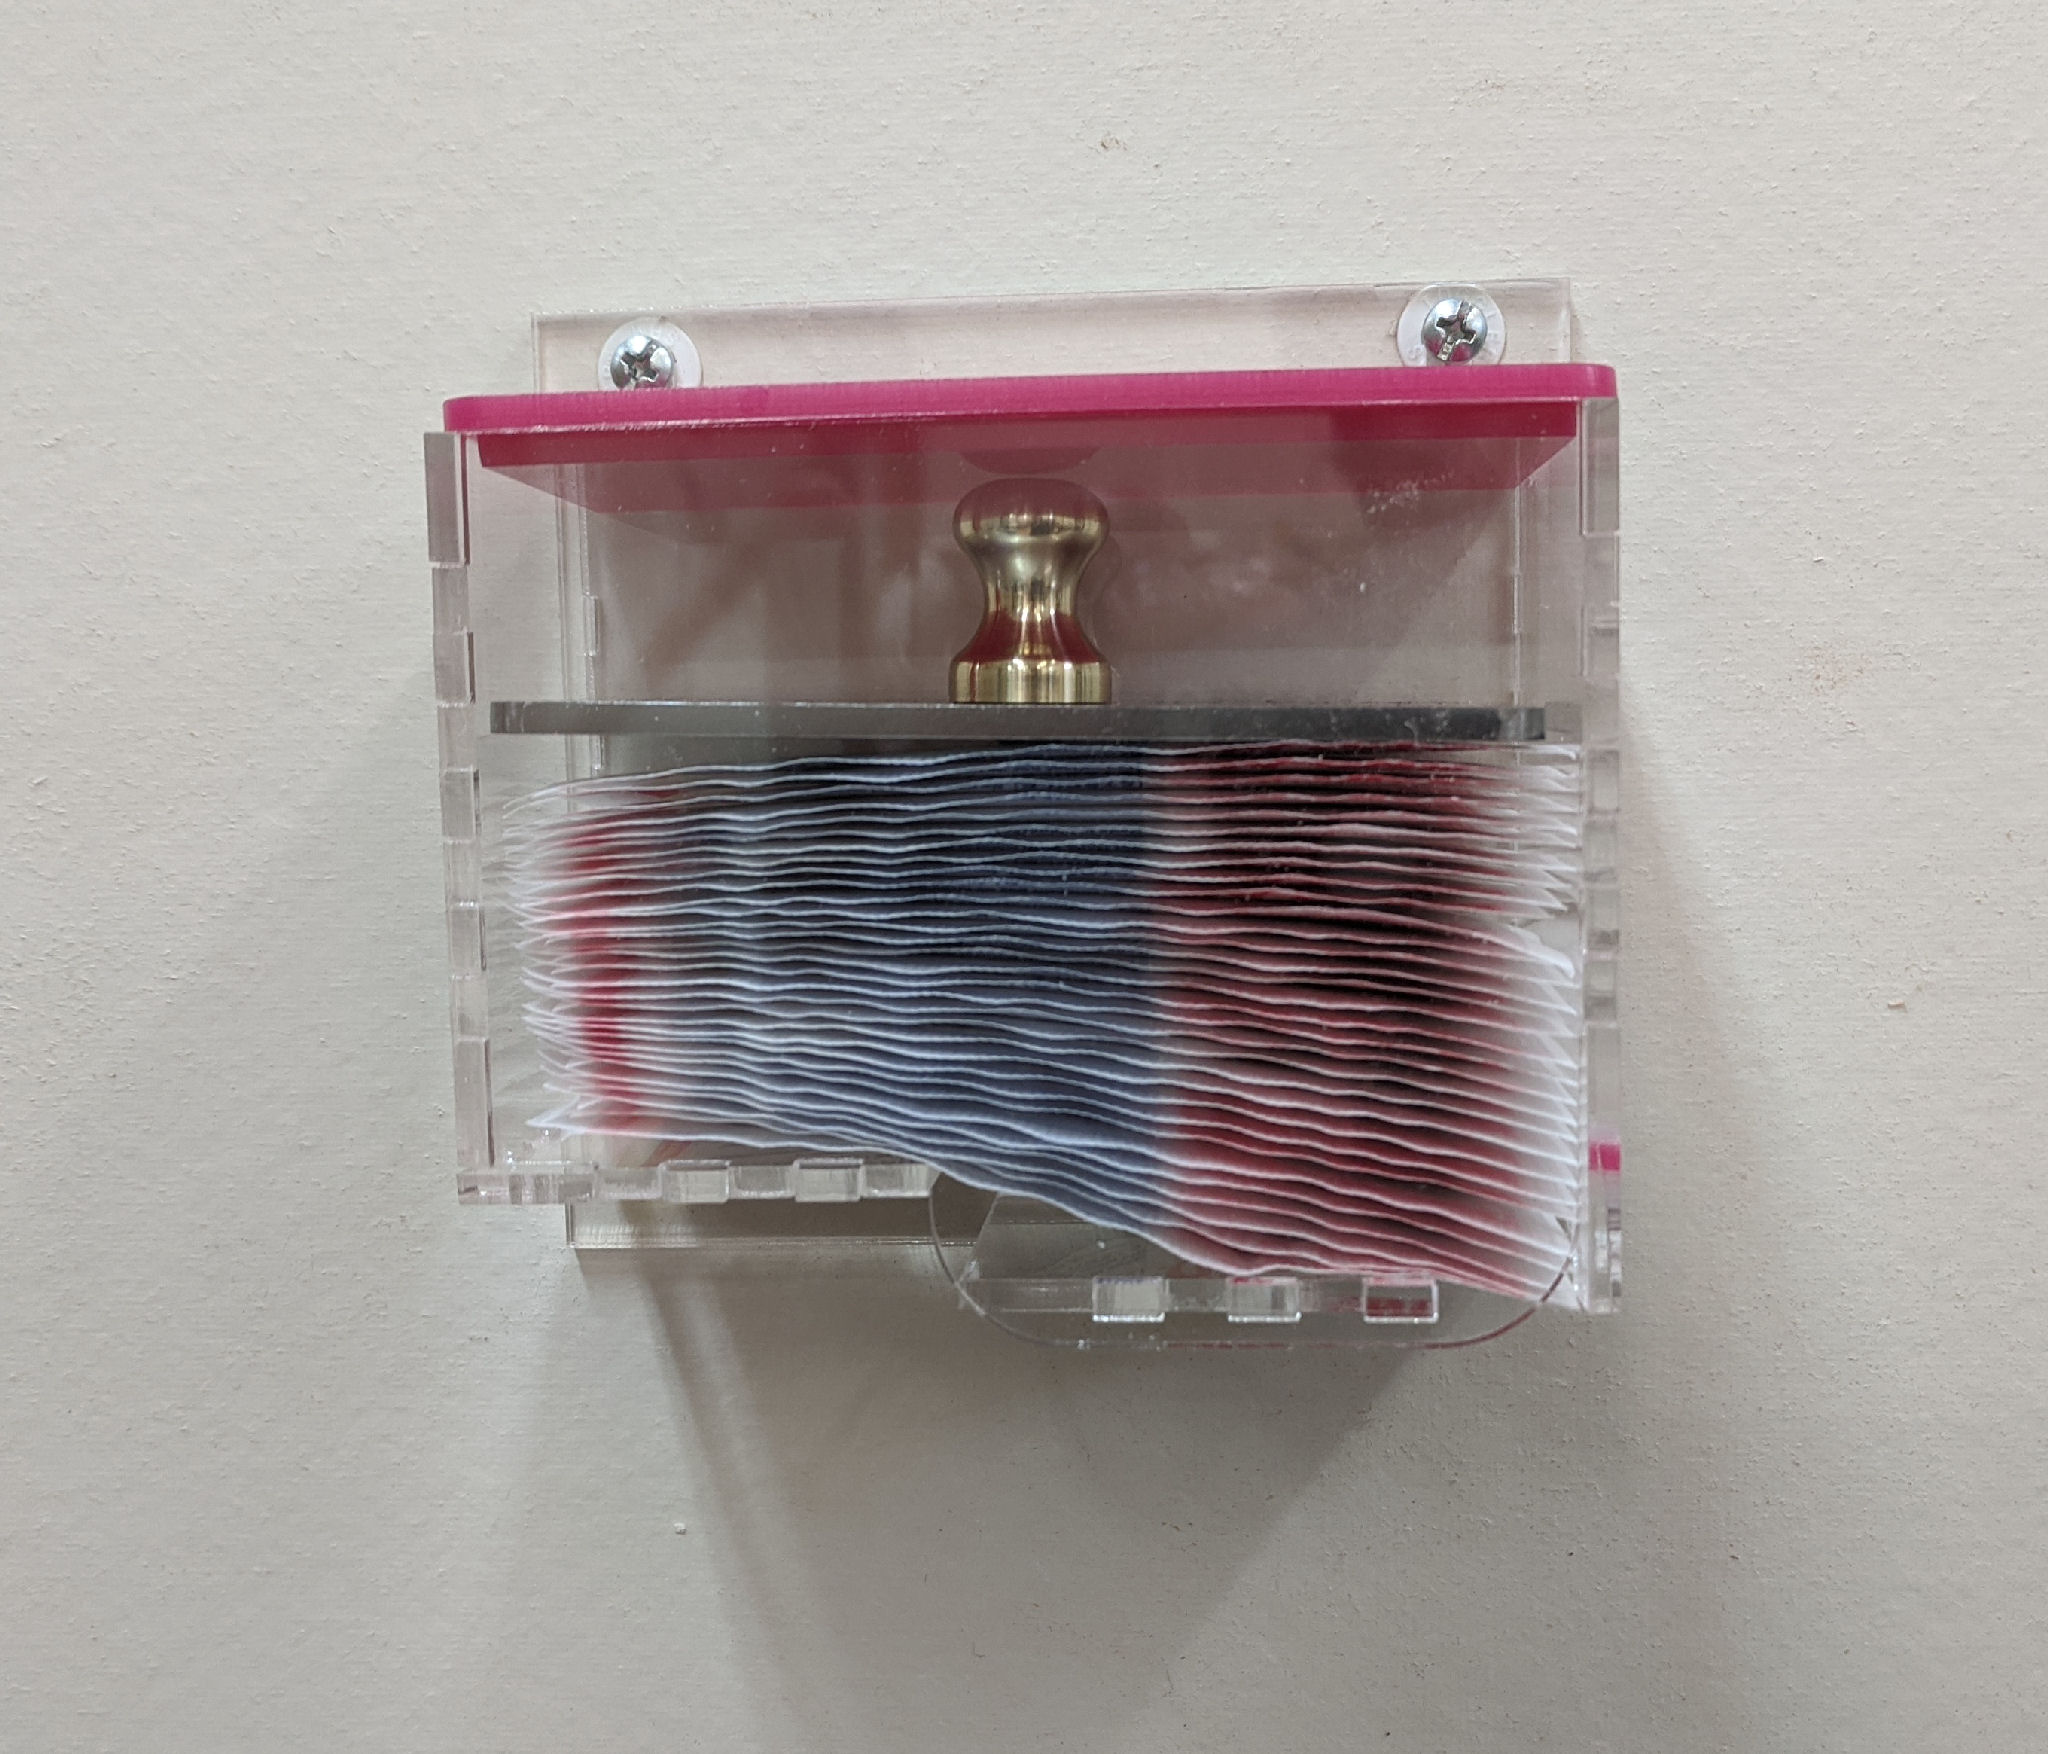
Bandaid Dispenser upgraded with Brass Knob!

Christmas 2021

This Christmas I decided that I would try to make all of the gifts.  Other than a few minor purchases, I came close.  Of course I had to start working on these in October!!!

Here is this year’s line up:

Continuing the tradition of the annual collection of Ornaments:

Click to view larger photo. SophiaBHfront Click to view larger photo. Click to view larger photo. Click to view larger photo.

Then, on with the gifts…

Click to view larger photo.

Advent Calendar, given in November. Santa moves across the board on each day of December.

Click to view larger photo.

Wall Art, ready to be framed.

Click to view larger photo.

Sign to go on my granddaughter’s playroom or bedroom door.


Click to view larger photo.

Two sided maze. Ball falls through to other side to continue the path to finish.

CheeseBoardSideView

Click to view larger photo.

Cheeseboard to match kitchen decor.

Click to view larger photo.

Carved/Turned Box. Made with Corian and Cherry wood.

BoxOpen BoxTop Click to view larger photo. penBoxOpen penBoxInside


The Second Needed Project for the Machine Shop

While I used the machine shop to make both the power feed and the lifter for the CNC Router, I discovered, mostly doing the lifter, that it was pretty important to have one essential item added to the workshop:

Click to view larger photo.

Bandaid Dispenser positioned near the Workshop to Office door!

The box was made of 3mm acrylic, cut on my CO2 laser and ‘melded’ together with acrylic solvent.


CNC Router Update

I’ve been enjoying how well and solidly my new CNC Router is performing, but there was one deficiency that, with a new project coming up, I couldn’t live with.  The Z travel on the gantry was fairly decent, but I couldn’t use all of it because the whole top transport was lower to the bed than necessary.

Part of that is due to the waste board that I have installed on the bed.  That consumes about 19mm of height.  But even accounting for that, most of the Z travel capability is unusable because the Z Post hangs so low.

After exploring various options for getting more Z range, I decided that lifting the whole top transport assembly 50mm would give me a enough range without introducing much risk or losing a noticeable amount of rigidity.

So, using my NEW Mini Mill, I was able to fabricate the pieces to add a rigid lift.  Here’s the new look:

Click to view larger photo.

Whole Router transport lifted 50mm.

Click to view larger photo.

Lift Corner Block

Click to view larger photo.

Lifter Parts

New Coffee Table for the House In The Woods

Around mid 2018 we decided that it was time to replace the inexpensive coffee table we bought in a rush when we moved to the House in the Woods in 2012.  Looking around, I found a nicely styled Hall table that we thought had the elements we were seeking in a coffee table.  I downloaded the plans and began adapting it for our needs.

The good/bad part of this style is that most of the woodwork is curved, with very few straight lines.  I concluded that, to keep the proper flow and sweeps AND still have all the interlocking joinery line up, the framework, at least, needed to be cut on a CNC Router.  Cool, I’ve got one of those :-)

To make a VERY LONG story shorter, I did some trial cuts of some of the longest parts in January of 2019.  From these experiments, I realized that the CNC router needed to be larger to reliably make the parts.  Consequently the project languished until I finally upgraded my CNC Router to a larger, more solid, one this year.  This spring I made the base, then made the top, and left the pieces to cure over the Summer while we were in Maine.  When we returned, and got some time, once Kate & Paul’s Wedding reception was completed, I did the final finishing, assembly, and installed it in our Living Room.  I’m quite pleased with the result:

Click to view larger photo.

Completed Coffee Table installed in Living Room.

Click to view larger photo.

Coffee Table right view, ready in shop.

Click to view larger photo.

Coffee Table, Left view, ready in shop.

Click to view larger photo.

Coffee Table base, all assembled, ready for finishing.

WordPress theme: Kippis 1.12